BathroomsLeesburg, VA
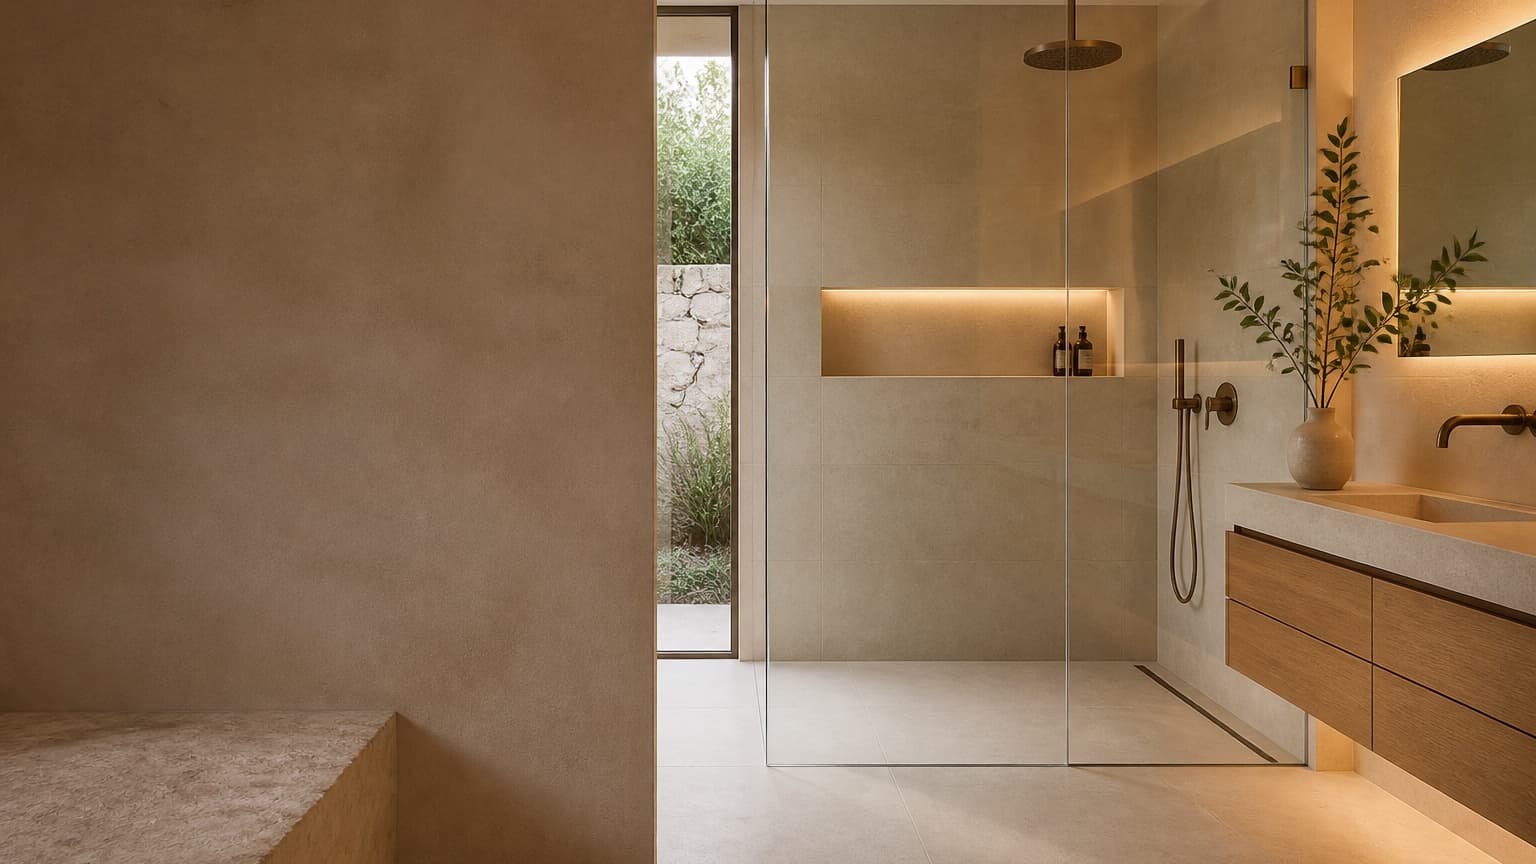
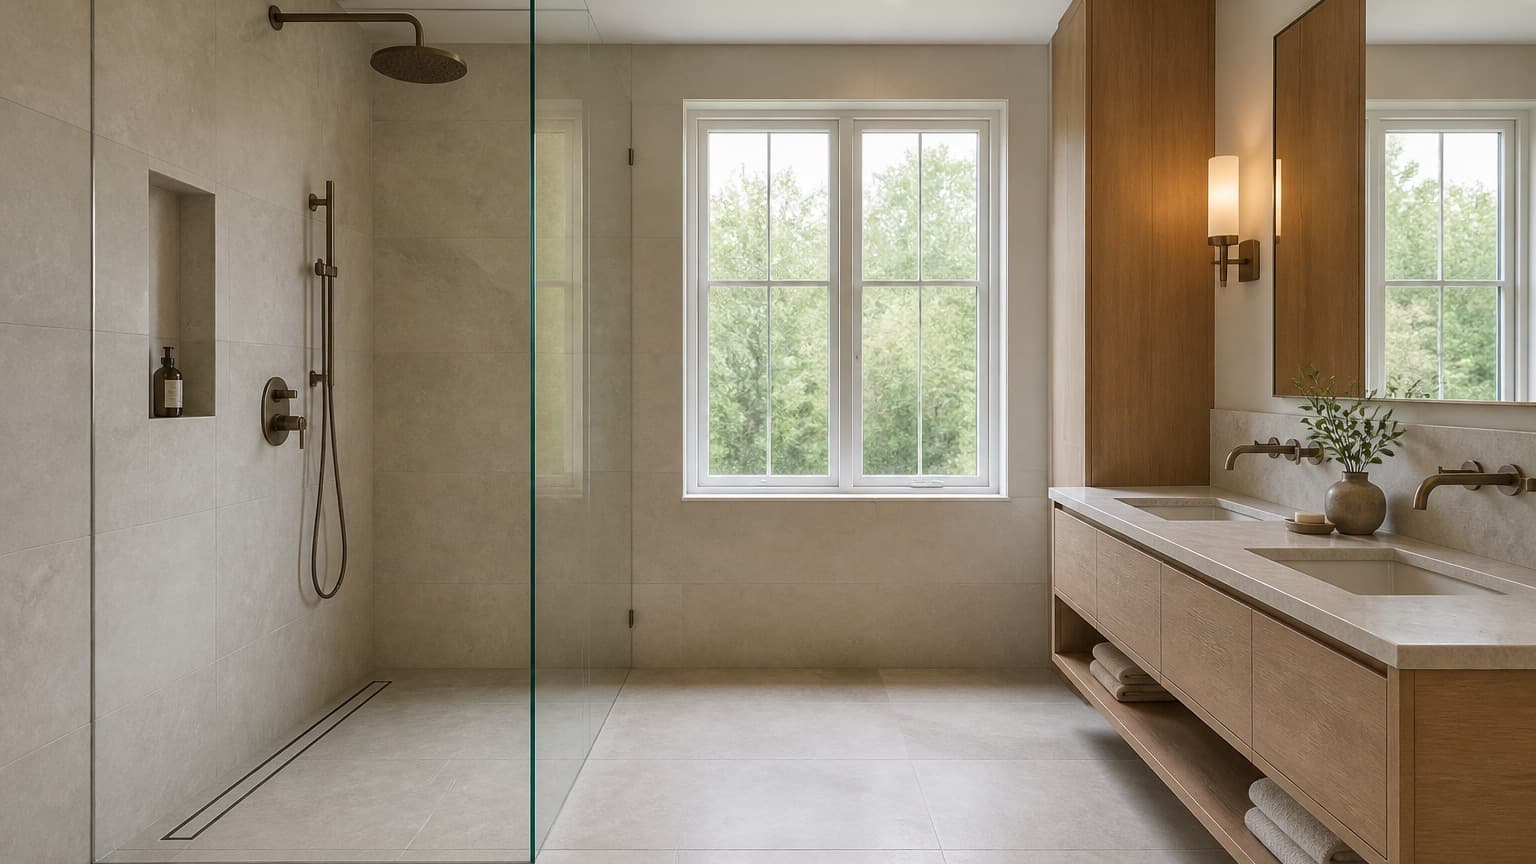
Curbless primary bath in large-format porcelain
Full bathroom renovation with a curbless shower and heated stone-look floor
Completed September 2025
Tile · Stone · Bathrooms — Northern Virginia
Custom tile installation, stonework, and complete bathroom renovation. Substrates corrected rather than covered, waterproofing built as a system, and the layout agreed with you before the first tile is set.
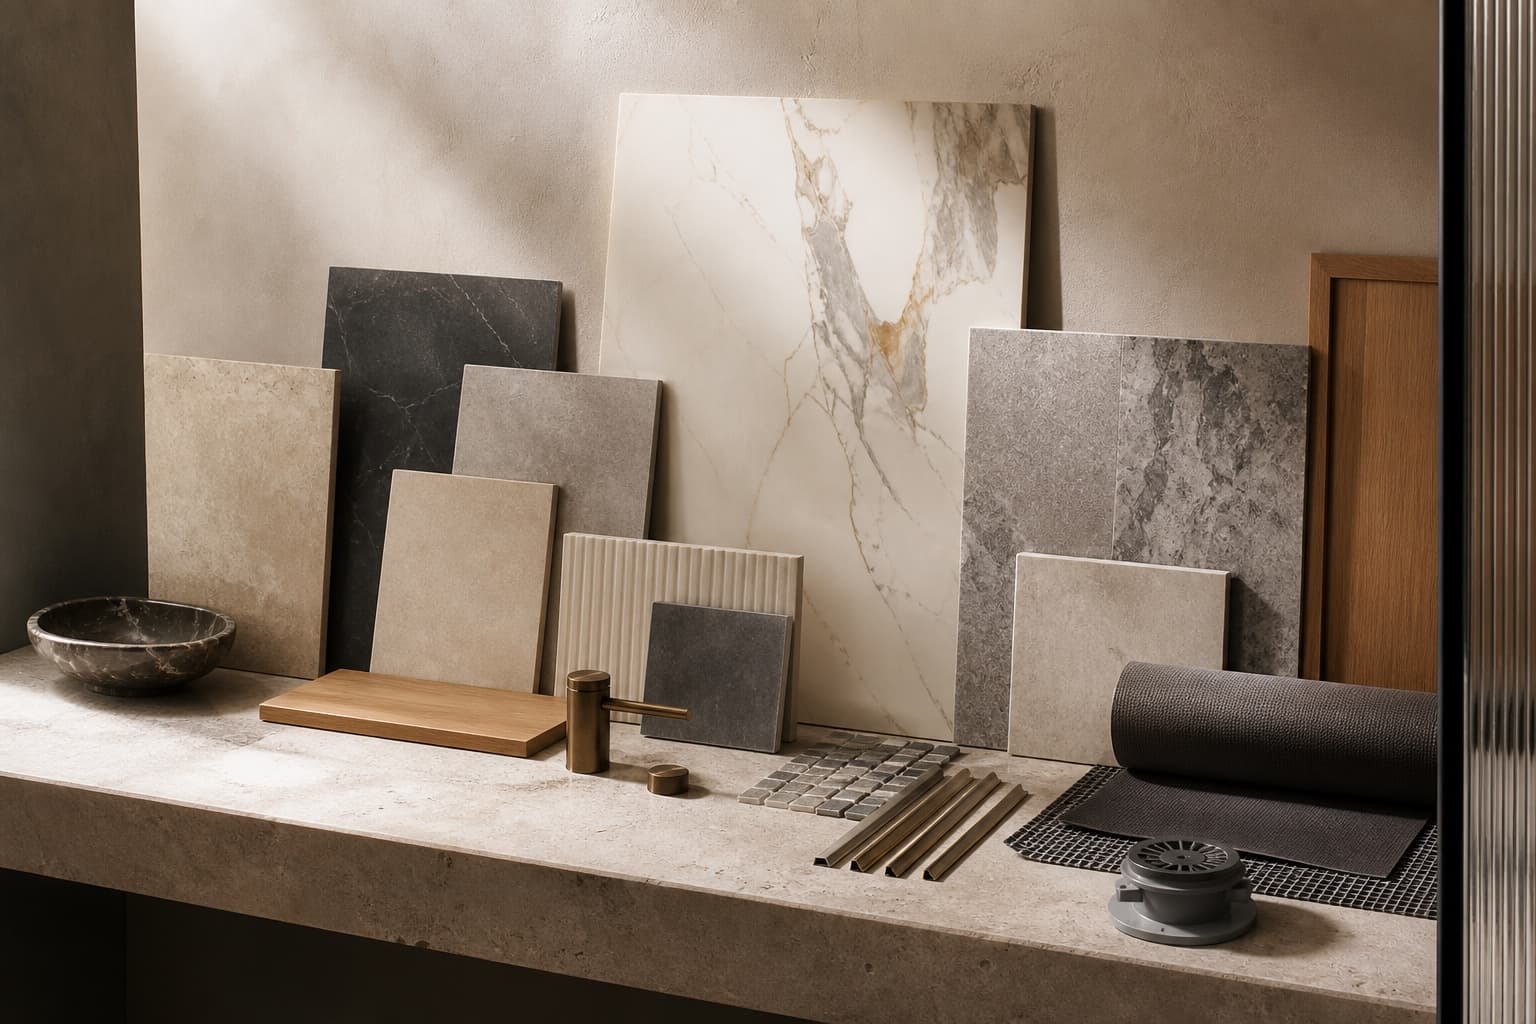
Concept bathroom study · Limestone, natural oak, and aged bronze
Our approach
Layout, cut positions, niche heights, and where the pattern meets a doorway are decided on paper and dry-laid on site. Nothing important is improvised at the end of a long day.
Walls are surveyed for plane, floors for flatness and deflection. Where they fall short of what the material needs, they are corrected — and that appears in the proposal, not as a surprise.
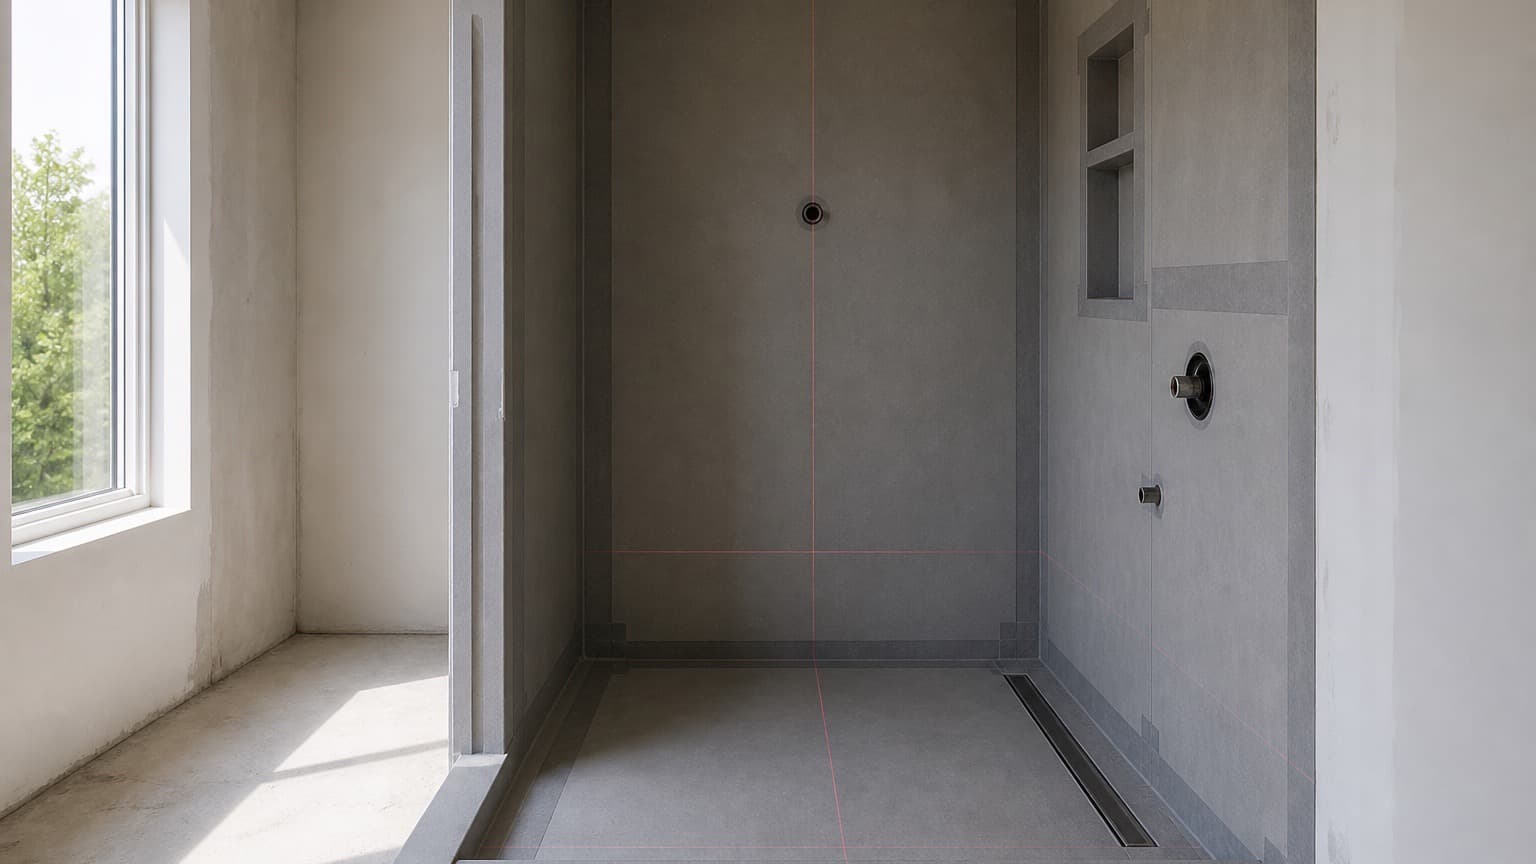
Bonded membrane, banded corners, collars at penetrations, and a drain flange integrated into the same plane. Tile is a finish. It was never the waterproofing.
Substrate, services, and waterproofing are photographed before they disappear behind the finish, and handed over to you at completion.
We also sell the materials we install, so the advice you get about a product comes from having set it, grouted it, and gone back to look at it two years later.
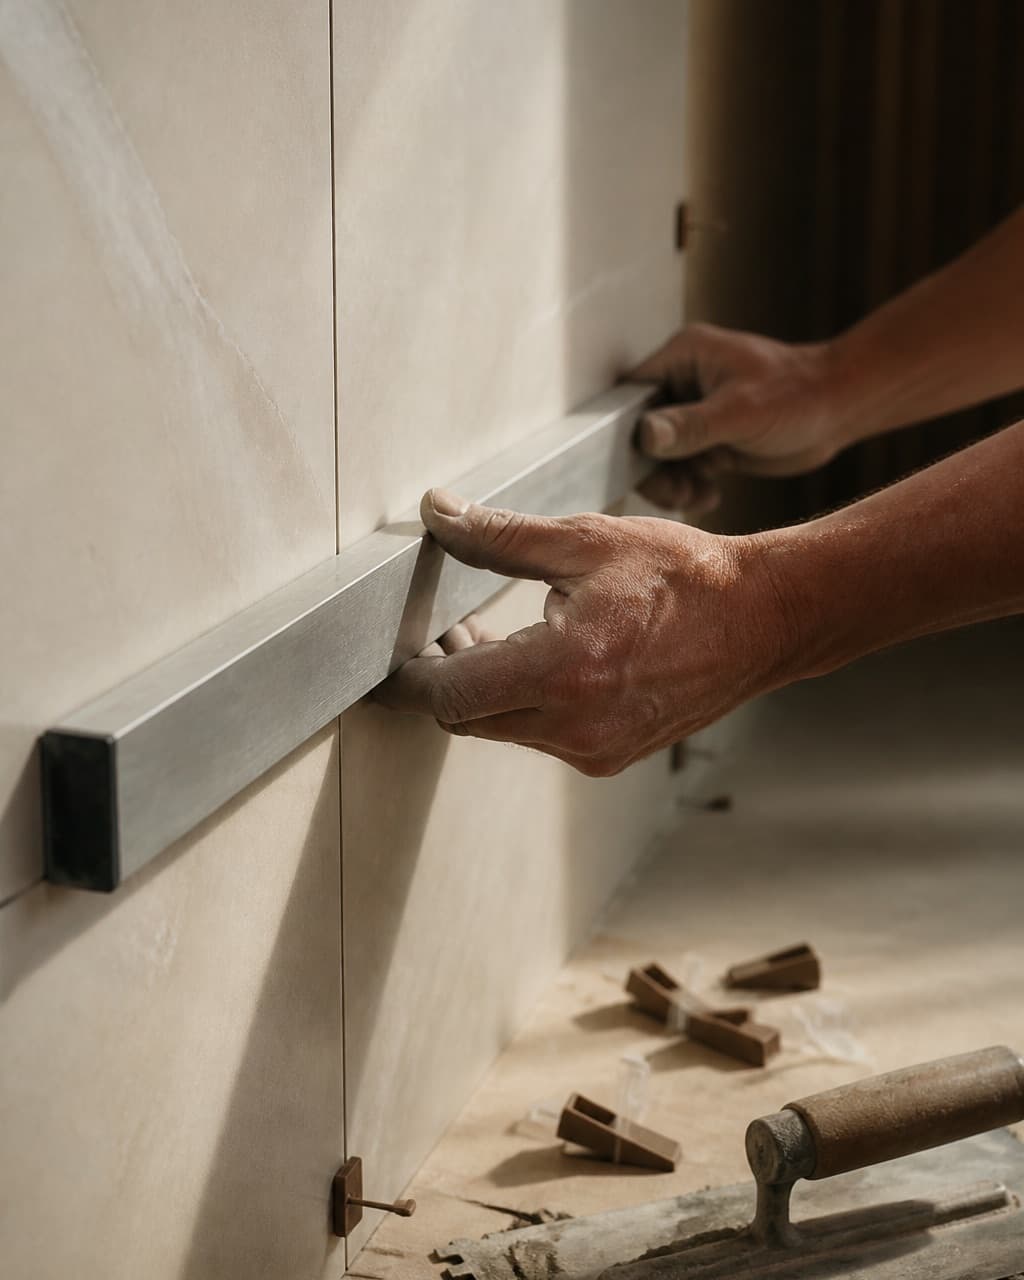
Tile & stone
Large-format porcelain, marble, limestone, and mosaic. The material choice is the part everybody enjoys; these are the parts that decide how the finished room reads.
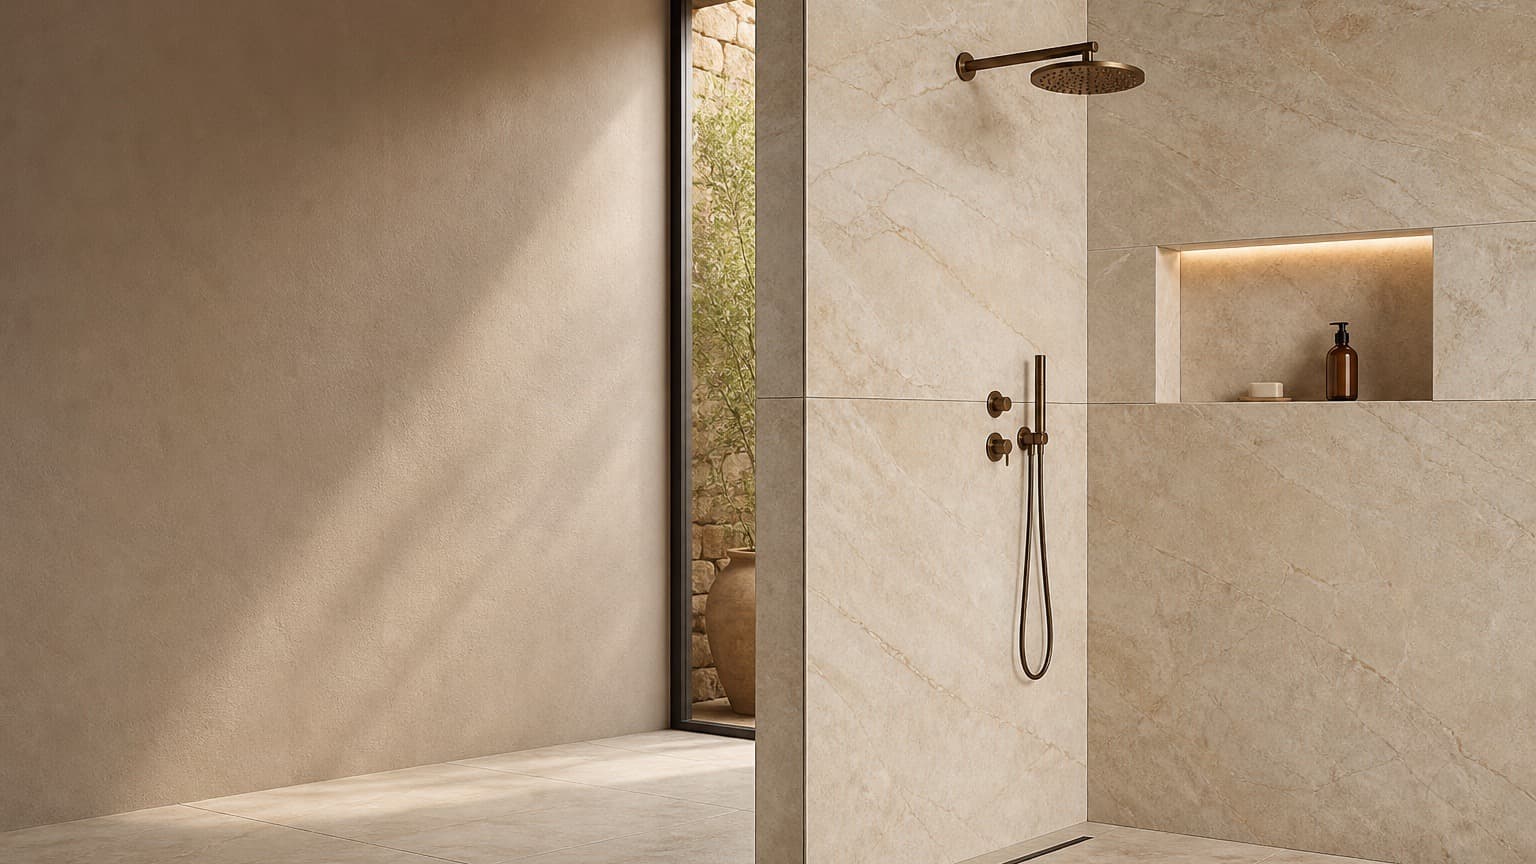
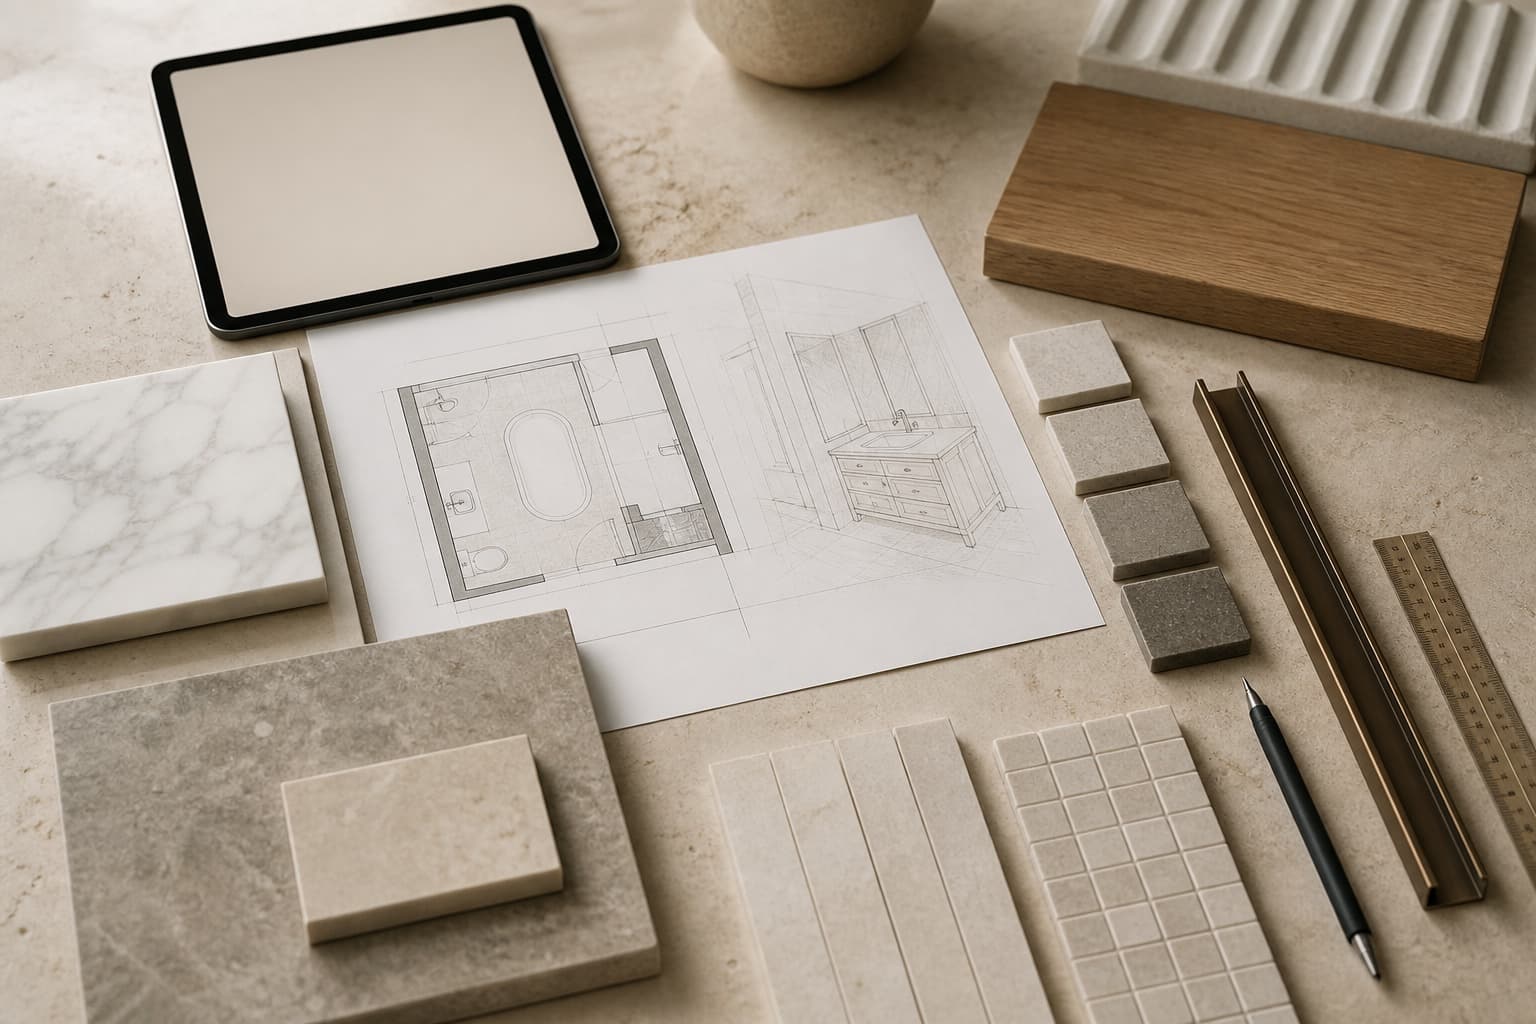
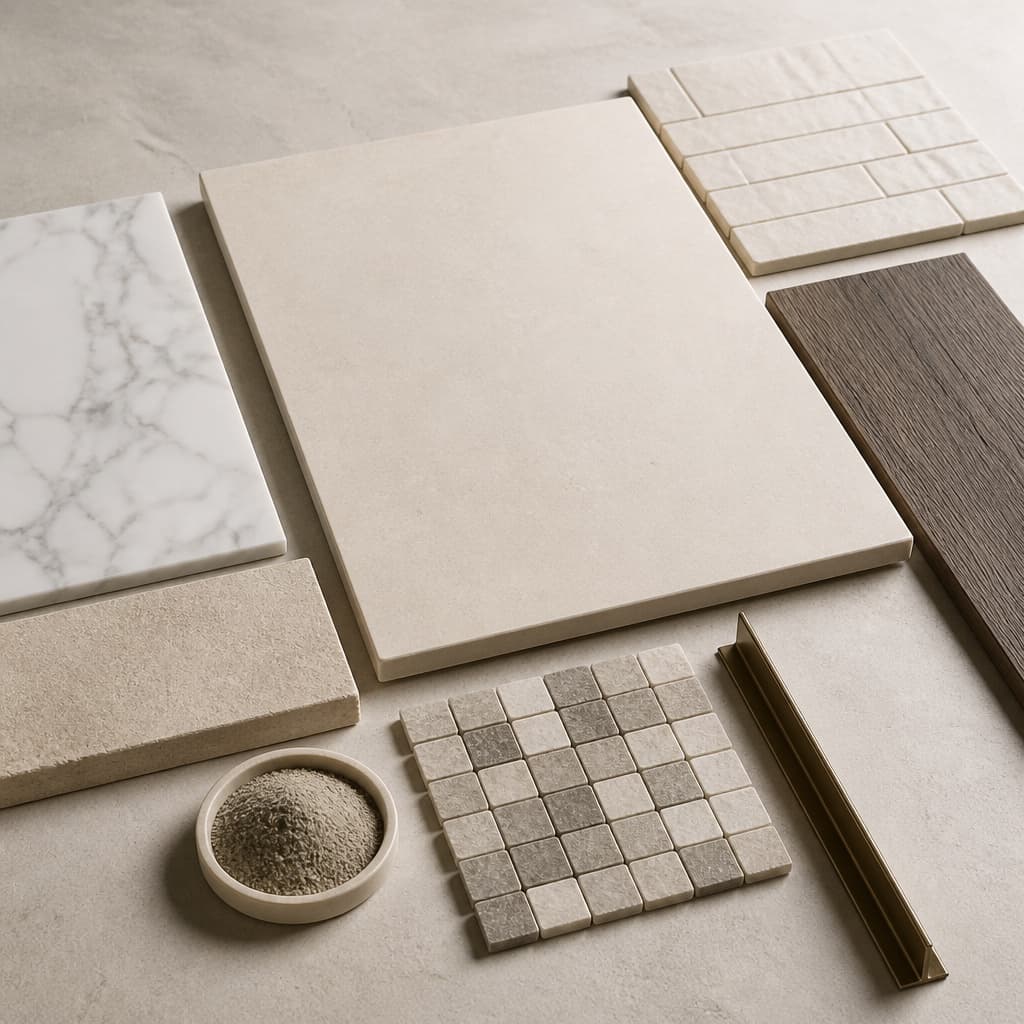
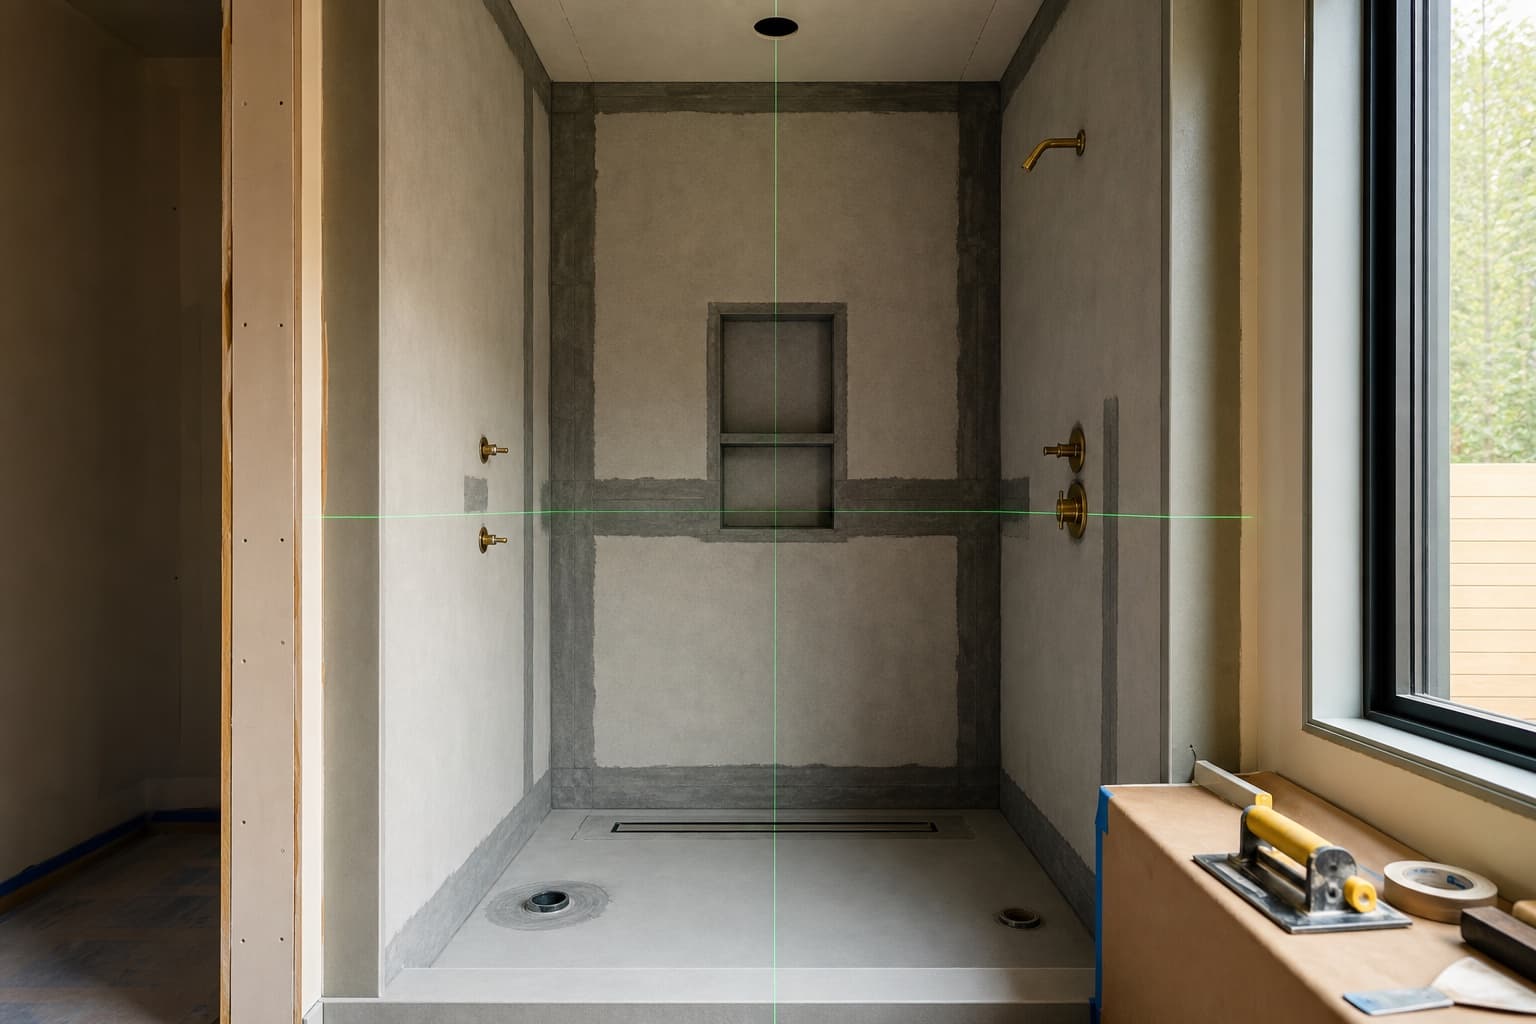
Layout planned before the first tile is set, substrates corrected rather than covered, and joints that stay consistent from one wall to the next.
Panels above 15 inches on a side are unforgiving. They need flatter substrates, larger notch trowels, back-buttering, and a levelling system used properly.
Marble, limestone, travertine, and slate, selected from the actual crates, dry-laid for vein direction, and sealed with the right product for the stone.
Herringbone, basketweave, chevron, and custom layouts, set out so the pattern reads correctly from where people actually stand.
Regrouting, resealing, replacing damaged pieces, and diagnosing why a failure happened before repeating it.
Stone and tile surrounds built to the clearances the appliance requires, with mitred returns and a hearth detail that resolves cleanly.
Bathrooms
Nine stages, one point of contact, and one standard across all of them.
Demolition through final walkthrough, coordinated as one project rather than a sequence of separate trades you have to manage.
Built on site to the dimensions of the room: correct slope to the drain, bonded waterproofing, blocking where it is needed, and niches that align with the tile field.
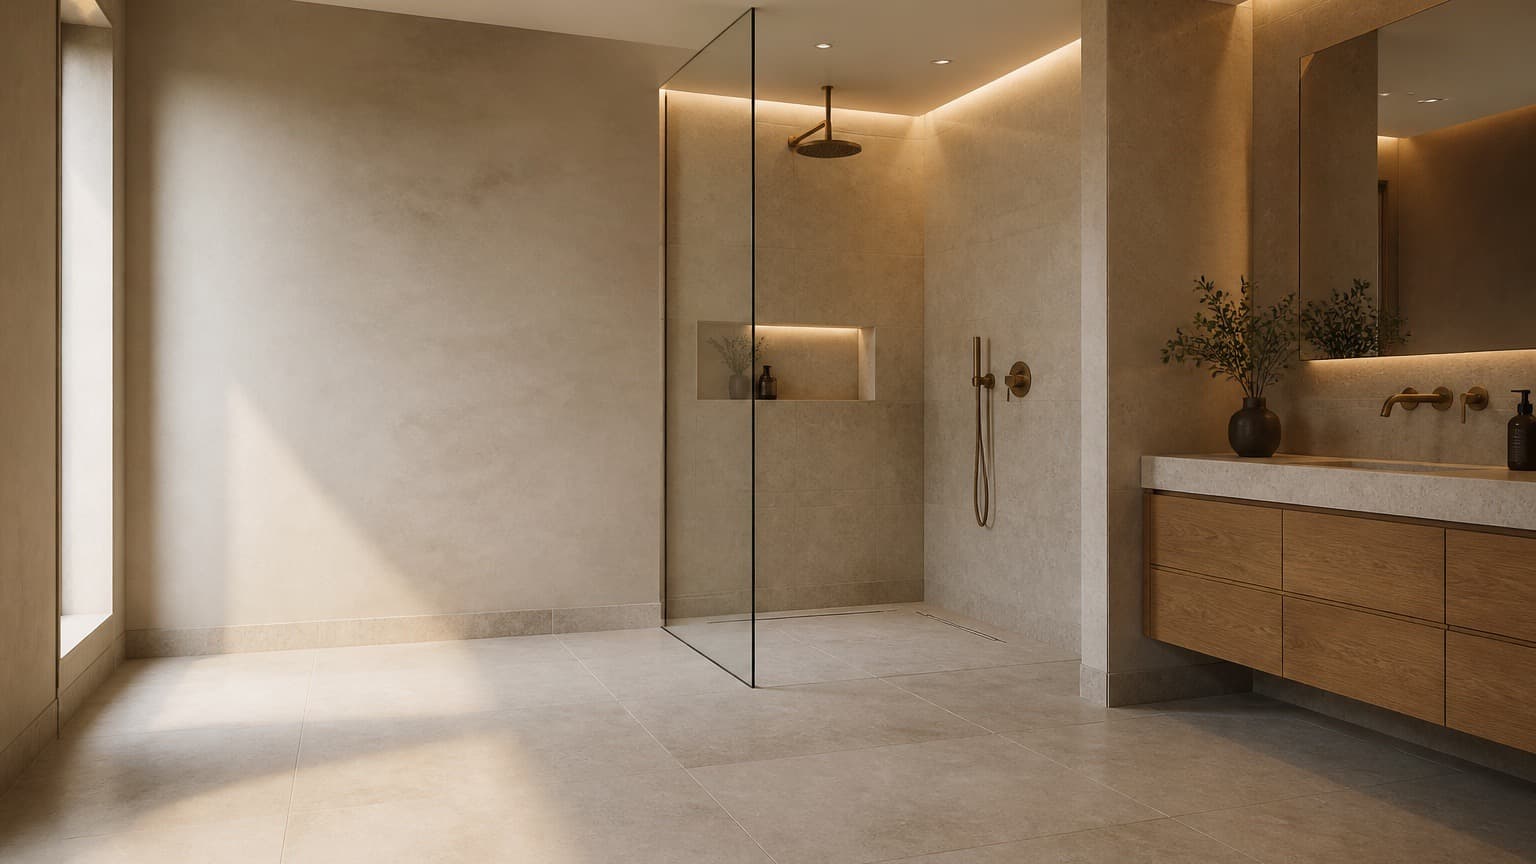
A flush entry requires the floor structure to be recessed or built up. Planned early it is straightforward; retrofitted late it is expensive.
Converting an alcove tub into a walk-in shower, including new drainage, waterproofing, and a bench or niche where the space allows.
Featured case study
Leesburg, VA
A dated primary bathroom with a built-in tub was rebuilt as a single open wet room. The shower entry is flush with the rest of the floor, which makes a small room read as a much larger one and removes the only real obstacle in the space.
Selected work
Each of these has a full case study: what was there before, what was found during demolition, what was decided, and how it was built.
Full bathroom renovation with a curbless shower and heated stone-look floor
Completed September 2025
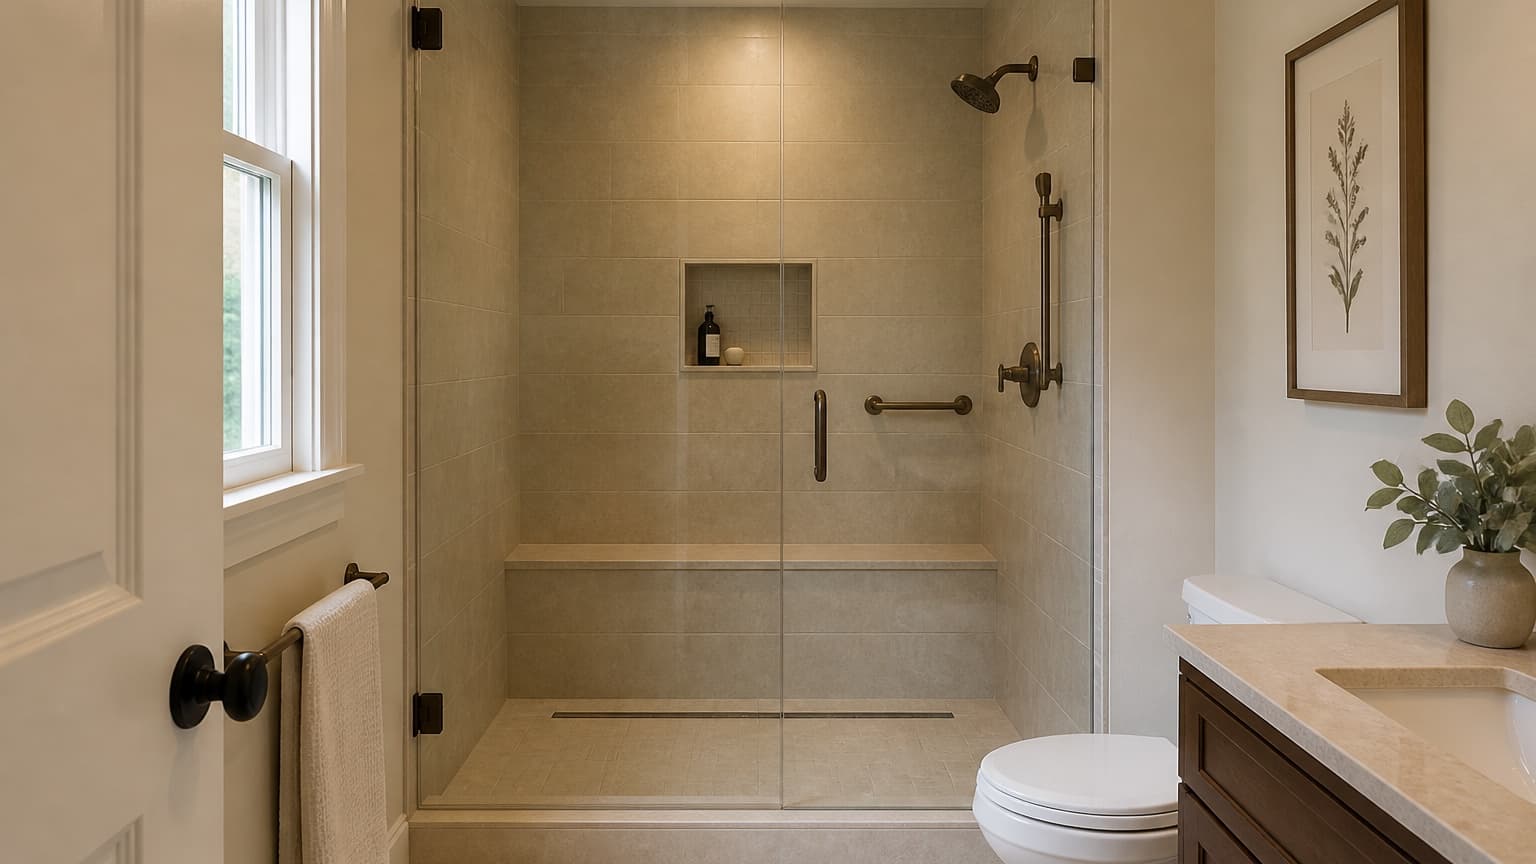
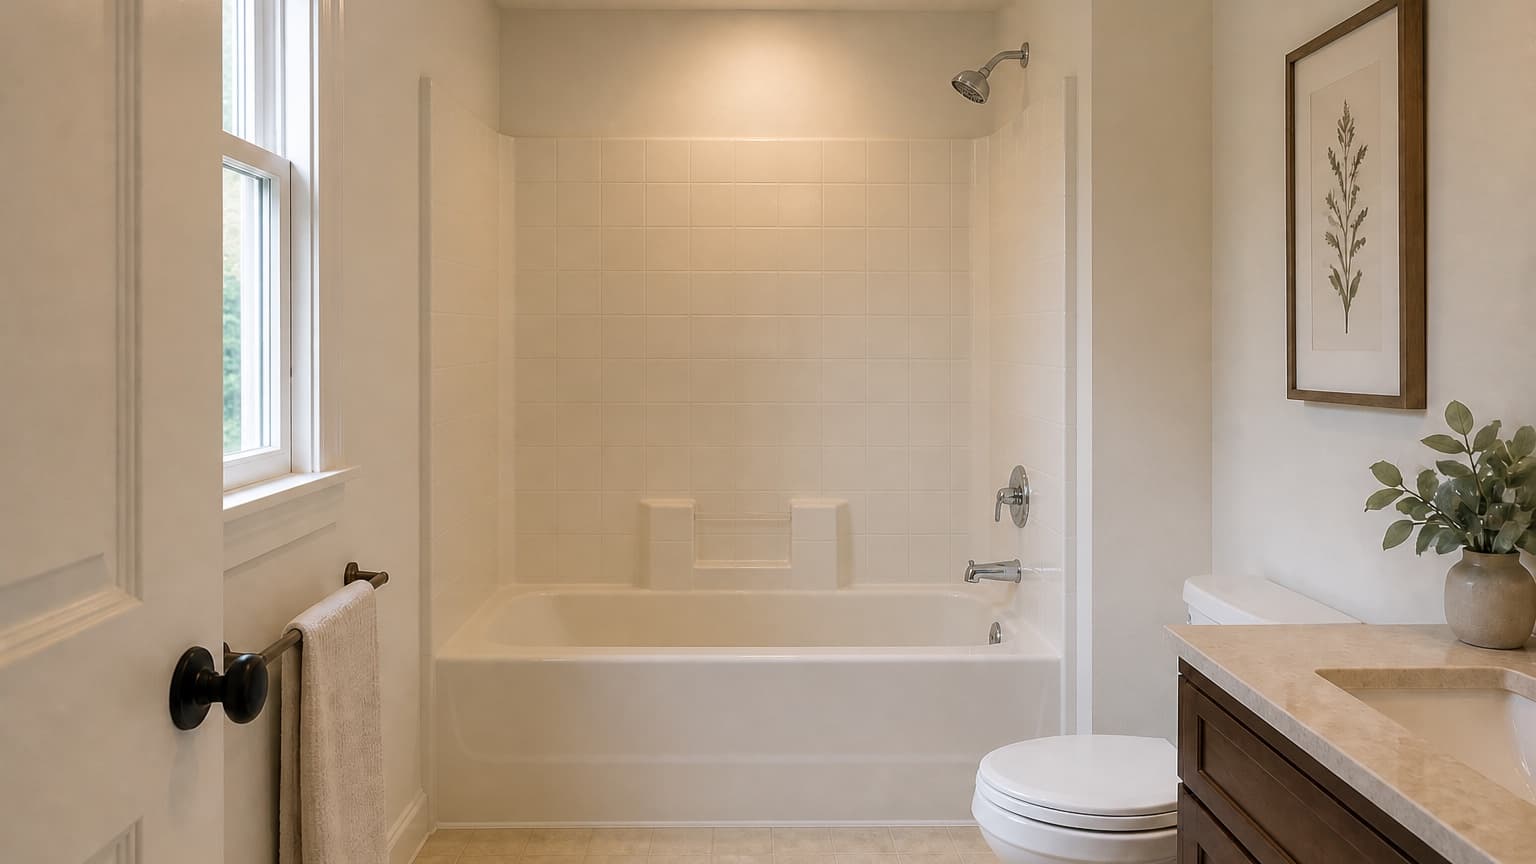
Alcove tub converted to a walk-in shower with a bench, niche, and grab-bar blocking
Completed July 2025
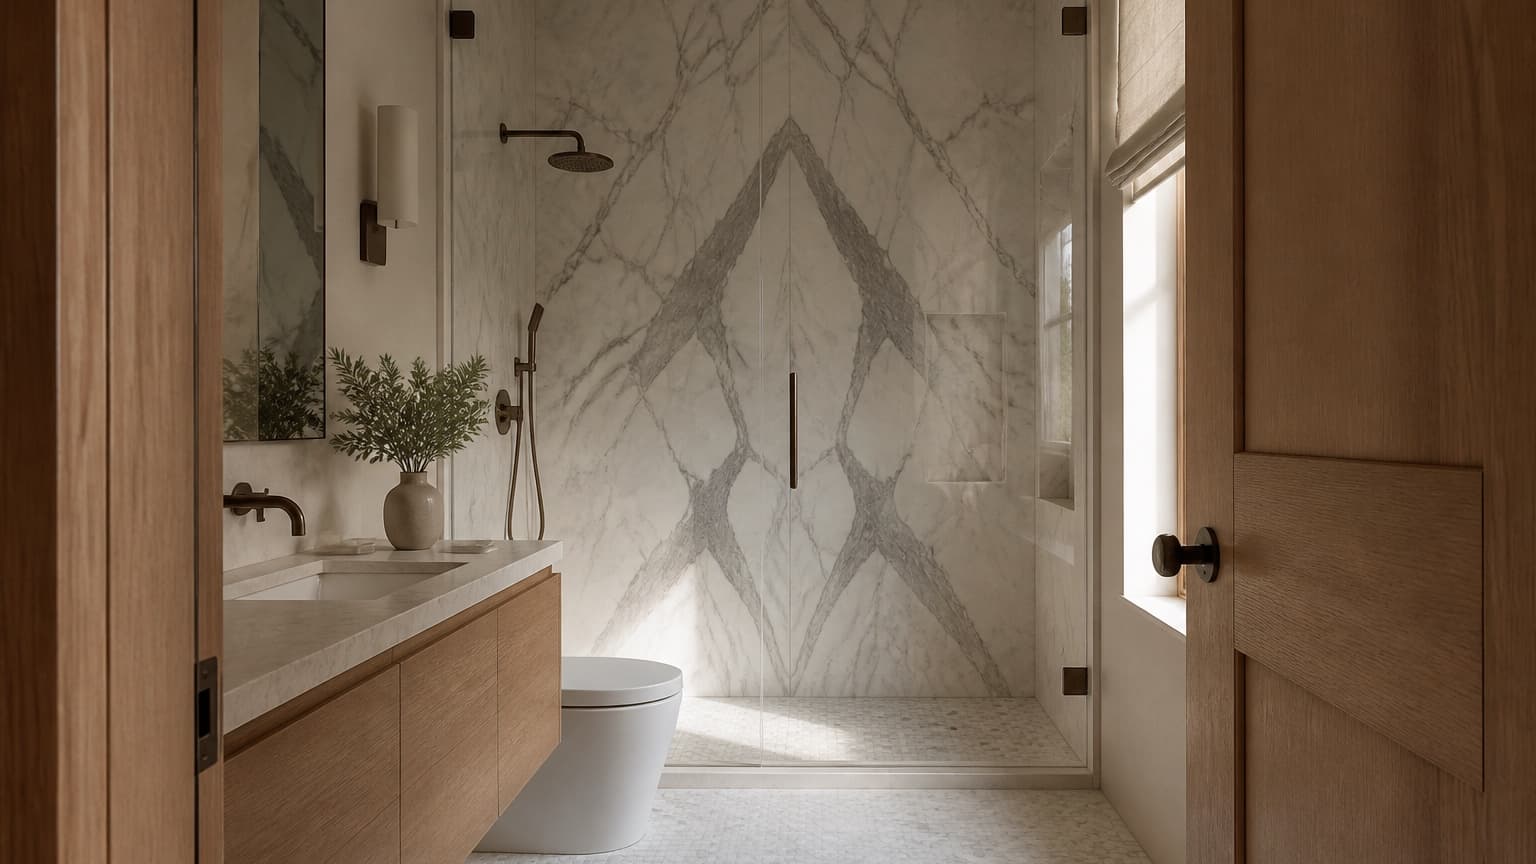
Guest bathroom renovation with a book-matched marble shower wall and mosaic floor
Completed June 2025
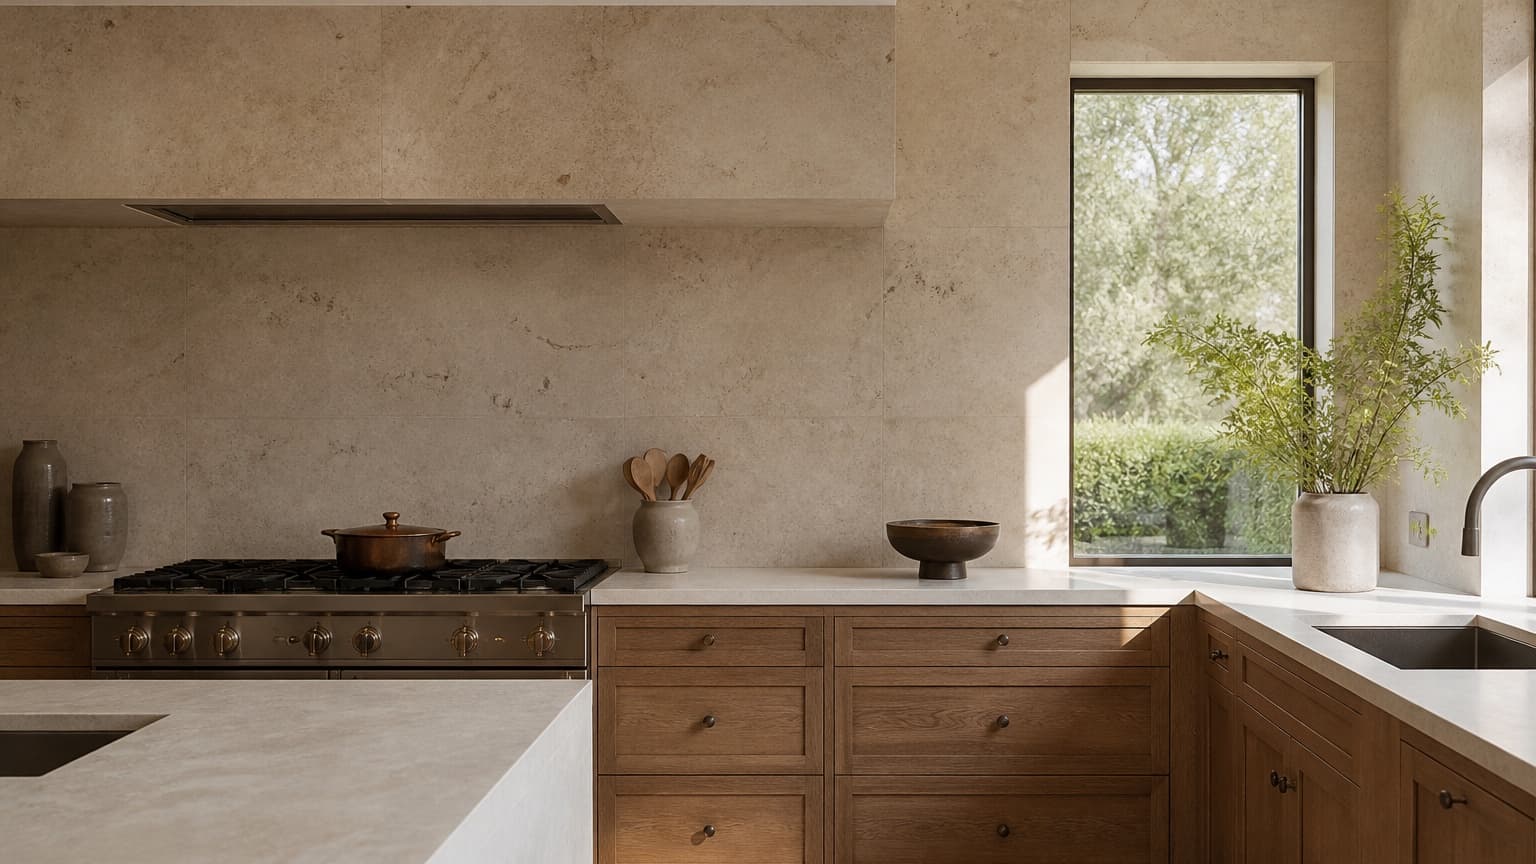
Full-height backsplash in honed limestone, wrapping the range wall and window return
Completed April 2025
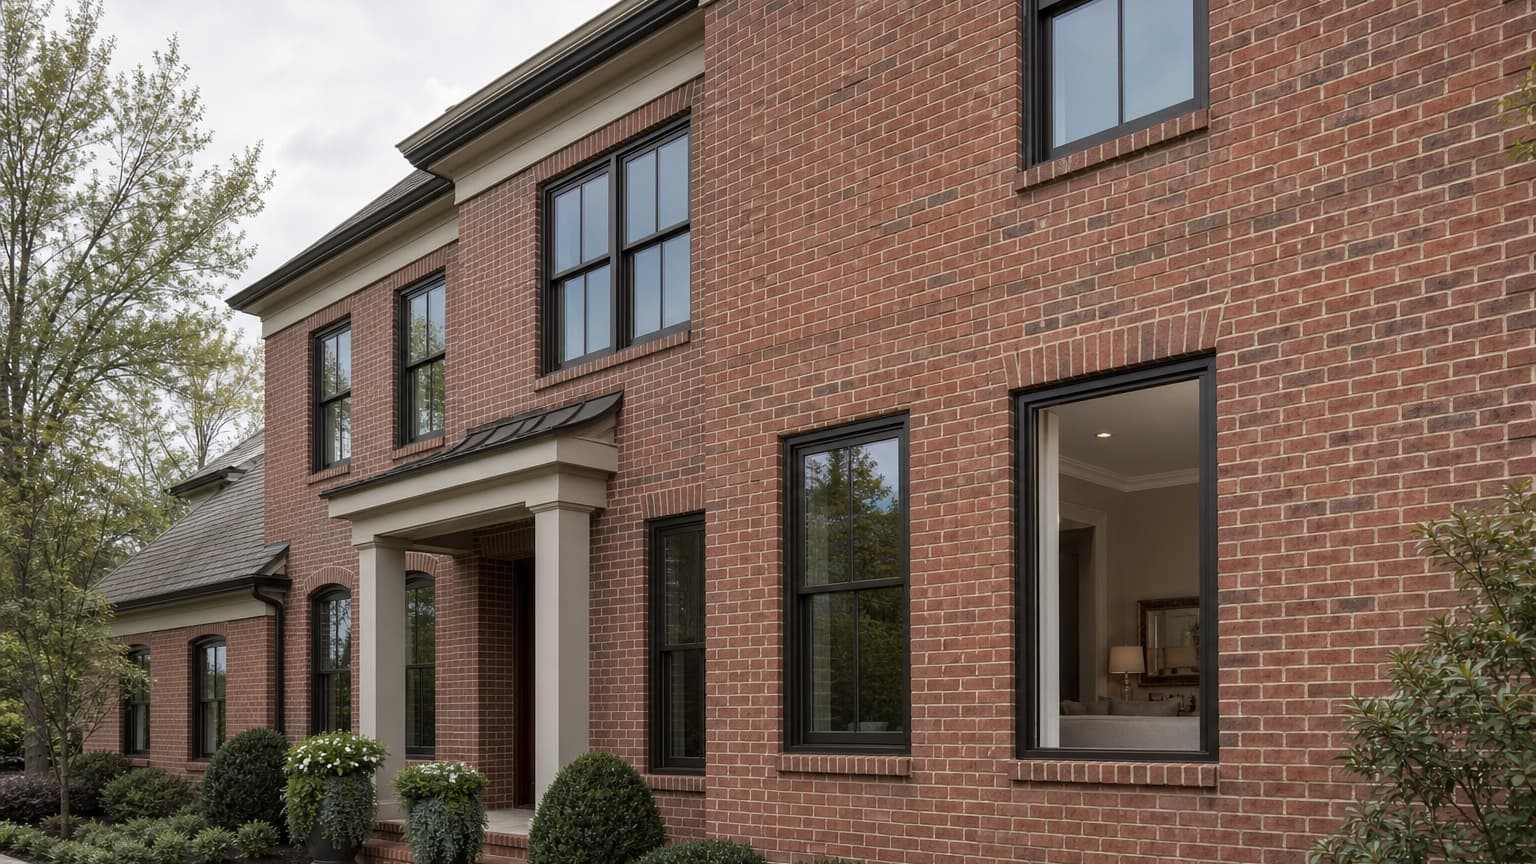
Whole-house window replacement with new exterior trim and finished interior returns
Completed March 2025
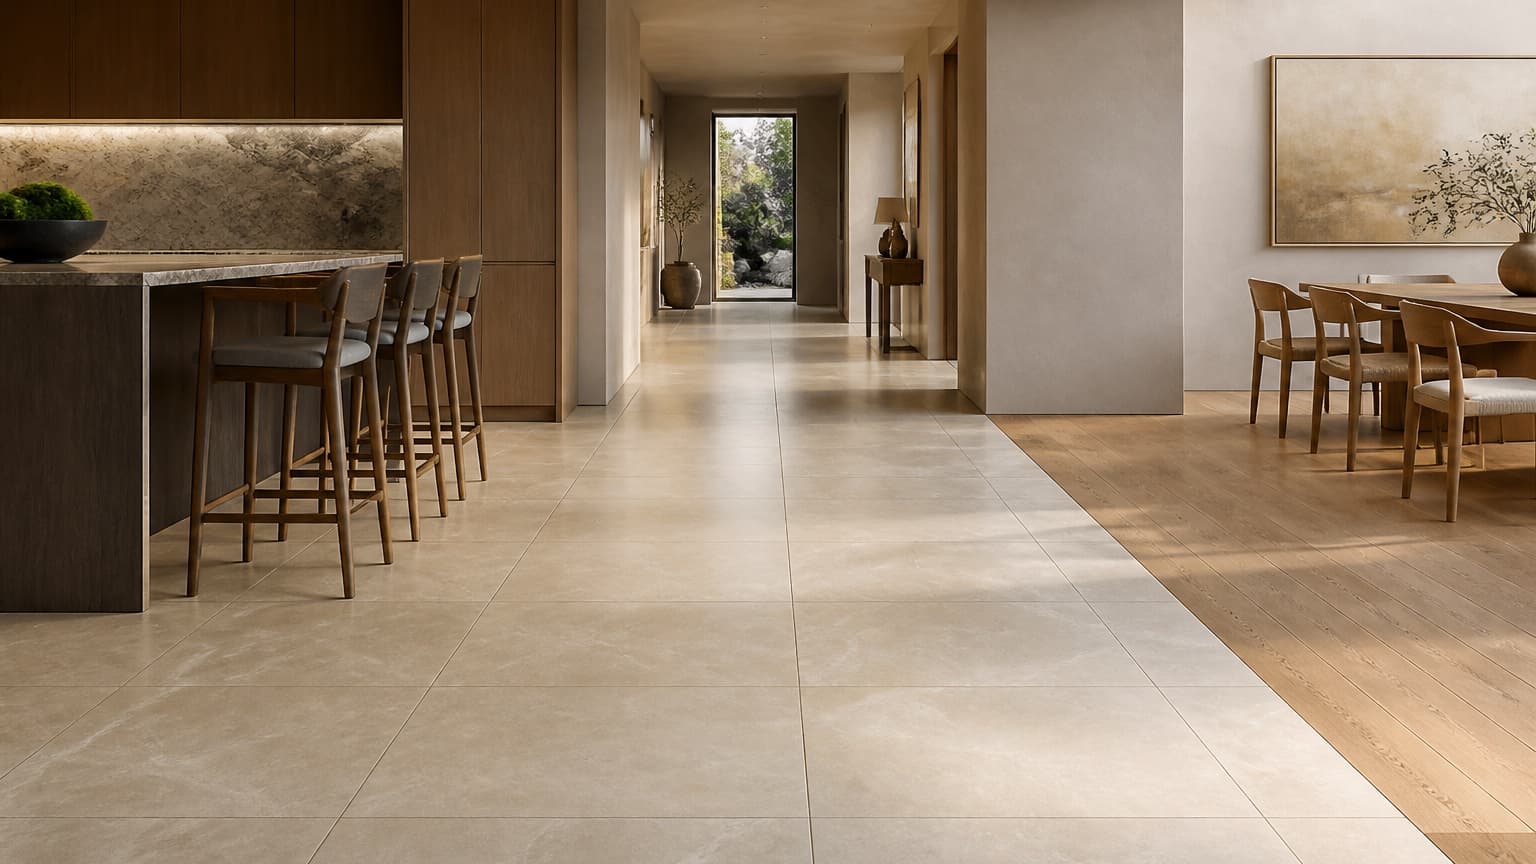
Large-format porcelain flooring with electric underfloor heating across kitchen, dining, and hall
Completed February 2025
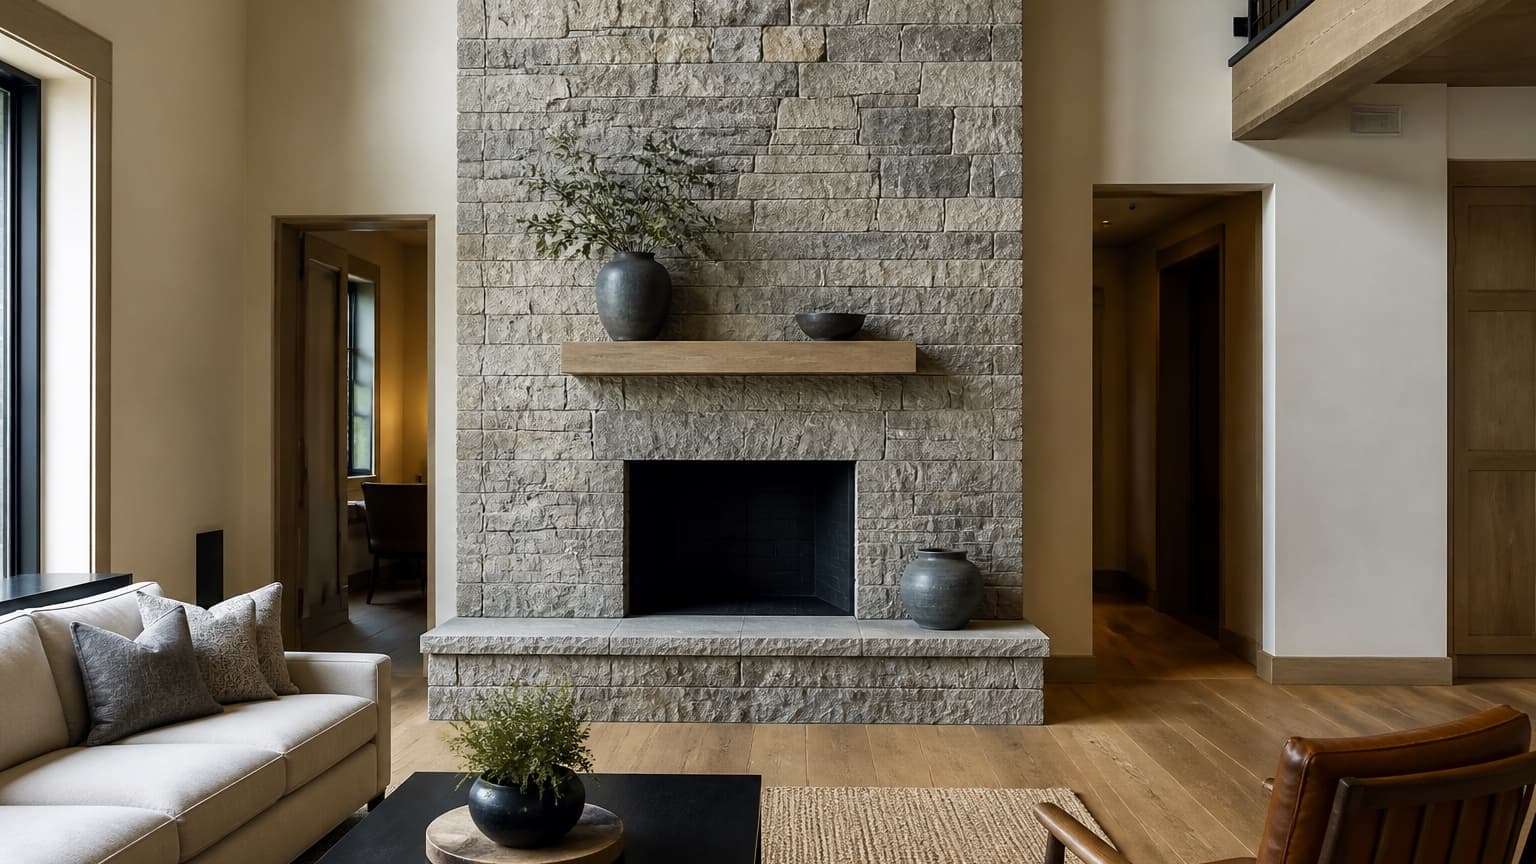
Full-height fireplace surround in split-face stone with a solid hearth
Completed November 2024
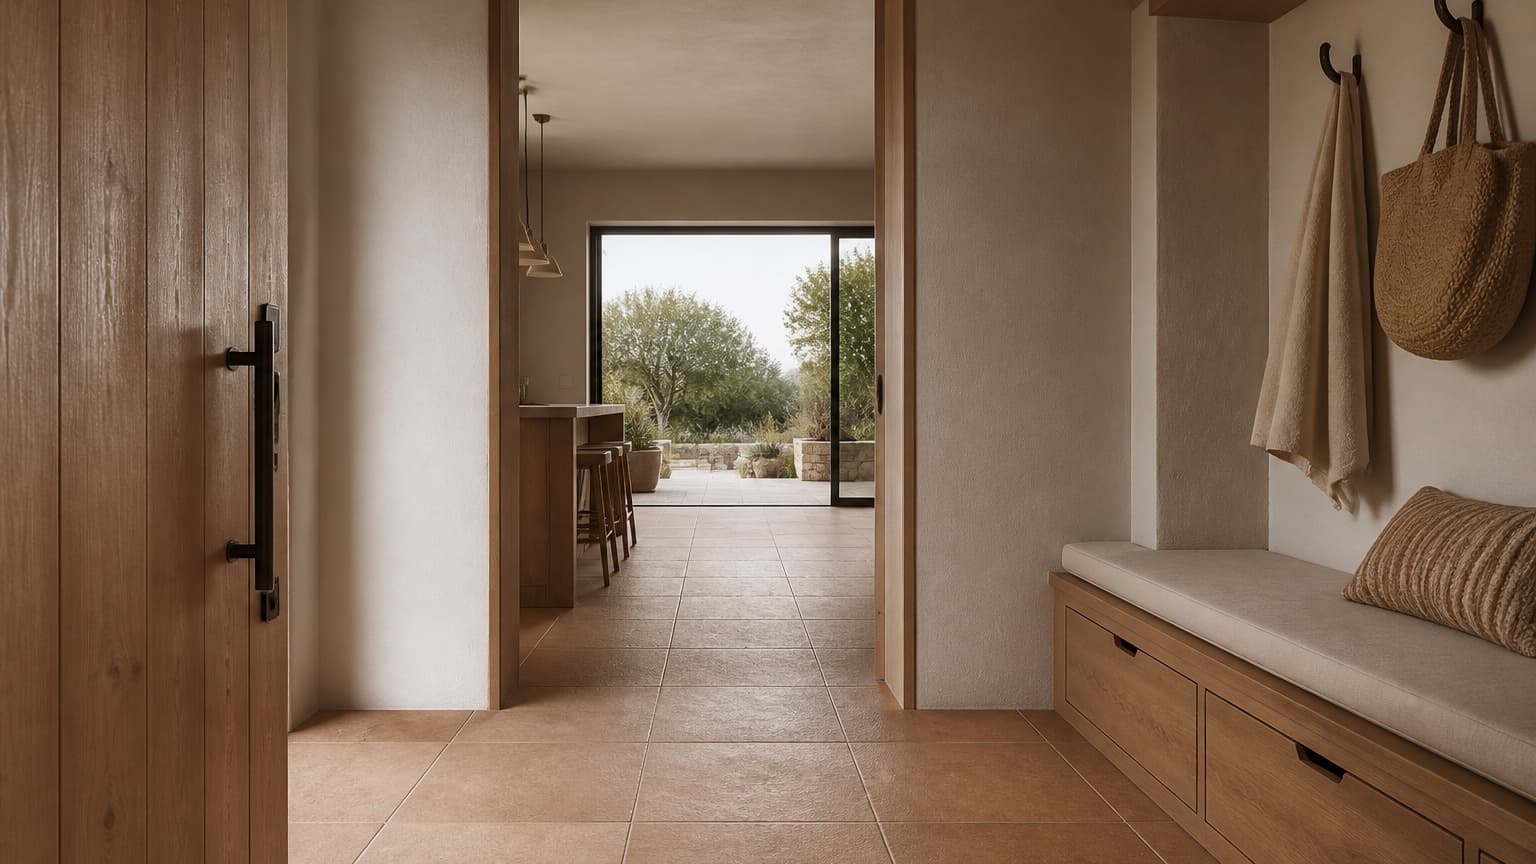
Entry and mudroom flooring in large terracotta-toned porcelain with a built-in bench
Completed September 2024
Before and after
We photograph from a fixed position before work starts so the comparison is honest. Drag the handle, or use the arrow keys.
Tub-to-shower conversion, Herndon
Same footprint, same camera position. The bench sits where the tub's far wall used to be.
What we do
Tile and bathrooms are the centre of the business. Kitchens, flooring, and window and door replacement are work we do well alongside them.
Porcelain, marble, limestone, slate, and mosaic. Large-format expertise, mitred details, and layout planned before the first cut.
Complete renovation, custom and curbless showers, tub conversions, heated floors, and accessibility planned in from the start.
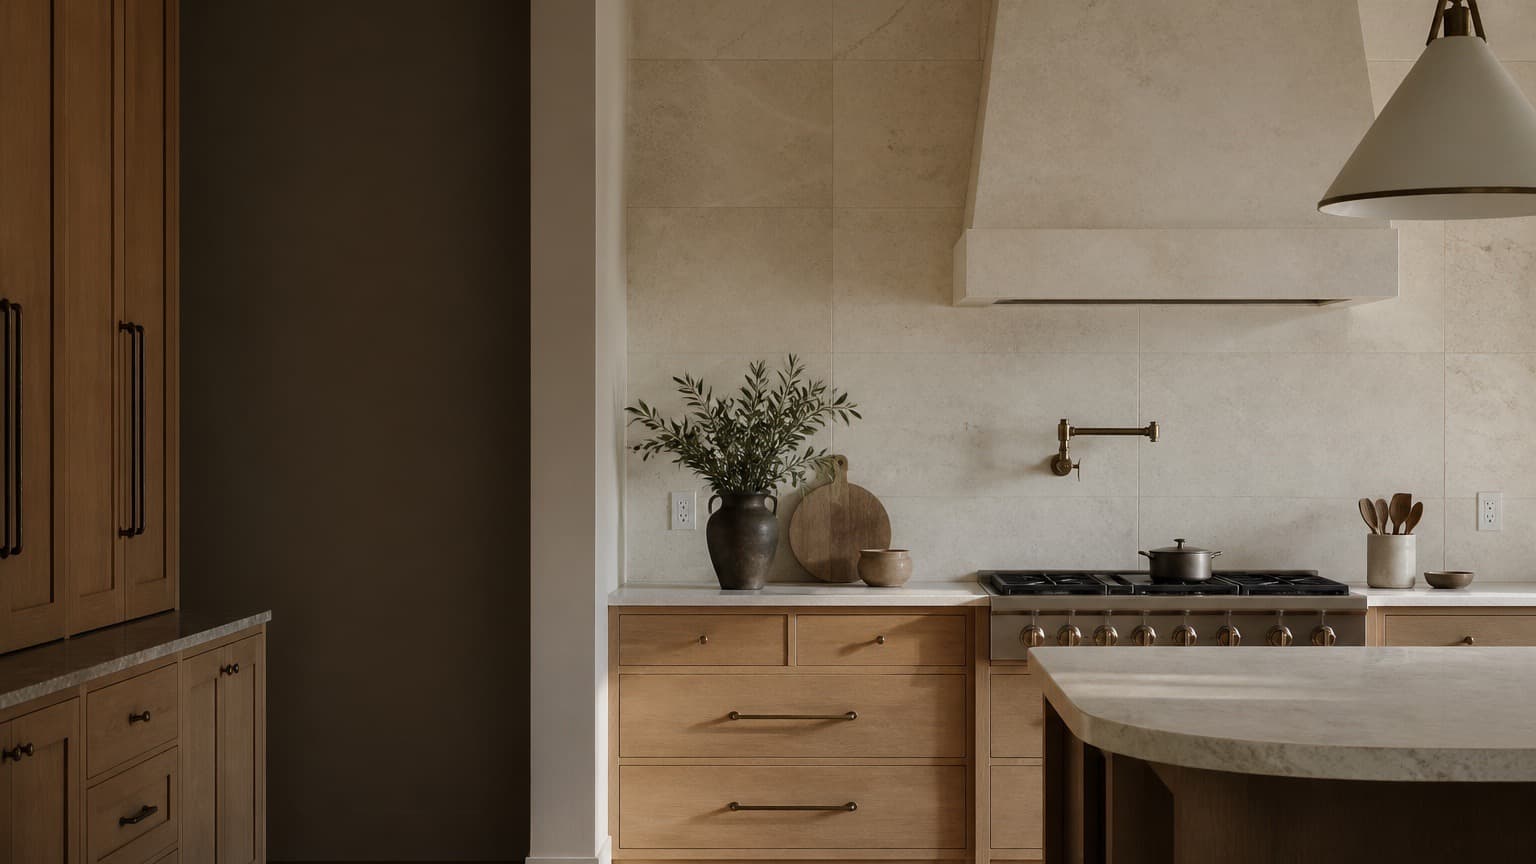
Backsplashes, floors, and feature walls, with outlets and hoods worked into the layout rather than cut around.
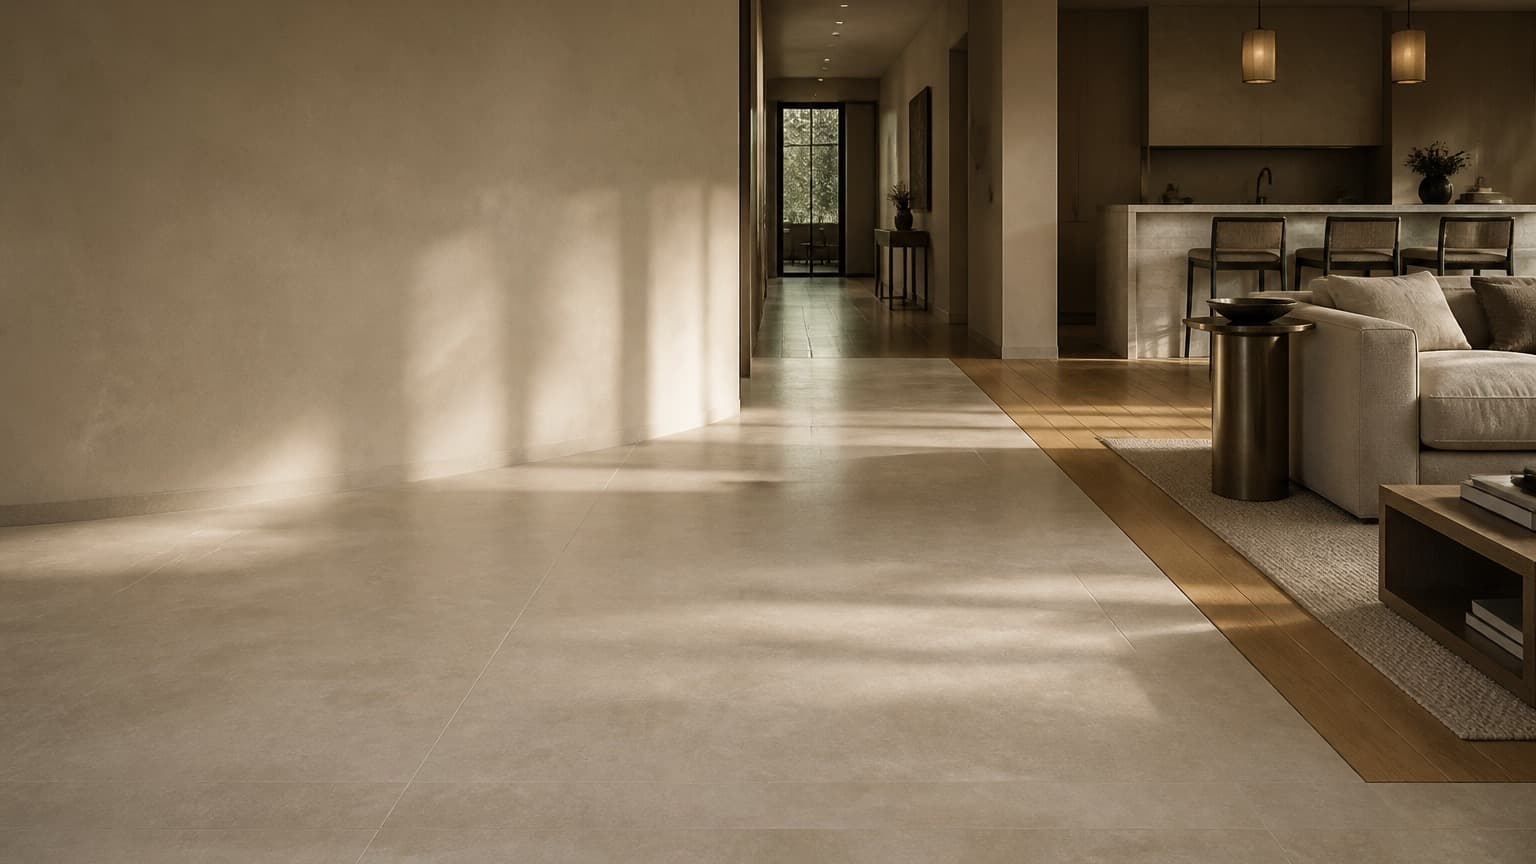
Tile, stone, and resilient flooring over subfloors that have been surveyed, levelled, and stiffened where needed.
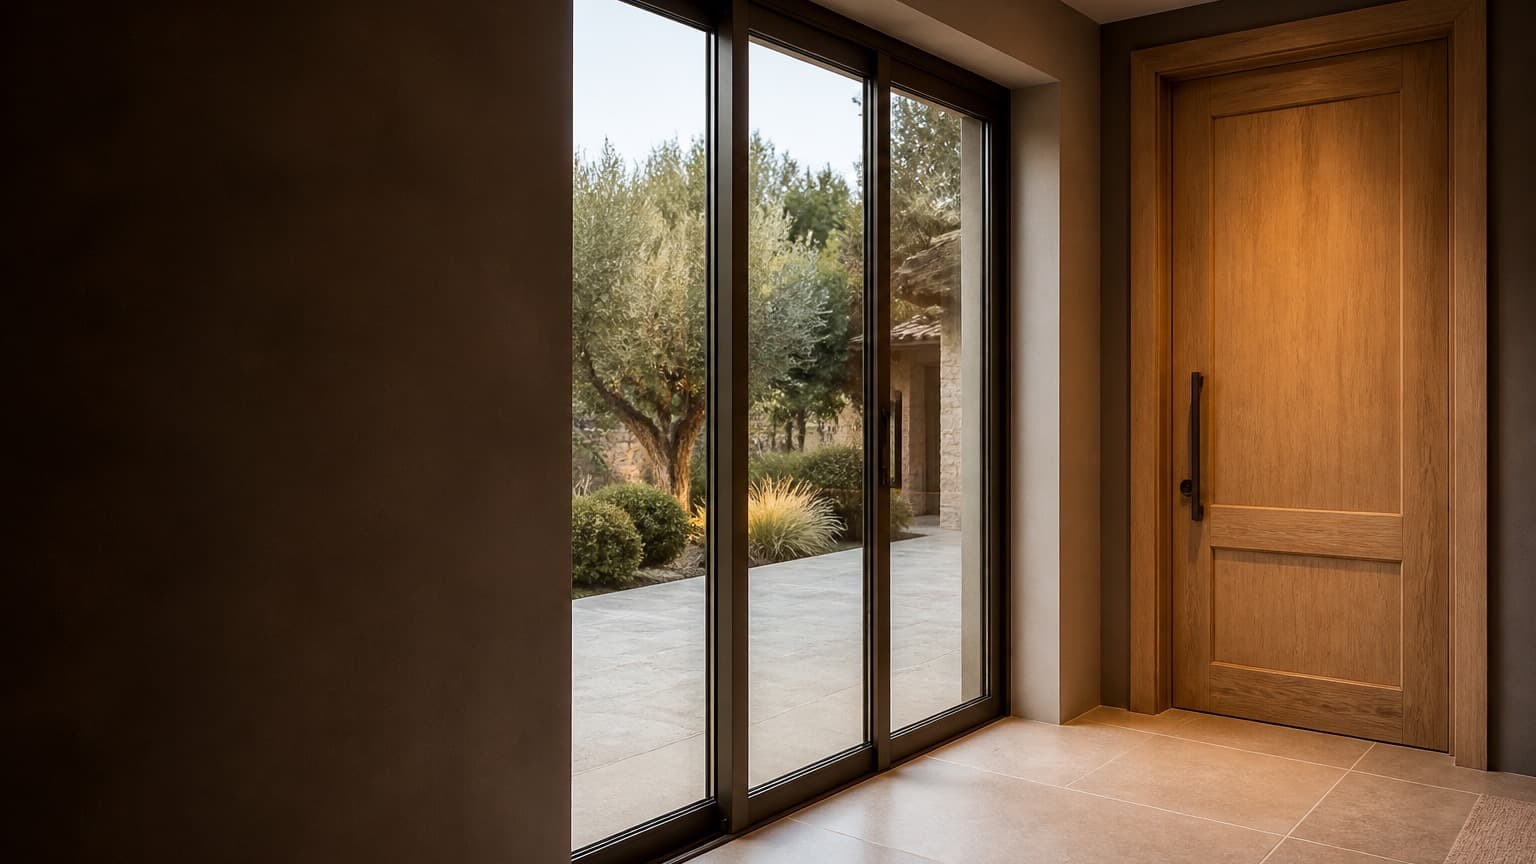
Replacement windows, entry doors, and patio doors, installed with correct flashing and finished cleanly inside and out.
Not sure which of these your project needs? Describe the room and we will tell you.
Request an EstimateWindow and door work is a genuine part of what we do, but it sits alongside the tile and bathroom work rather than in front of it. If that is all you need, say so and we will treat it as its own project.
How a project runs
Most renovation frustration comes from not knowing what happens next. The sequence below is the same on every project, and you get the schedule in writing before anything is demolished.
You describe the room and what you want from it. We tell you honestly whether it is something we should be doing, and roughly what it involves.
An on-site visit: measurements, substrate condition, floor deflection, drainage, ventilation, and what is realistically achievable in the space you have.
Layout options, formats, and materials, with full-size samples to look at in the actual room light rather than under showroom lighting.
A written scope with the preparation work itemised rather than buried, a staged payment schedule, and a realistic sequence.
Material ordered and delivered before demolition begins. Site protection, dust containment, and access agreed with you in advance.
Demolition, structural and service work, waterproofing, tile, and finishing — with progress photographs of everything that will be hidden.
Joints, plane, slope, sealant lines, and fixture operation checked before we call anything finished. Flood tests where the assembly calls for one.
A walkthrough, an outstanding-items list if there is one, and written care instructions for the specific materials installed.
Materials
Tile, stone, membranes, drains, mortars, trims, and heating. Buy the material on its own, or have us install it — and ask before you order if you are not sure a product suits your project.
Polyethylene composite
Sheet membrane for shower walls, pans, and wet rooms
From $39per roll
In stockLimestone
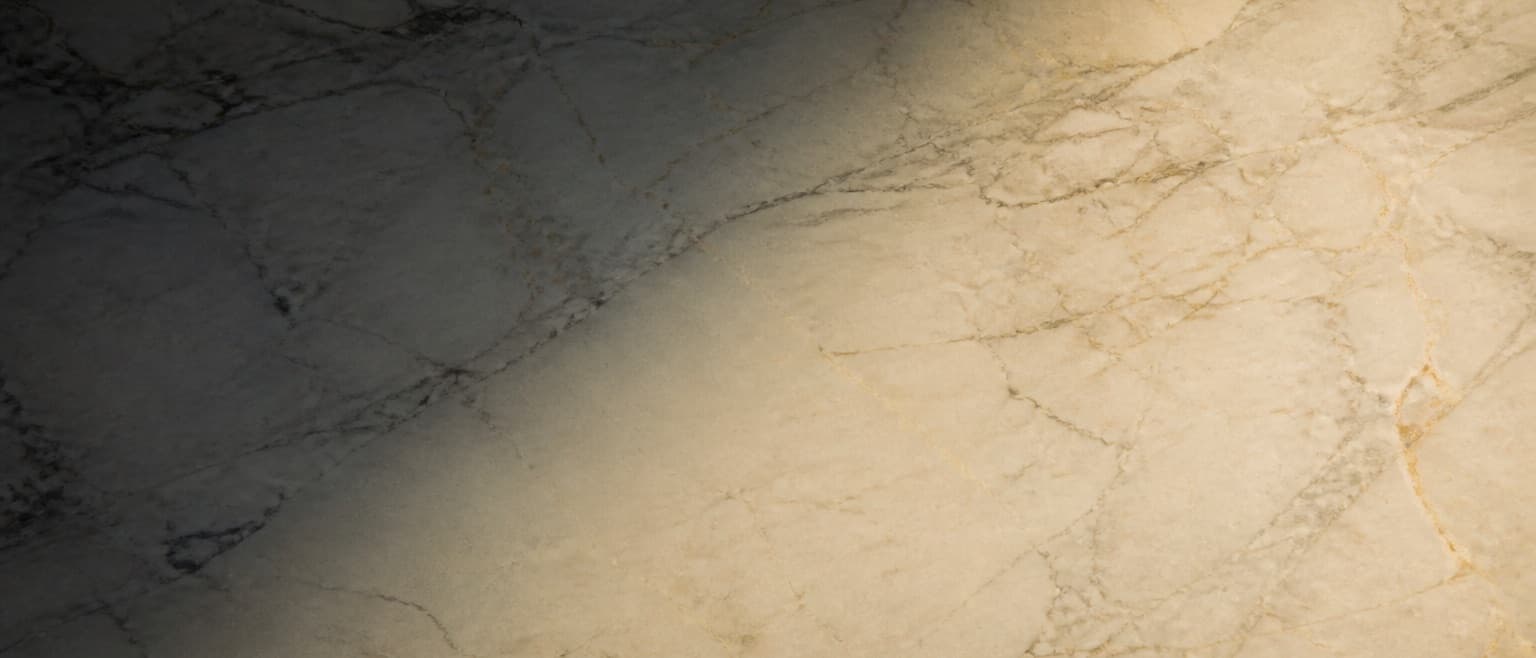
Pale sand limestone with a lightly brushed surface
From $10.90per sq ft
In stockMarble
Classic grey-veined marble, honed, for walls and light-traffic floors
From $12.90per sq ft
In stockPorcelain
Stone-look porcelain in slab formats, matt finish, rectified edges
From $8.99per sq ft
In stockAlso from us
A well-specified unit fitted without a sill pan, without air sealing, or out of square will underperform a modest unit fitted properly. We measure every opening individually, install to the flashing sequence the assembly requires, and finish both the interior return and the exterior trim.
Measured, ordered, and installed with correct flashing, insulation, and sealing, then finished cleanly inside and out.
Exterior door replacement including threshold, sill pan, weatherproofing, hardware, and interior casing.
Sliding and hinged patio doors, including structural opening preparation and finished interior returns.
Interior door replacement, including hanging, hardware, and casing.
Written standards
These are commitments about how we work, not awards or slogans. Every one of them is something you can check while the job is happening.
Walls and floors are surveyed for plane and flatness before any tile is ordered. Where they fall outside what the format requires, they are corrected — and the correction appears in the proposal rather than as a surprise.
Bonded membrane, banded corners, collars at every penetration, and a flange integrated with the drain. Where the assembly allows it, pans are flood-tested before tile goes on.
We dry-lay, mark centre lines, and show you where the cuts will fall. If the pattern has to make a compromise somewhere, you decide where.
Floor protection, dust containment, and a tidy site at the end of each day. The rooms we are not working in should not know we are there.
When something unexpected appears behind a wall, work stops, it gets photographed, and you get the options and the cost implication before anything is closed up.
Progress photographs of substrate, waterproofing, and services are taken before they disappear behind the finish, and handed over at completion.
Journal
What is behind the tile, how to choose between materials, and what a realistic schedule looks like. No filler, and nothing written for a search engine.
Tile is not waterproof and neither is grout. The layer that keeps water out of your building sits underneath both, and it is the part you will never see.
Modern porcelain imitates stone convincingly enough that the decision is rarely about appearance. It is about maintenance, tolerance for change, and where the material is going.
A flush shower entry is one of the best decisions available in a bathroom renovation, and one of the hardest to add late. Here is what has to be true for it to work.
Start a project
Send measurements, photographs, a plan, or just a description. We will tell you what is realistic, what it involves, and what it is likely to cost.
Have photographs or a drawing? Upload them with your request — it usually saves a visit.