Fireplaces · Tile & Stone
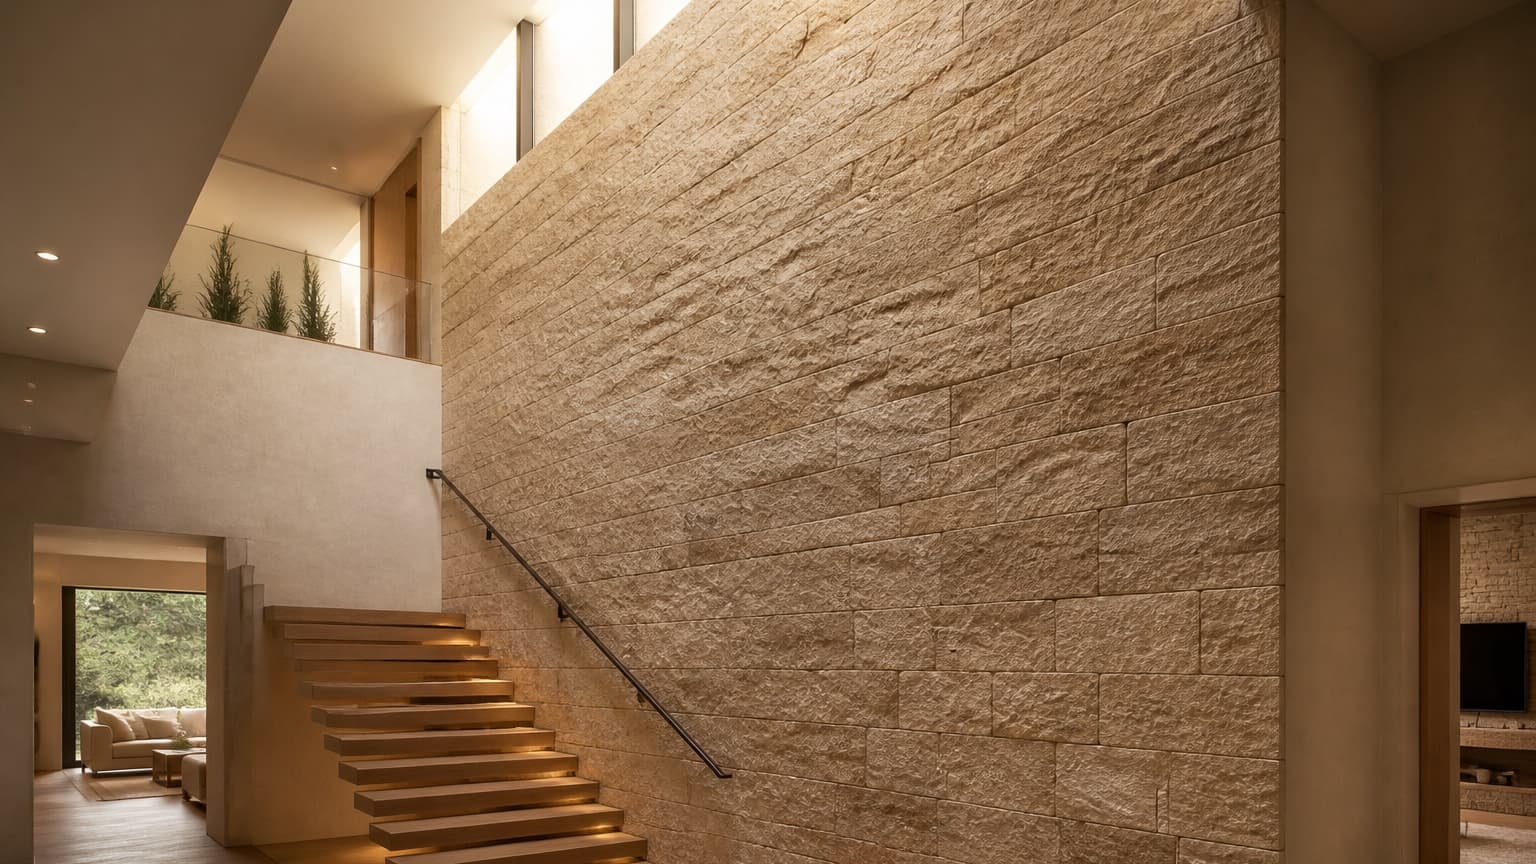
Floor-to-ceiling split-face stone surround
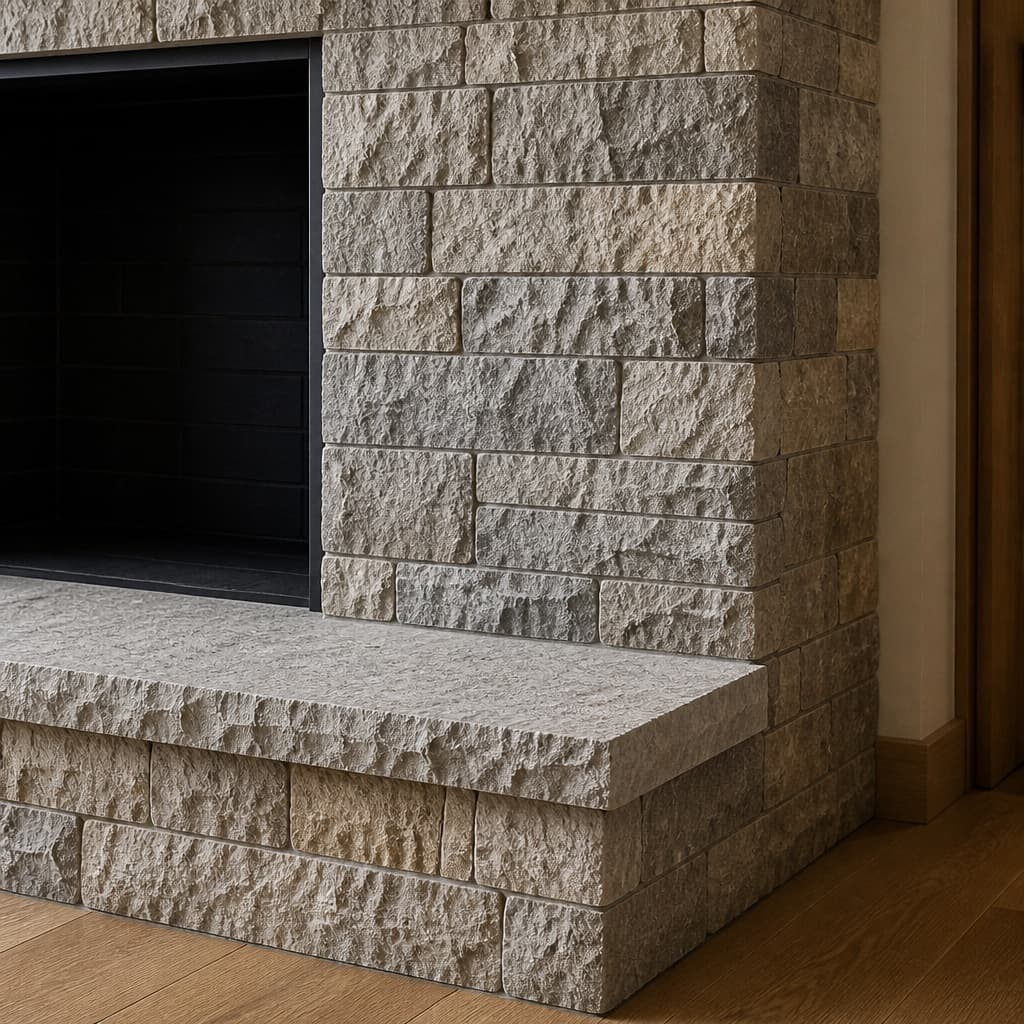
Full-height fireplace surround in split-face stone with a solid hearth
- Location
- Great Falls, VA
- Completed
- November 2024
- Duration
- 3 days + 5 days + 2 days
- Category
- Fireplaces
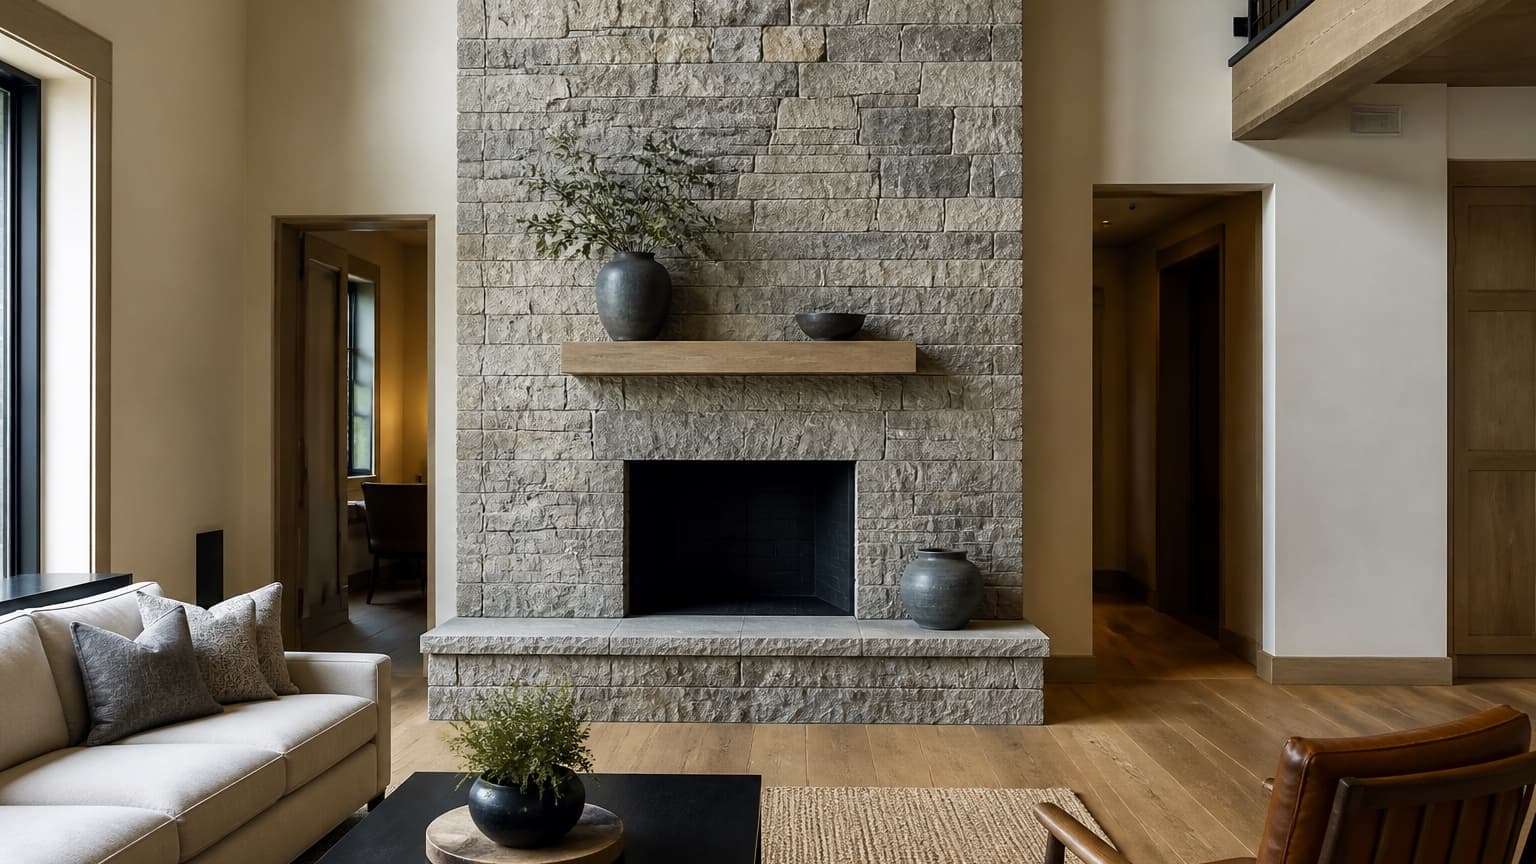
Representative concept image — not a customer project photograph
Representative project.This record describes the scope, materials, and construction method of work we carry out. It is not a specific customer’s completed job, and the photography has not been shot yet. Ask to see finished work in person.
Overview
A 3.4 metre surround clad in split-face stone, built out from the existing wall on a non-combustible substrate with clearances taken from the appliance's own documentation.
Split-face material hides very little. Courses have to stay level over the full height or the eye reads the drift immediately from across the room.
What the owners wanted
- A single vertical gesture in a double-height room
- Depth and shadow rather than pattern
- Correct clearances for the installed appliance
Services performed
- Fireplace surround construction
- Non-combustible substrate installation
- Split-face stone cladding
- Mitred stone returns
Materials used
- Cladding
- Split-face slate panels
- Substrate
- Non-combustible backer board on a re-plumbed frame
Existing conditions
What we found
- Painted drywall surround with a projecting timber mantel
- Wall out of plumb by 14 mm over the full height
Design direction
The decisions that shaped it
- Split-face stone in a single tone, letting shadow supply the variation
- Mitred returns at the opening so no edge shows a substrate
- Solid stone hearth cantilevered from the base
Problem solving
What had to be worked out
Challenges
- The wall was out of plumb, which would have twisted the courses over the full height.
- Clearance requirements limited how close the cladding could come to the opening.
How they were solved
- A new frame was set plumb in front of the existing wall, then sheathed in non-combustible board.
- Clearances were taken from the appliance documentation and confirmed before the substrate was closed up.
How it was built
Construction sequence
- 01
Assessment
Confirm appliance clearances and survey the existing wall.
- 02
Framing
Build a plumb frame and sheath in non-combustible board.
- 03
Cladding
Set courses from a laser datum, mitre the returns.
- 04
Hearth
Install and support the solid hearth.
Timeline on site
- Framing and substrate
- 3 days
- Stone installation
- 5 days
- Hearth and finishing
- 2 days
Working days on site, excluding material lead times and the days between trades.
Finished
The completed room