Windows
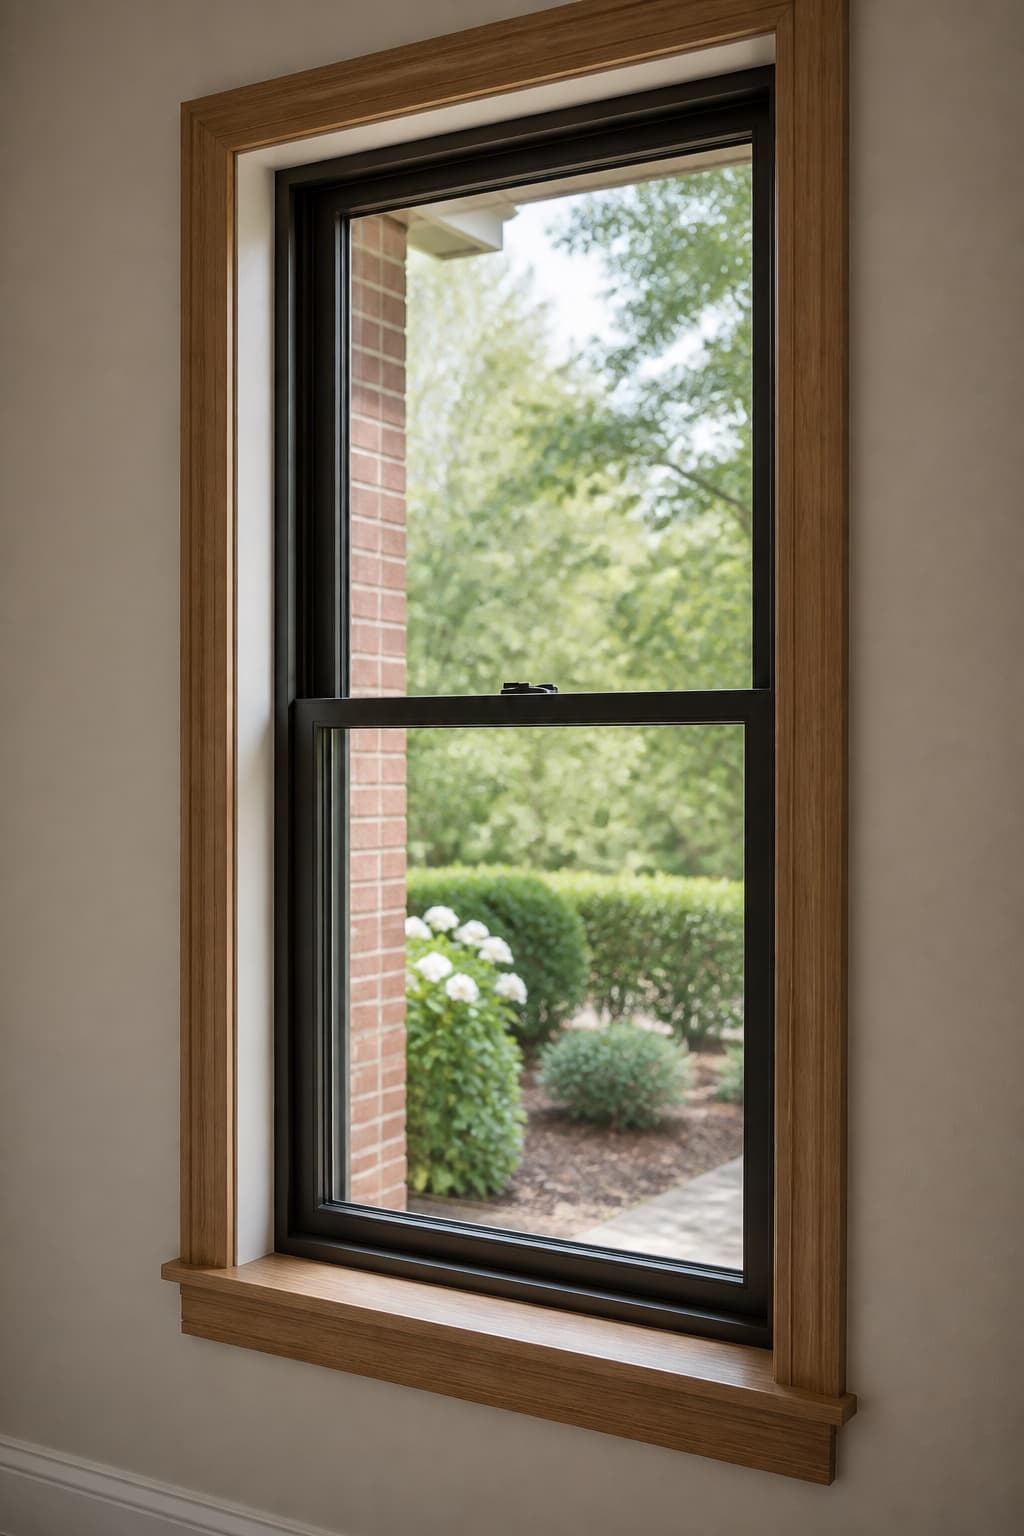
Replacement windows in a brick facade
Whole-house window replacement with new exterior trim and finished interior returns
- Location
- Alexandria, VA
- Completed
- March 2025
- Duration
- 1 day on site + 6 days + 4 days
- Category
- Windows
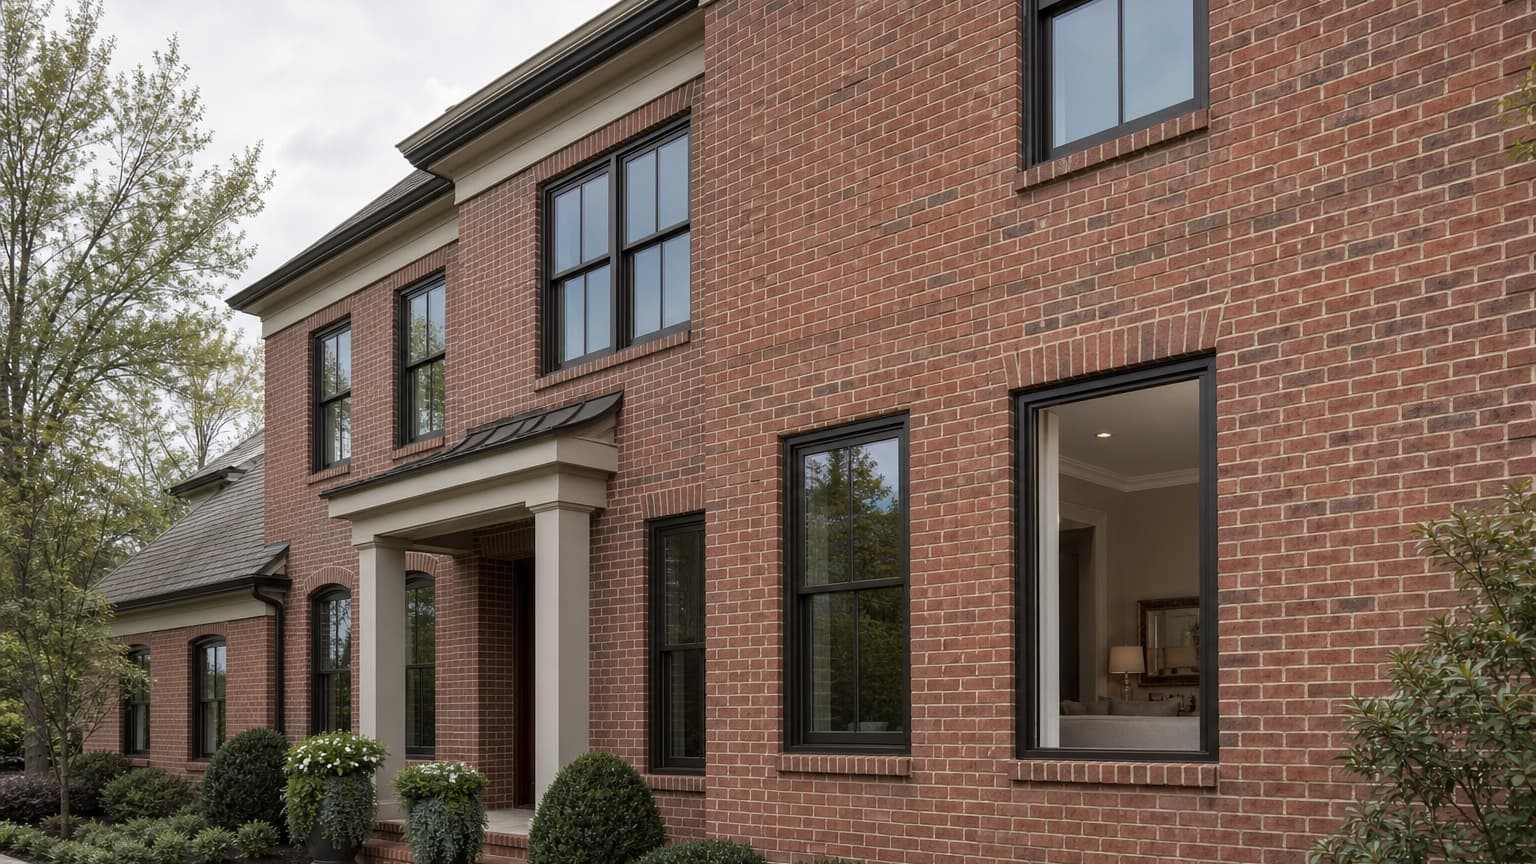
Representative concept image — not a customer project photograph
Representative project.This record describes the scope, materials, and construction method of work we carry out. It is not a specific customer’s completed job, and the photography has not been shot yet. Ask to see finished work in person.
Overview
Fourteen windows replaced across a brick facade, with the exterior trim renewed and every interior return re-finished rather than patched.
Most of the value in a window replacement is invisible from either side: the sill pan, the flashing sequence, the air seal, and the shimming that keeps the unit square.
What the owners wanted
- Replace units that were no longer sealing
- Keep the character of the facade
- Finish the interiors properly rather than caulking a gap
Services performed
- Window measurement and ordering
- Removal and disposal
- Installation, flashing, and air sealing
- Exterior trim
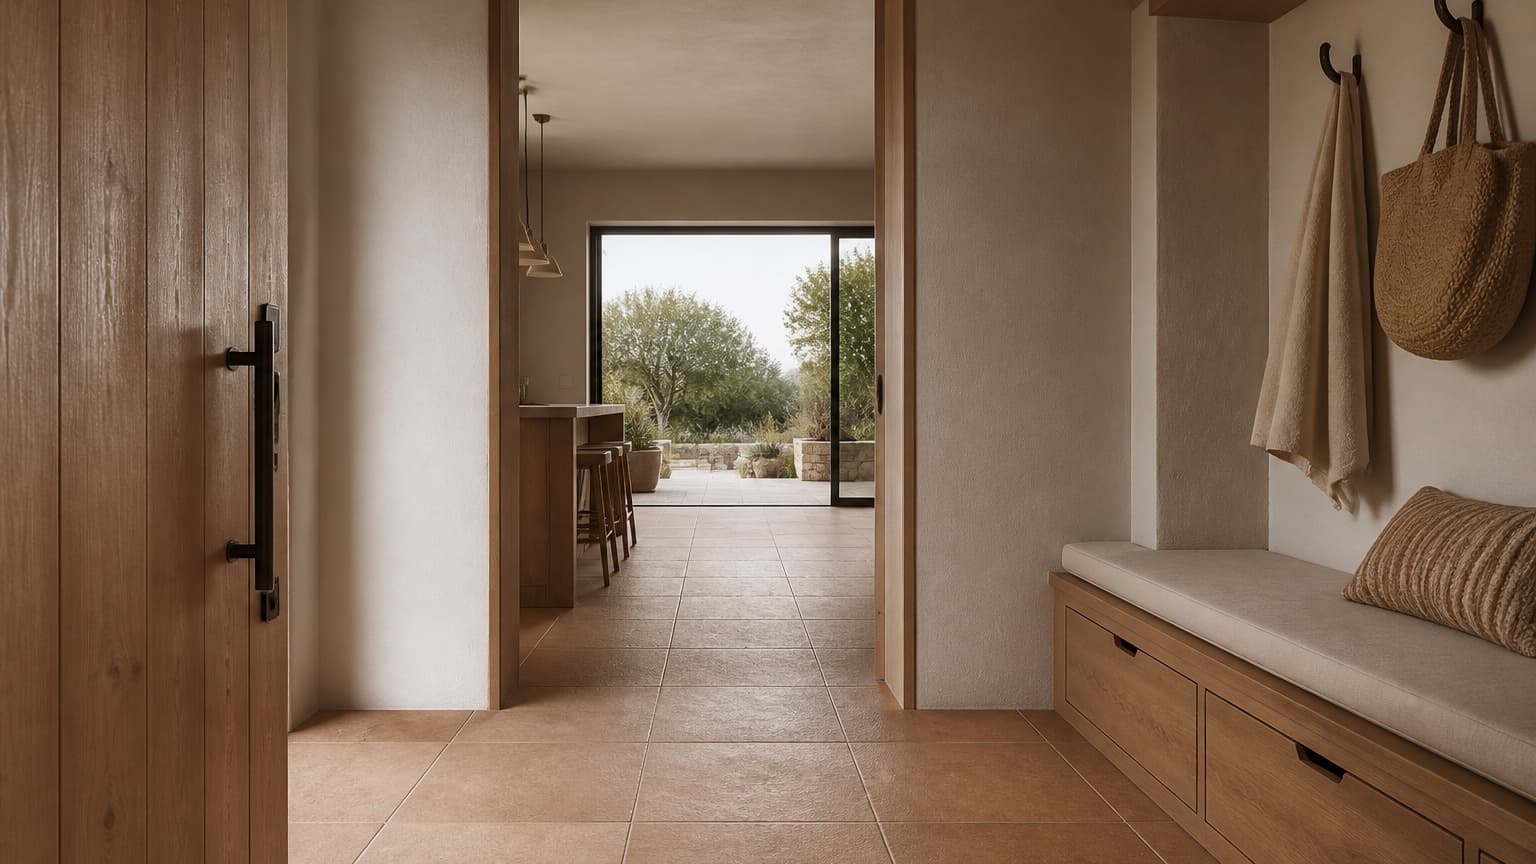
- Interior returns and casing
Materials used
- Exterior
- New trim, flashing, and sealant
Existing conditions
What we found
- Original units with failed seals and rotted exterior trim
- Interior returns previously patched with several different profiles
Design direction
The decisions that shaped it
- Match the existing sightlines and divided-lite arrangement
- One consistent interior casing profile throughout
Problem solving
What had to be worked out
Challenges
- Brick openings vary. Every opening had to be measured individually rather than ordered as a set.
- Two openings had concealed water damage that was only visible once the old units came out.
How they were solved
- Each opening was measured and recorded separately, and units were ordered against that schedule.
- The damaged framing was repaired and documented with photographs before the new units went in.
How it was built
Construction sequence
- 01
Survey
Measure and schedule every opening individually.
- 02
Removal
One elevation at a time so the house is never widely open.
- 03
Installation
Sill pan, flashing sequence, shim square, air seal.
- 04
Finishing
Exterior trim, interior returns, casing, and paint preparation.
Timeline on site
- Survey and ordering
- 1 day on site
- Installation
- 6 days
- Trim and finishing
- 4 days
Working days on site, excluding material lead times and the days between trades.
Finished
The completed room