Bathrooms · Showers · Tile & Stone · Flooring
Curbless primary bath in large-format porcelain
Full bathroom renovation with a curbless shower and heated stone-look floor
- Location
- Leesburg, VA
- Completed
- September 2025
- Duration
- 2 days + 4 days + 2 days + 6 days + 4 days
- Category
- Bathrooms
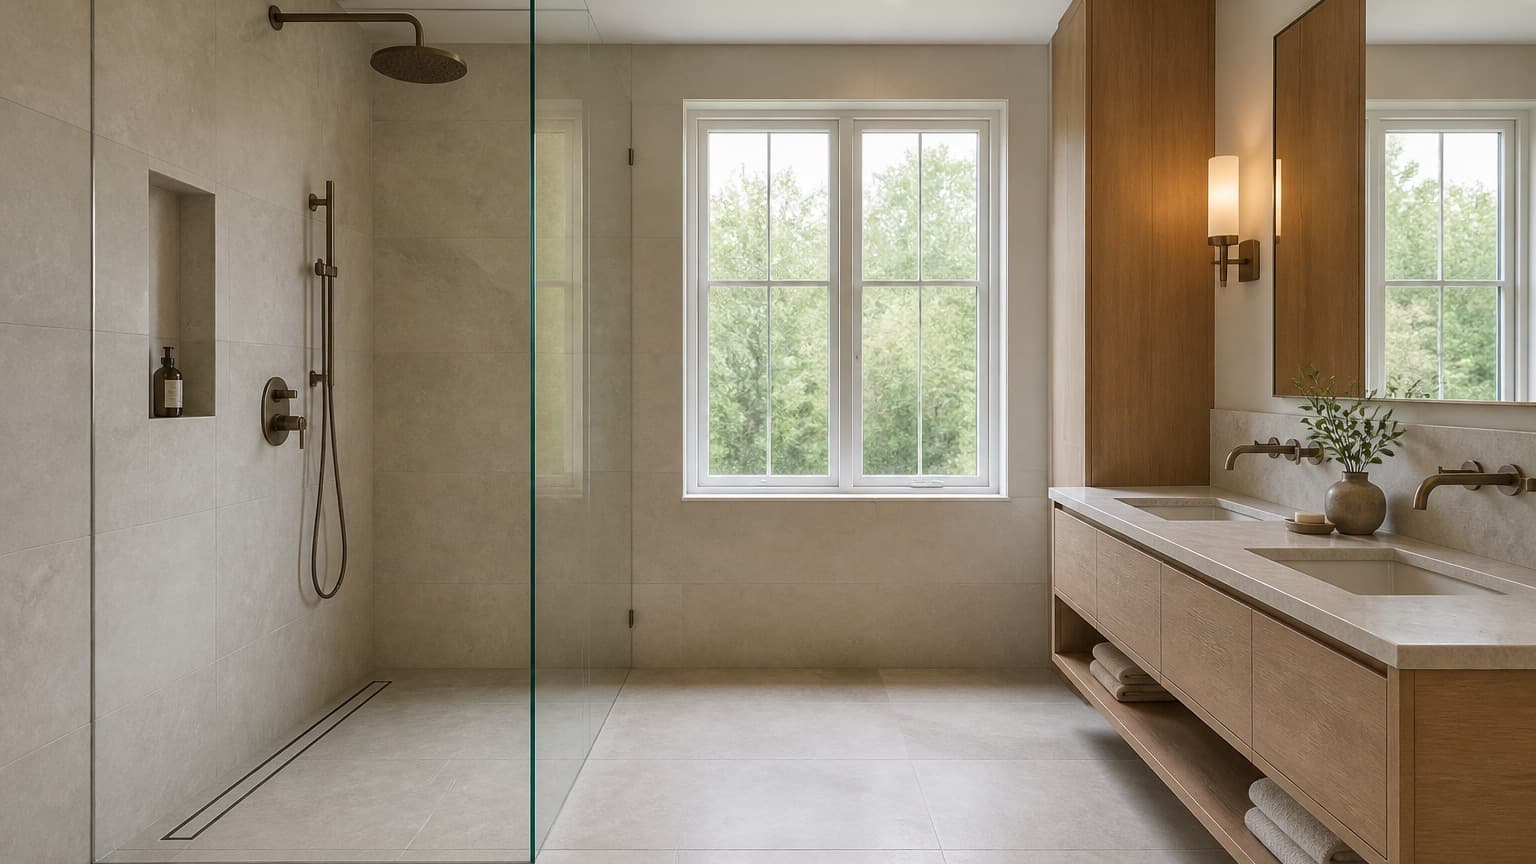
Representative concept image — not a customer project photograph
Representative project.This record describes the scope, materials, and construction method of work we carry out. It is not a specific customer’s completed job, and the photography has not been shot yet. Ask to see finished work in person.
Overview
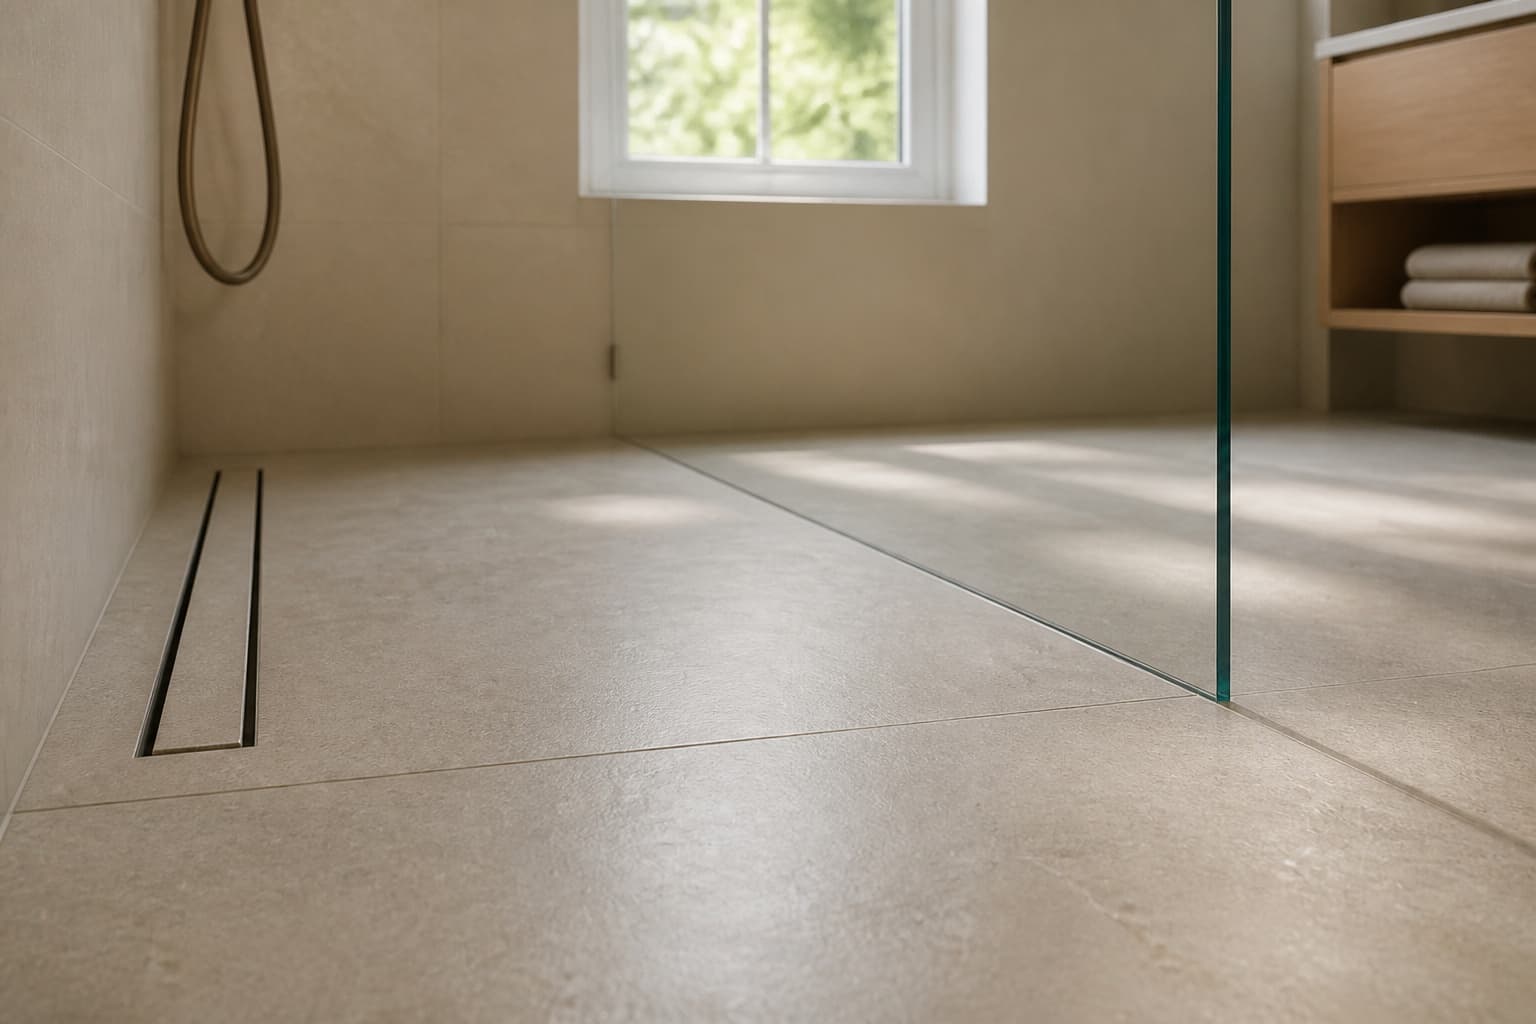
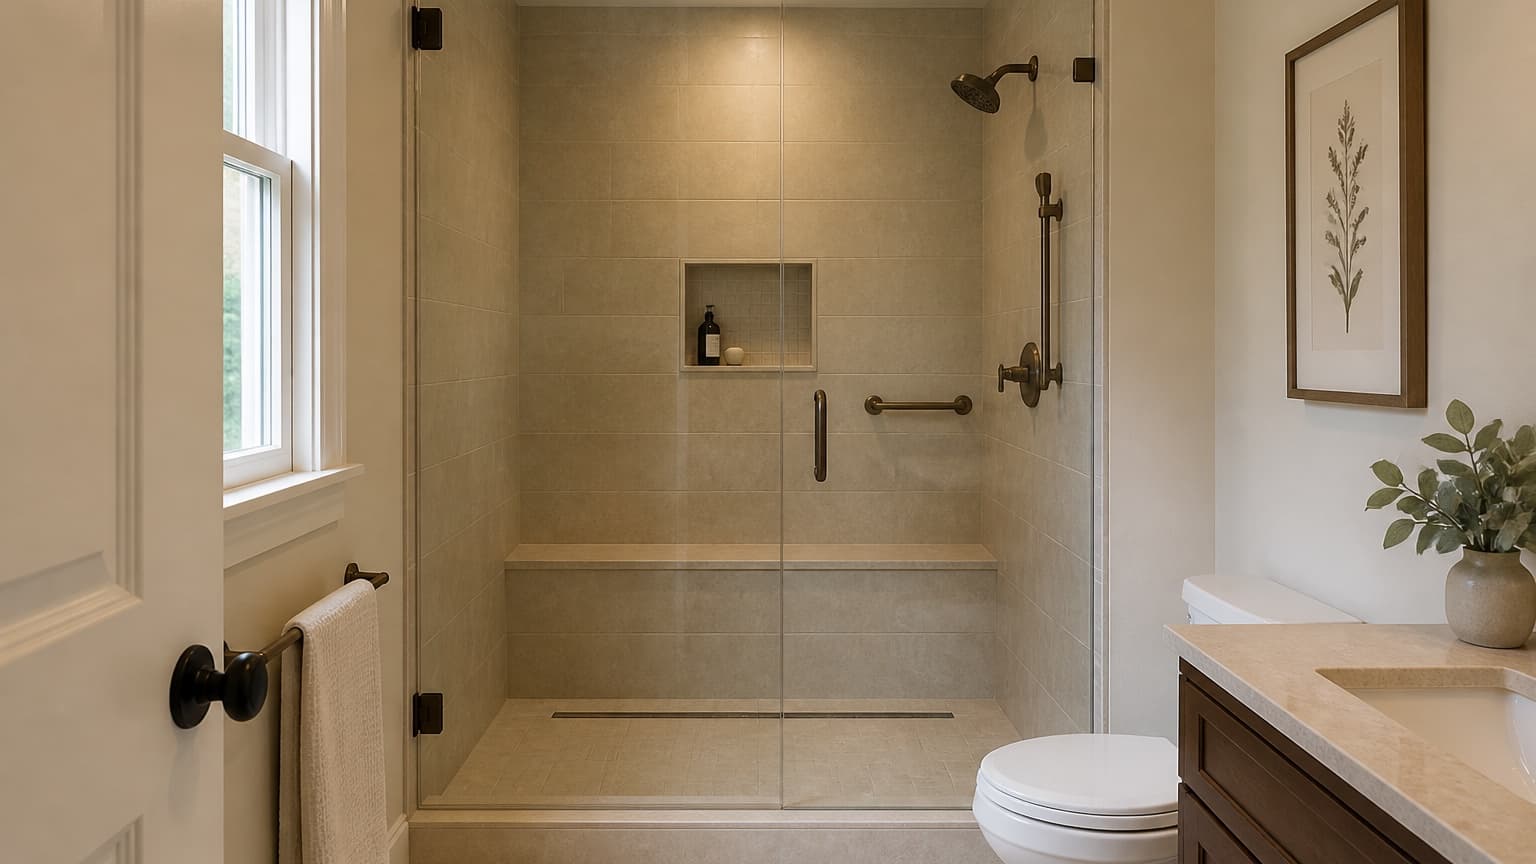
A dated primary bathroom with a built-in tub was rebuilt as a single open wet room. The shower entry is flush with the rest of the floor, which makes a small room read as a much larger one and removes the only real obstacle in the space.
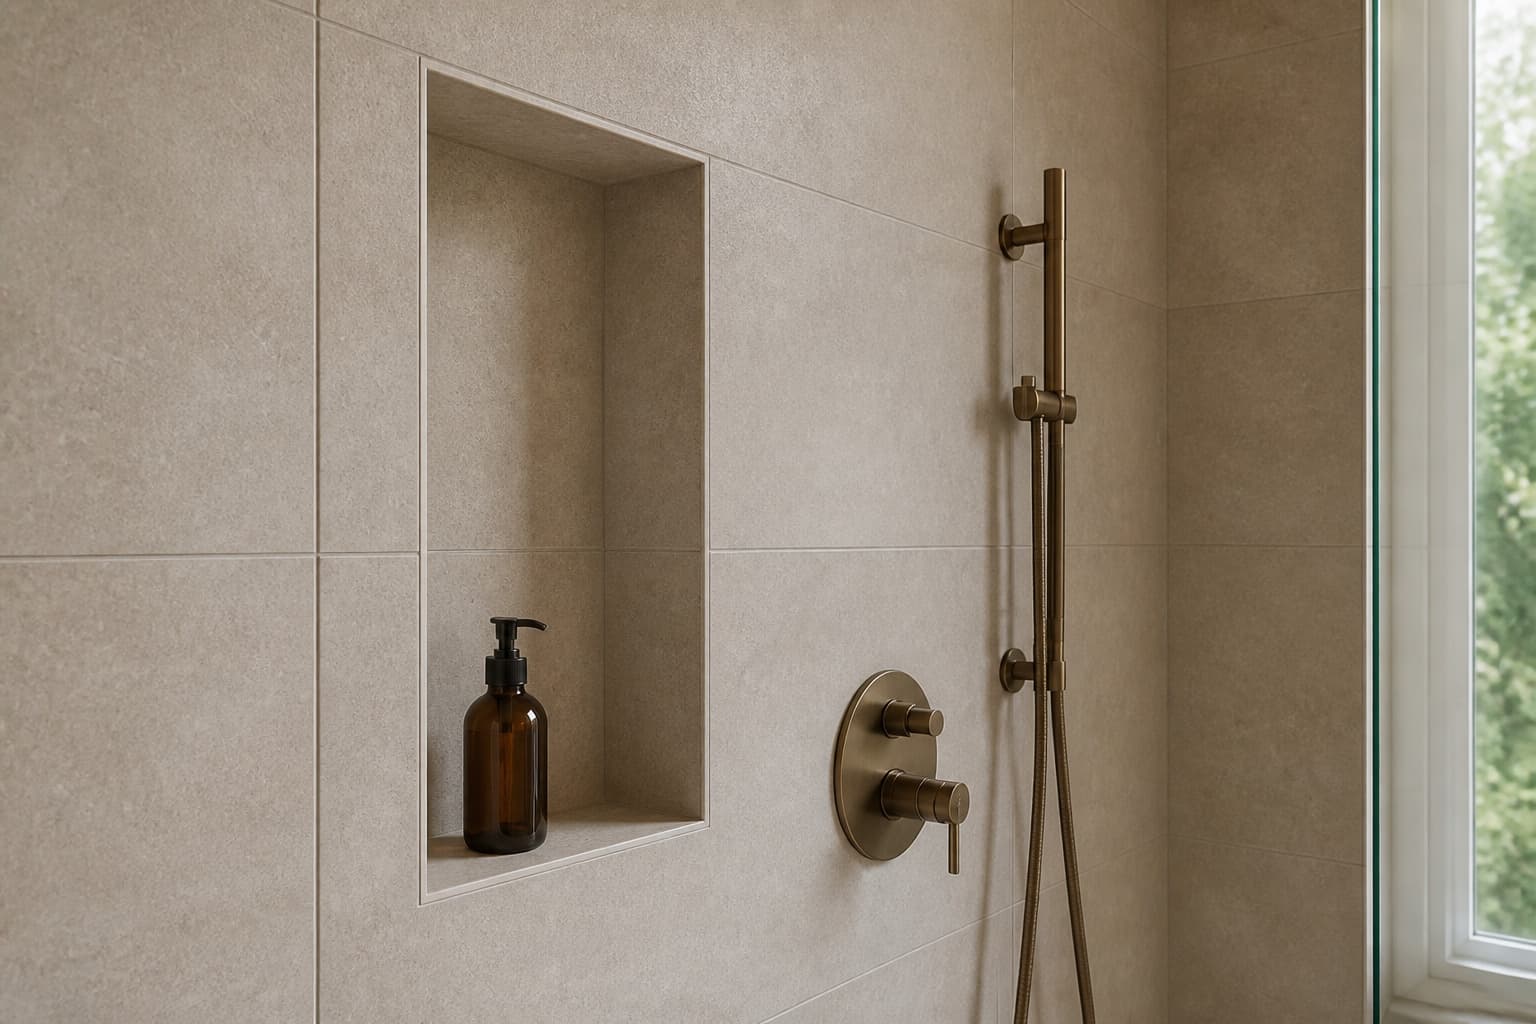
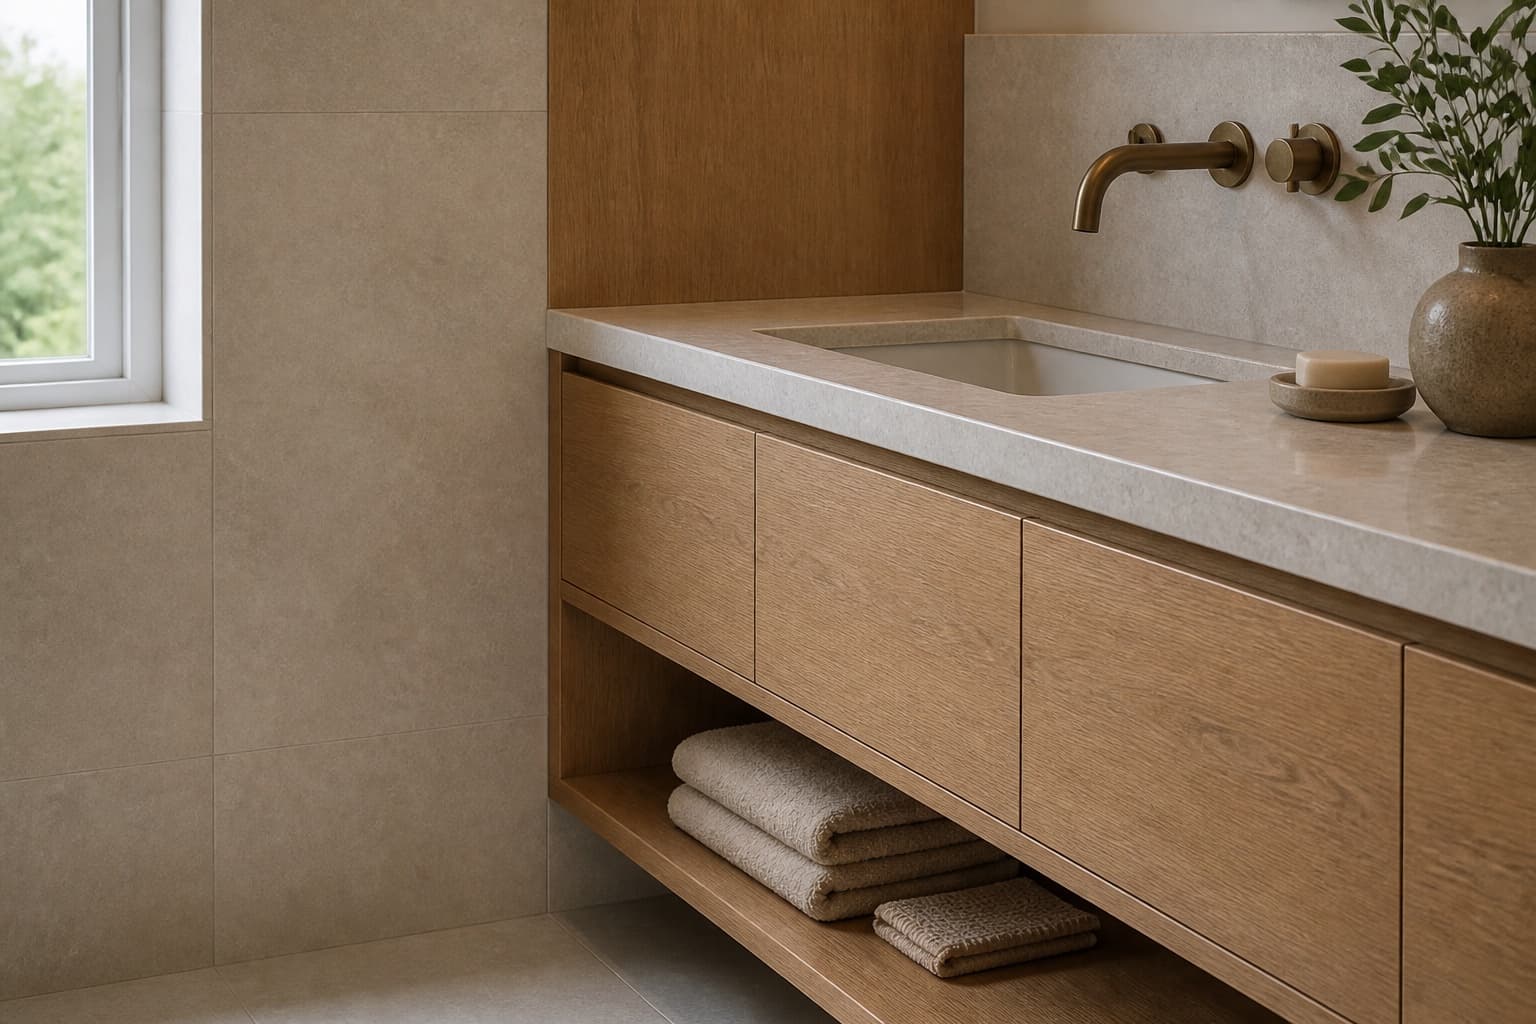
The material palette is deliberately narrow: one large-format stone-look porcelain on the walls and floor, one metal finish, and one timber tone at the vanity. Restricting the palette is what allows a compact room to feel calm rather than busy.
What the owners wanted
- Remove the tub, which had not been used in years
- Make the room feel larger without moving walls
- Warm floor underfoot in winter
- A shower that is easy to clean and easy to enter
Services performed
- Full bathroom renovation
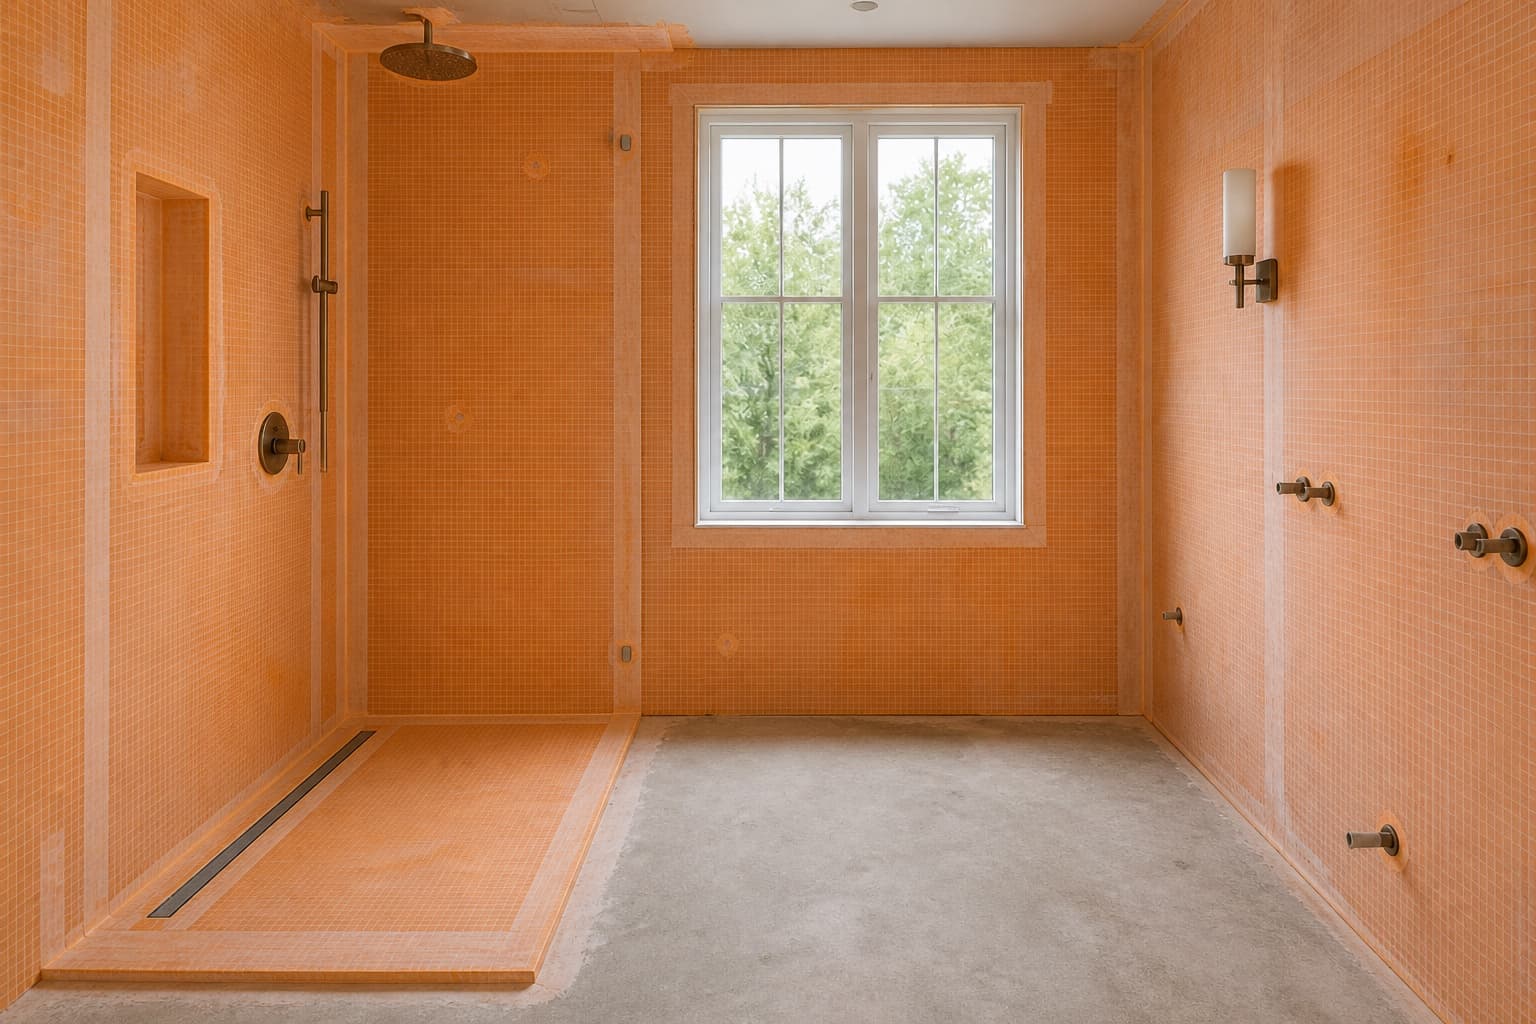
- Curbless shower construction
- Bonded waterproofing
- Large-format porcelain installation
- Electric underfloor heating
- Fixture and lighting coordination
Materials used
- Walls and floor
- 600 × 1200 mm stone-look porcelain, matt finish
- Underfloor heating
- Electric mat set in levelling compound
Existing conditions
What we found
- Alcove tub with a tiled surround showing failed grout at the corners
- Floor structure not level, with a 19 mm fall across the room
- No blocking behind the walls for future grab bars
- Original ventilation undersized for the room volume
Design direction
The decisions that shaped it
- One tile format across walls and floor to reduce visual joints
- A linear drain against the far wall so the floor slopes in one direction only
- A full-width niche aligned with the horizontal grout line
- Wall-hung vanity to keep the floor plane continuous
Before and after
The same room, twice
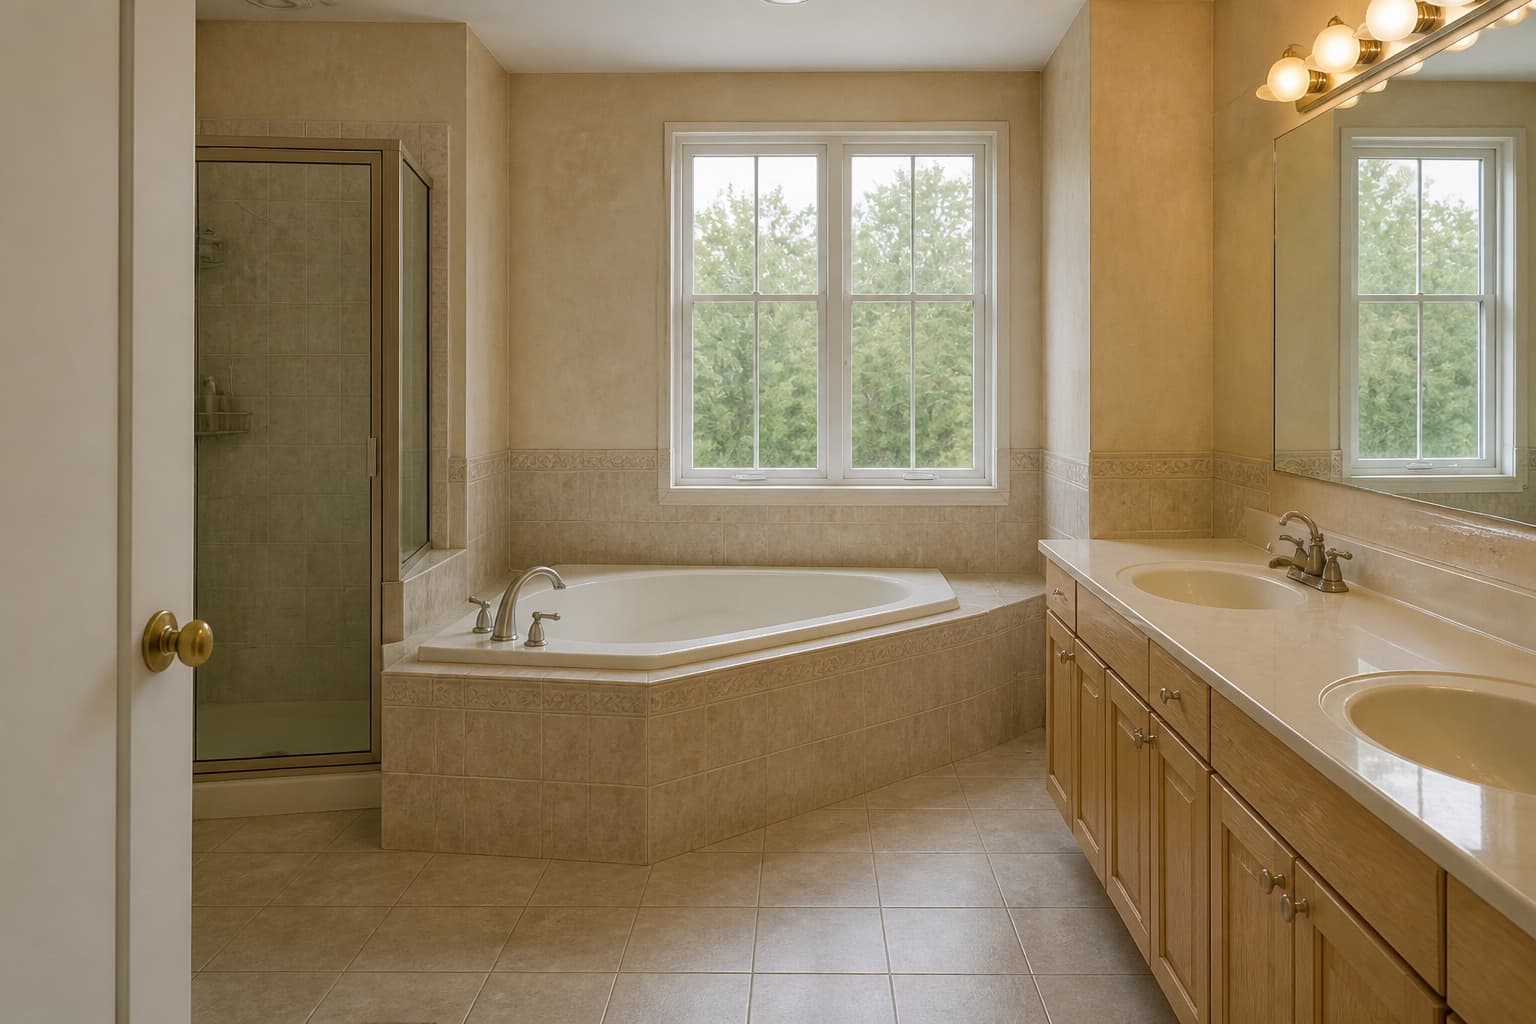
Primary bathroom, Leesburg
The tub alcove became the shower. The floor plane now runs unbroken from door to drain.
Drag the handle, or use the arrow keys once it has focus. Comparisons are shot from the same position with the same lens so the change you see is the room, not the photograph.
Problem solving
What had to be worked out
Challenges
- The existing floor structure fell 19 mm across the room, which is unworkable under a curbless entry.
- The only practical drain location was on the wall furthest from the existing waste connection.
- Ceiling height below the bathroom limited how far the framing could be recessed.
How they were solved
- The floor was built up rather than recessed, using levelling compound to establish a single plane and a low-profile linear drain assembly to keep the build-up within the available height.
- The waste run was re-piped between joists with the fall calculated before framing was closed up, rather than discovered afterwards.
- Blocking was added behind the shower wall and beside the toilet for grab bars that are not being installed today.
How it was built
Construction sequence
- 01
Demolition and assessment
Strip back to the substrate and confirm what the structure is actually doing before committing to the design.
- 02
Structure and services
Re-pipe the waste, add blocking, upgrade ventilation, and correct the floor plane.
- 03
Waterproofing
Bonded membrane over the full wet area with banded corners, collars at every penetration, and a flood test before tile.
- 04
Heating and levelling
Heating mat embedded in levelling compound, tested for continuity before and after.
- 05
Tile
Dry layout, then setting with back-buttering and a levelling system across the large-format field.
- 06
Finishing
Grout, sealant at movement joints, fixtures, glass, and a final clean.
Timeline on site
- Demolition and assessment
- 2 days
- Structure, plumbing, electrical
- 4 days
- Waterproofing and testing
- 2 days
- Tile installation
- 6 days
- Grout, fixtures, glass
- 4 days
Working days on site, excluding material lead times and the days between trades.
During the build
Finished
The completed room