AltesoraTile · Stone · Bathrooms

Tile & stone

Tile is a finish. Everything that makes it last happens first.

Porcelain, marble, limestone, travertine, slate, and mosaic — set over substrates that have been surveyed and corrected, in layouts agreed with you before the first cut, with wet areas built as waterproofing systems rather than tiled surfaces.

  • 01Layout dry-laid and agreed before installation
  • 02Substrates surveyed for plane, flatness, and deflection
  • 03Bonded waterproofing with banded corners in every wet area
  • 04Mitred external corners wherever the material allows

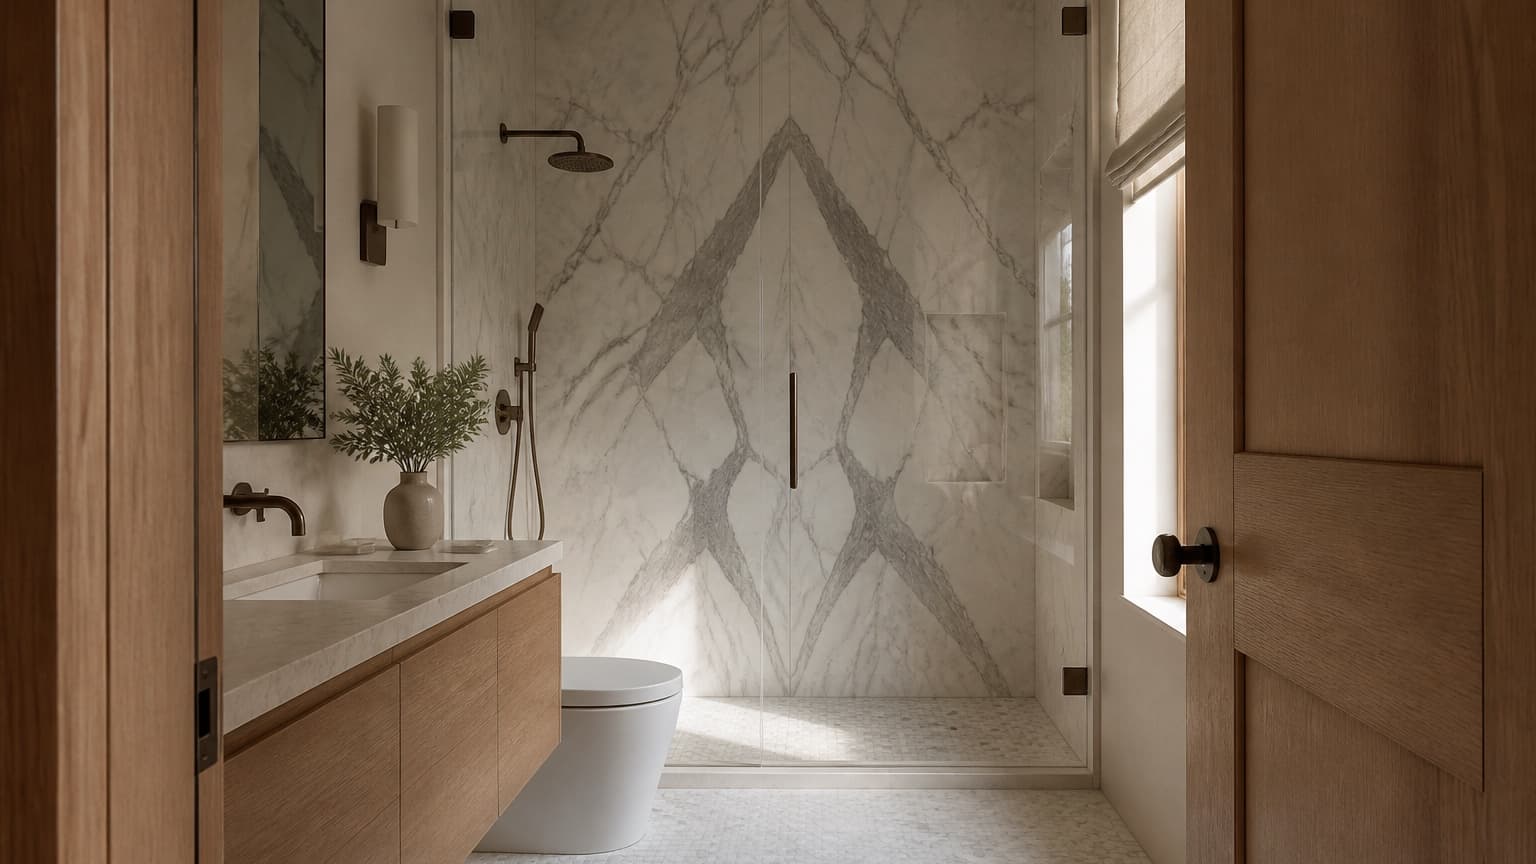
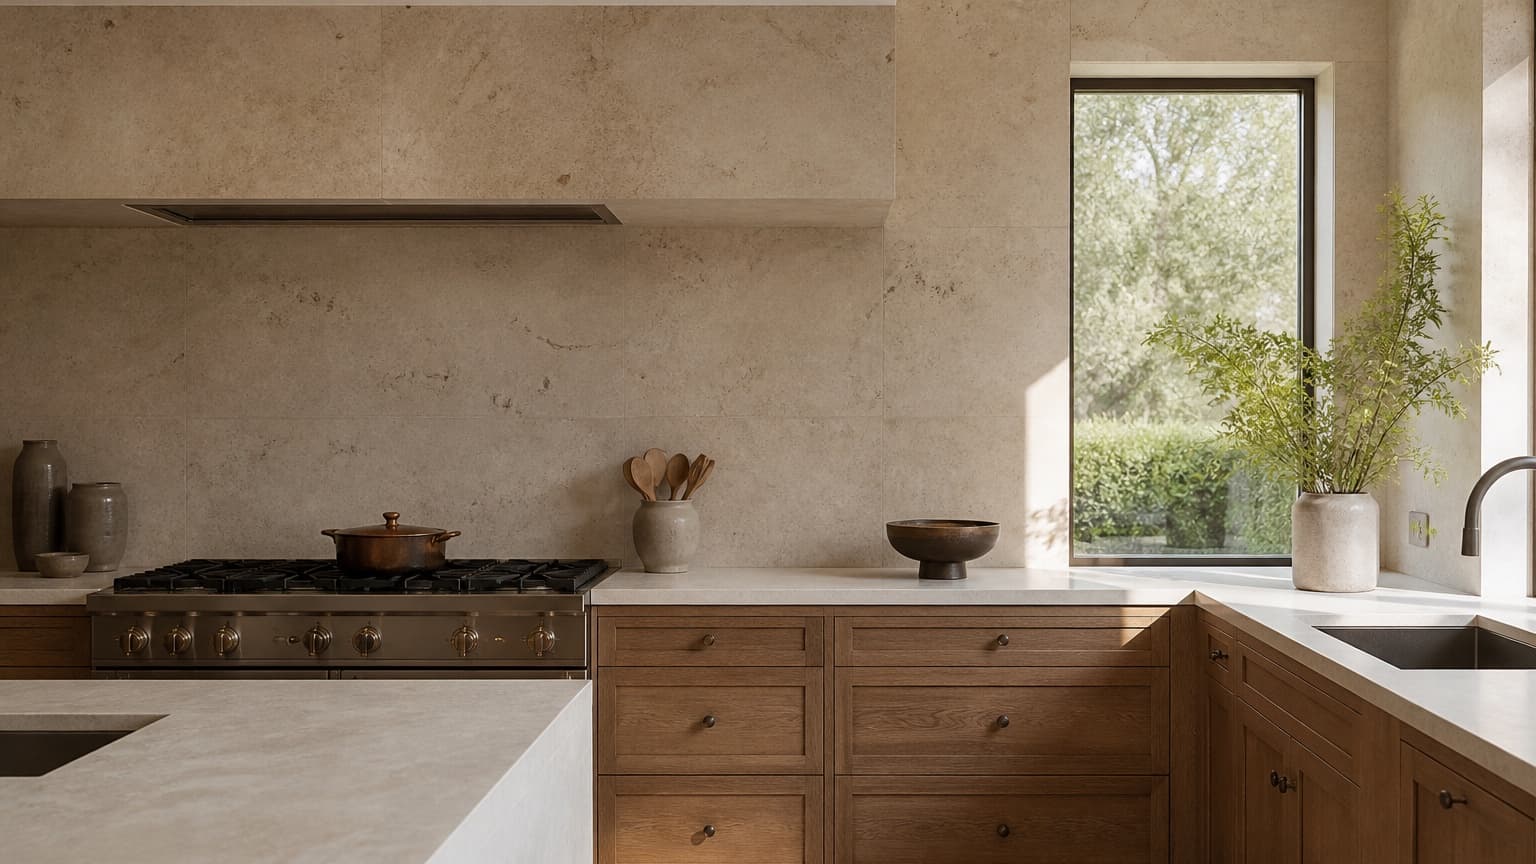
Concept image — replace with completed project photography

Most of what goes wrong with tile has nothing to do with the tile. It comes from a substrate that was covered instead of corrected, a layout that was started in the wrong place, a waterproofing layer that stopped short of a corner, or a movement joint that was grouted solid.

We work the other way round. The preparation is itemised in the proposal rather than absorbed into a square-foot rate, the layout is set out and shown to you, and the parts of the assembly you will never see are photographed before they disappear.

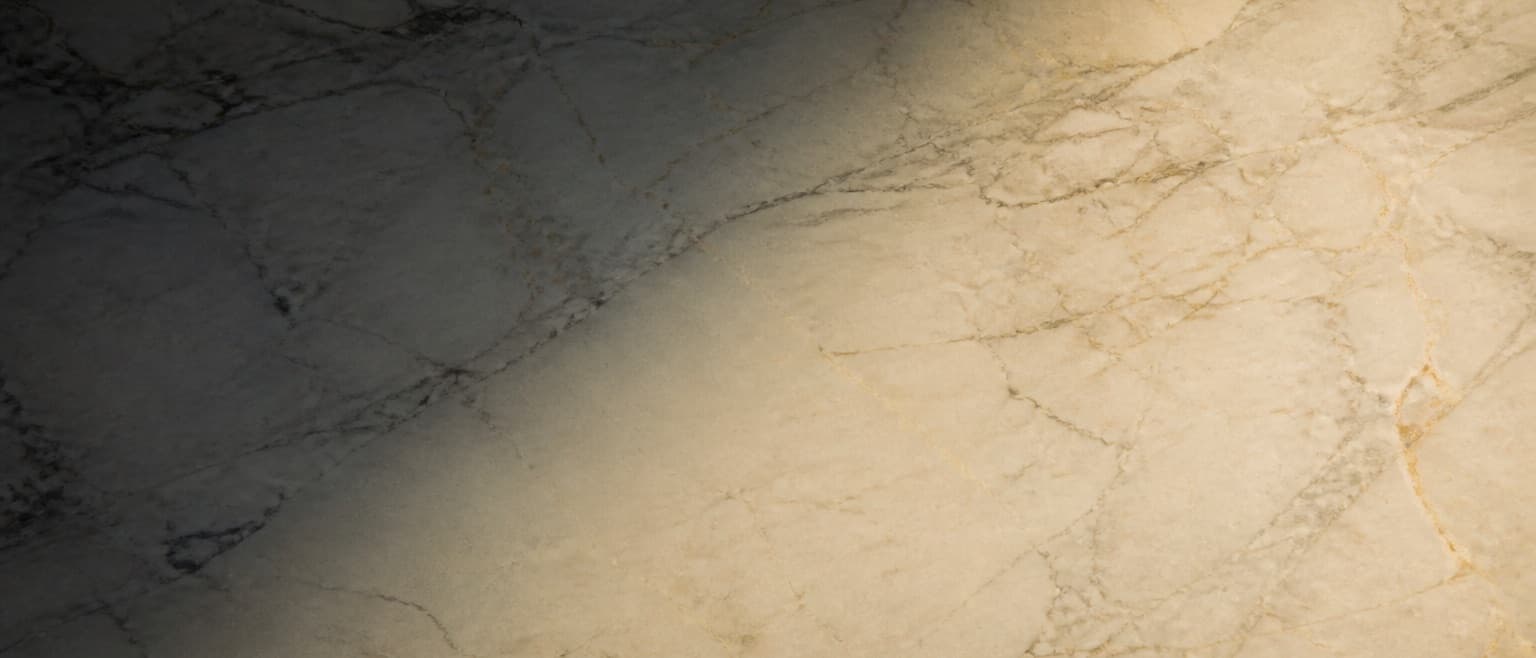
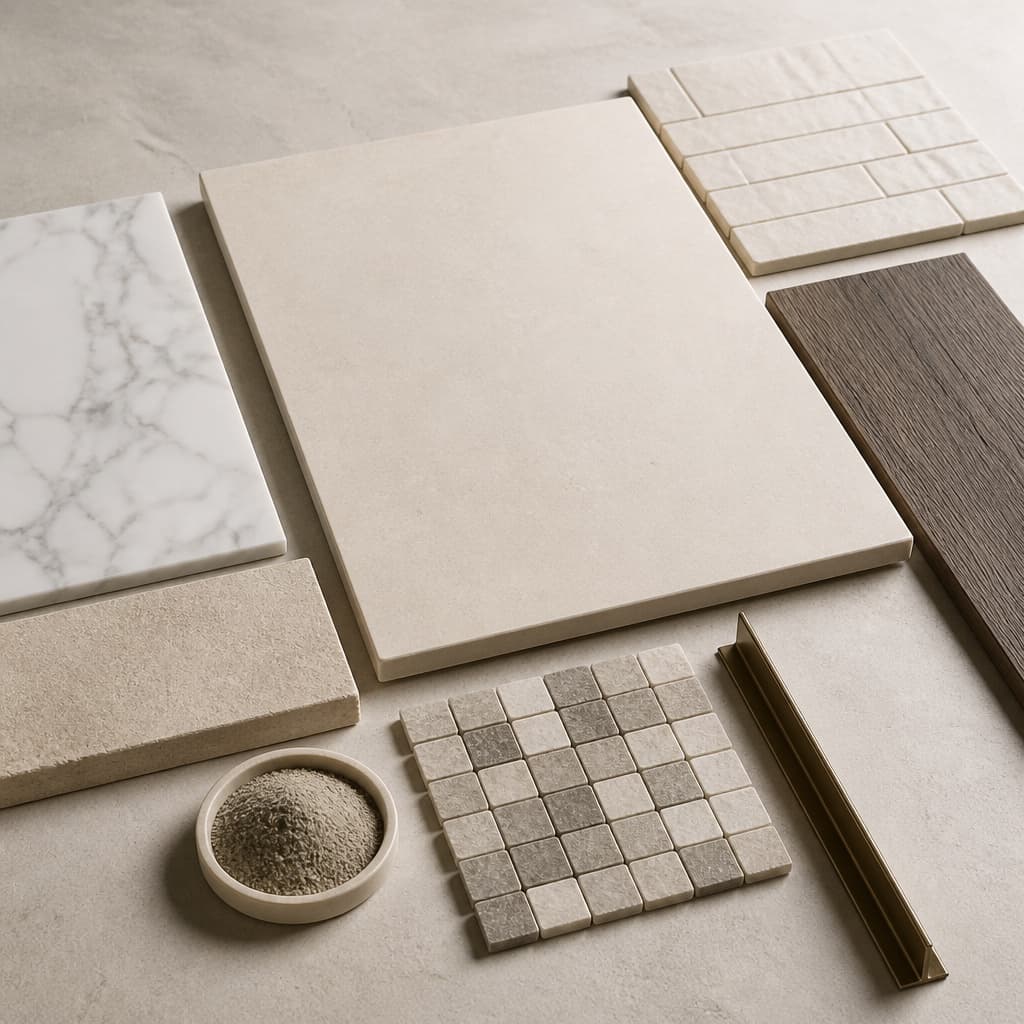
Concept material study including honed marble, warm porcelain, limestone, and mosaic
01

Materials, and what each one asks of you

Porcelain absorbs almost no water, needs no sealing, and does not etch. Natural stone has depth that printing has not matched, can be mitred and book-matched, and asks for sealing, pH-neutral cleaning, and a layout planned from the crate.

We will tell you plainly where a material is the wrong choice. Marble on a kitchen floor is a harder argument than marble on a shower wall, and a polished finish underfoot in a wet room is a decision to make deliberately rather than by accident.

  • Porcelain and ceramic, including slab formats
  • Marble, limestone, travertine, and slate
  • Mosaic on mesh, and hand-cut patterns
  • Wood-look and stone-look porcelain
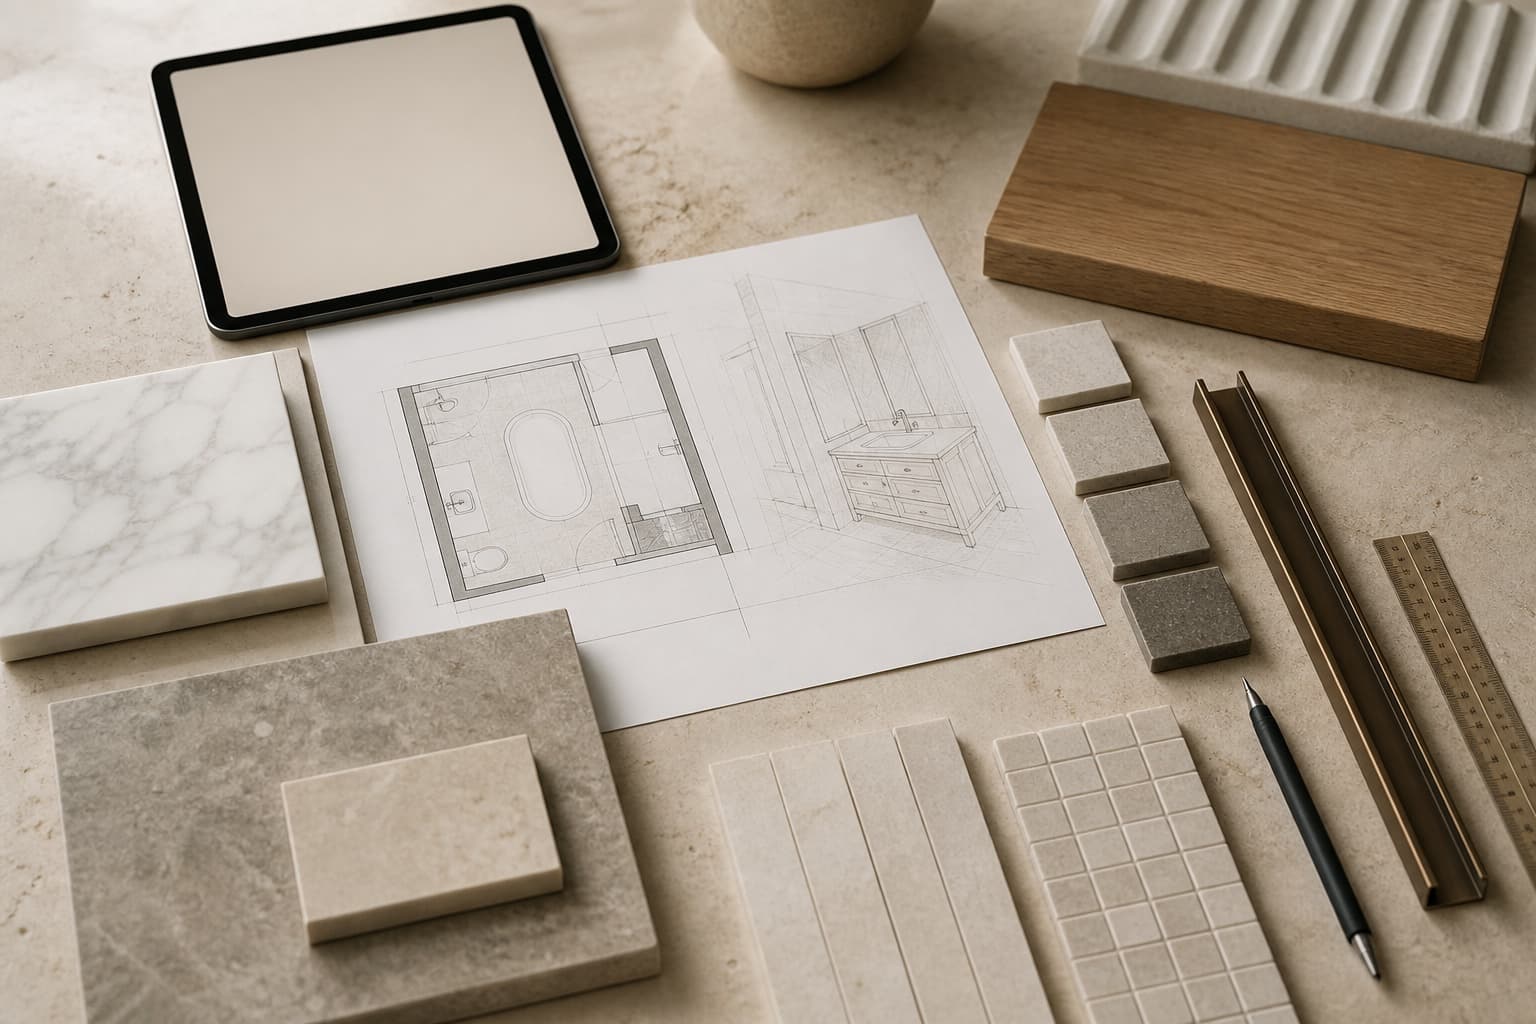
Concept renovation planning table with bathroom drawings, measured layout, stone and porcelain samples, and bronze trim
02

Surface preparation

Walls are checked for plane in several directions, not with one straightedge in one position. Floors are checked for flatness and for deflection between joists, because a floor that flexes will crack a stone tile regardless of how well it was set.

Where a substrate falls outside the tolerance the format requires, it is corrected: levelling compound, a render coat, a boarded and battened plane, or additional structural sheathing. That work appears as a line in your proposal.

  • Laser survey of the whole plane, recorded not estimated
  • Deflection assessed before a stone floor is specified
  • Uncoupling or crack-isolation layers where movement is expected
  • Levelling to the tolerance the tile format actually needs
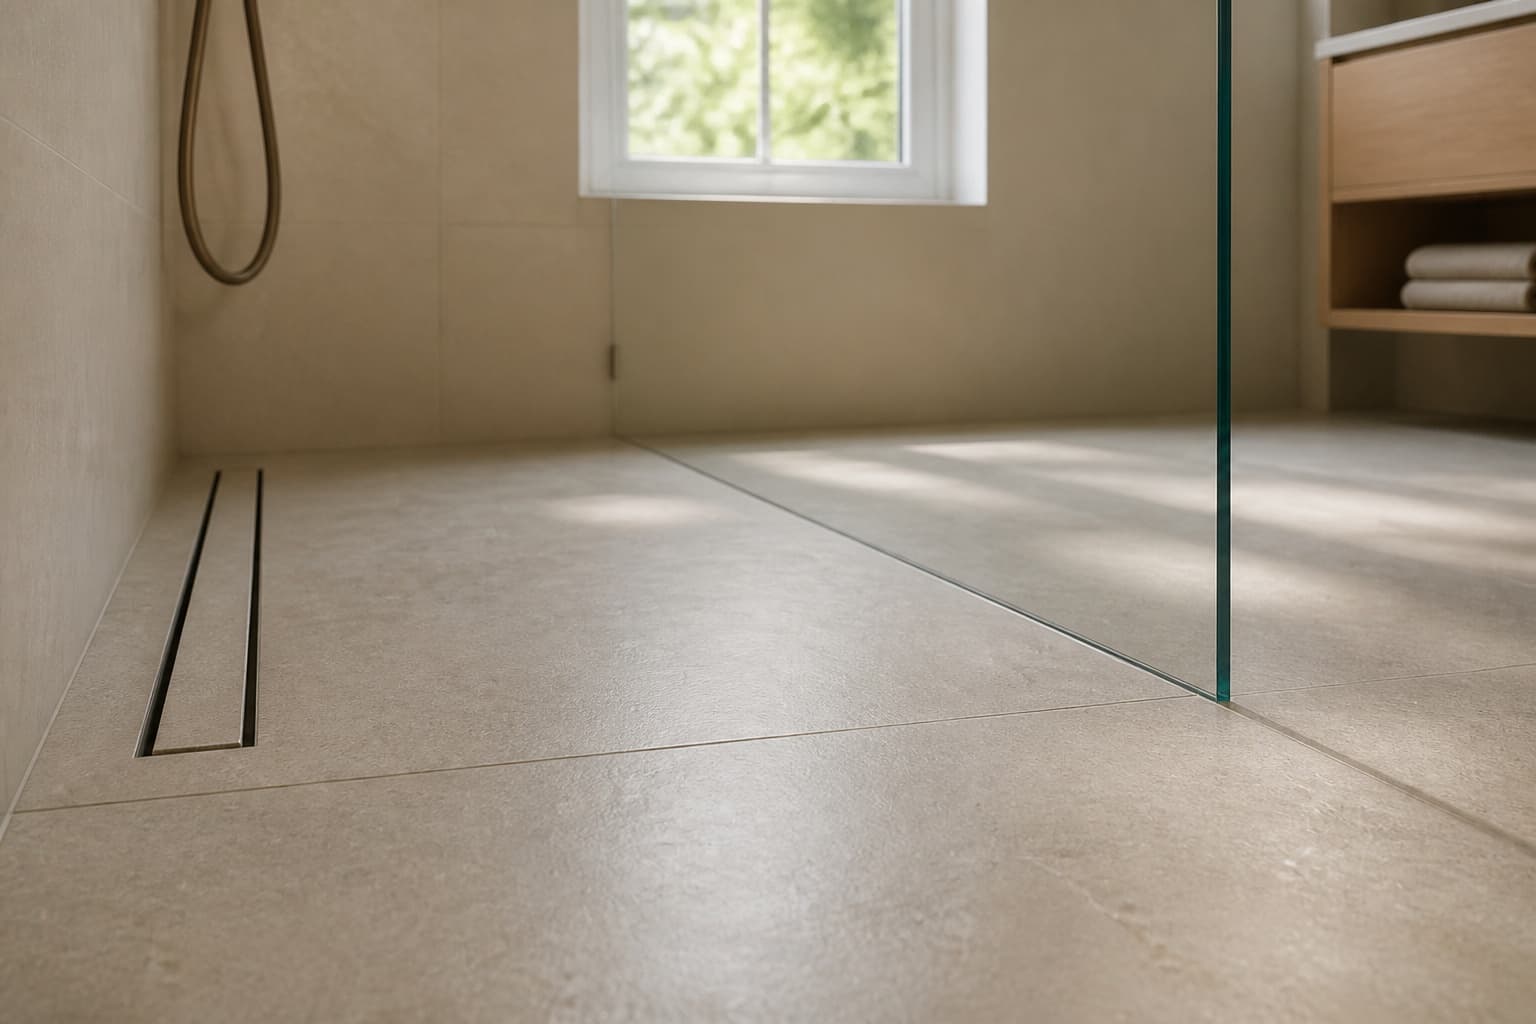
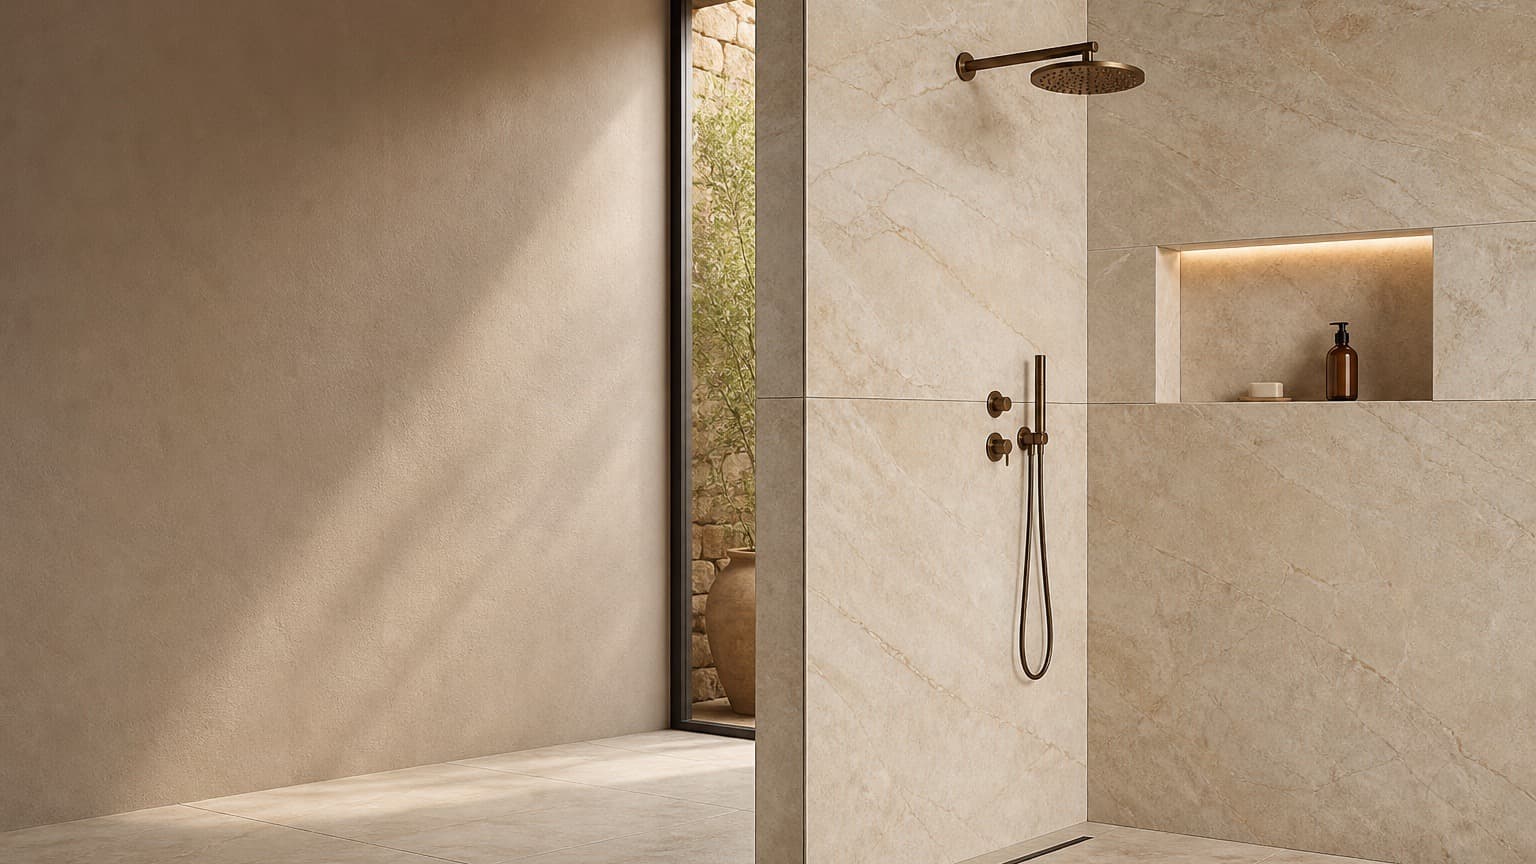
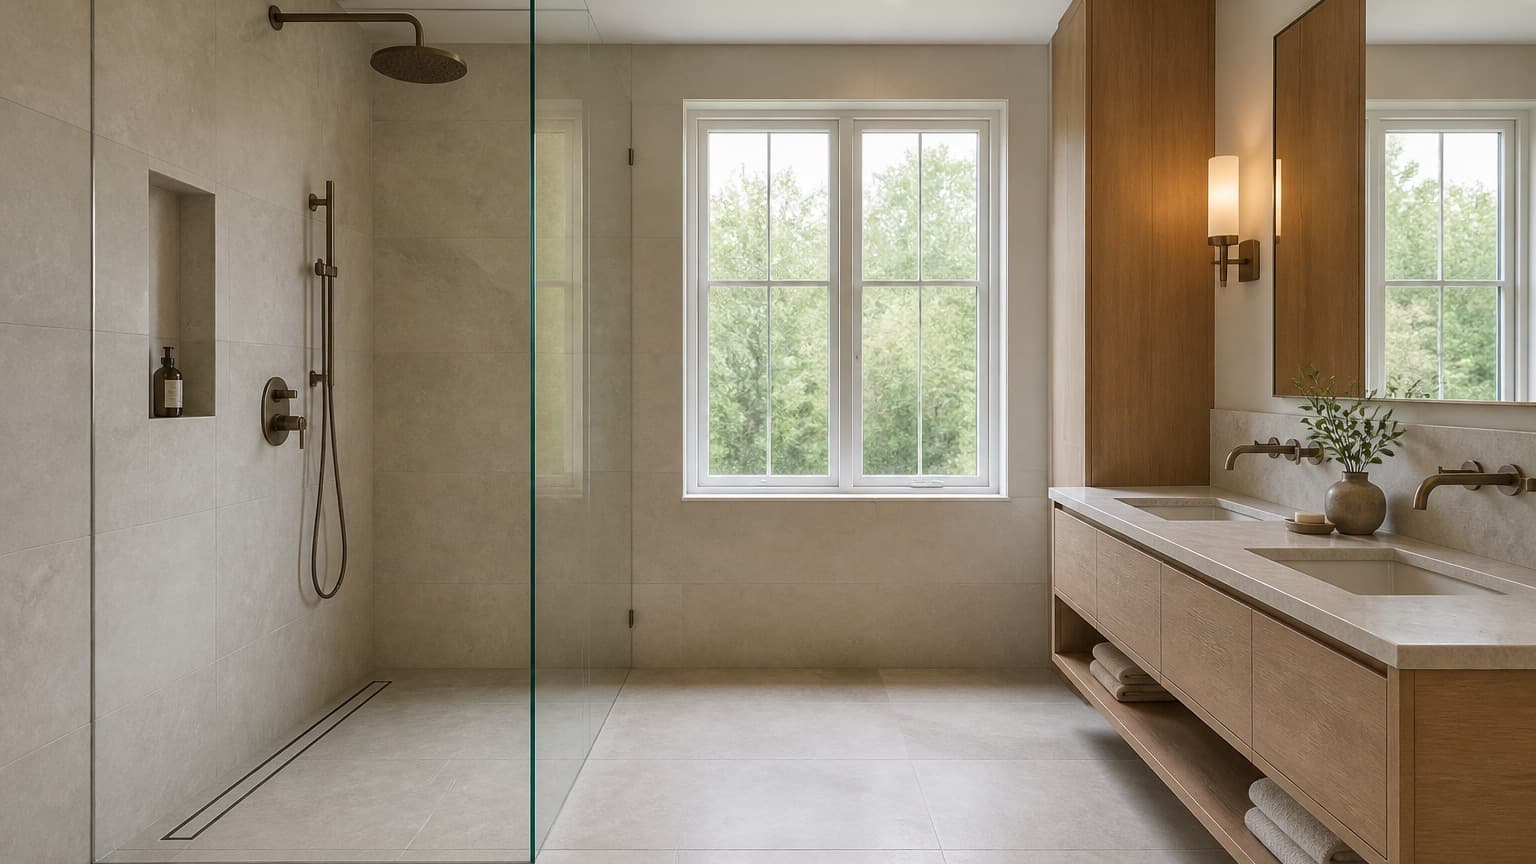
Concept custom shower finished in precisely aligned large-format warm porcelain
03

Large-format tile

Above roughly 400 mm on a side, tile stops forgiving. A substrate that would happily take a mosaic will telegraph every high spot through a 600 by 1200 mm panel, and a half-offset layout will produce visible lippage because of the natural curvature along the tile's length.

We use medium-bed mortar, back-butter for full coverage, limit offsets to a third, and use a levelling system across the field. Slab formats are moved with a frame and set by two people, because that is what the material requires.

  • Medium-bed, non-sag mortar rather than standard thin-set
  • Back-buttering for full coverage behind every panel
  • Offsets limited to one third, or a stacked layout
  • Rail cutting system and wet saw for shapes
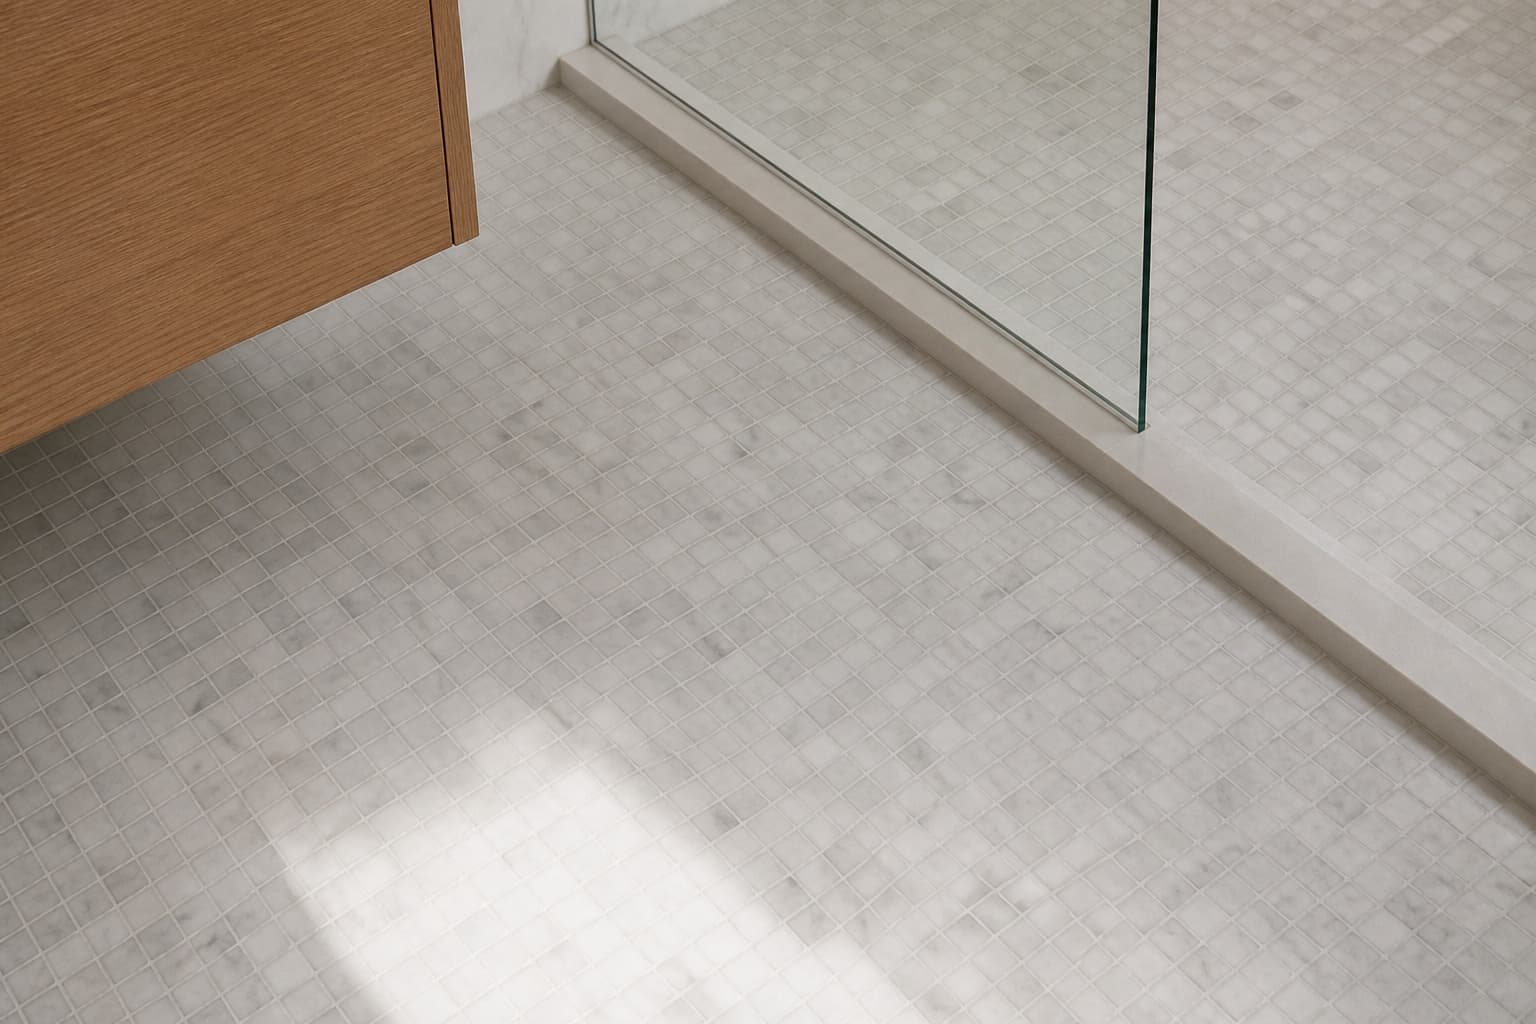
A hexagonal marble mosaic floor with tight, even joints
04

Layout and pattern planning

Where the pattern starts decides where it ends. A herringbone begun in the wrong place finishes with a sliver cut in the most visible corner of the room, and no amount of skill at the trowel recovers that.

We mark centre lines, dry-lay the field, and show you where the cuts will fall. If the geometry of the room forces a compromise somewhere, you choose where it goes.

  • Centre lines and cut positions marked before setting
  • Herringbone, chevron, basketweave, and stacked layouts
  • Book-matched stone selected and sequenced from the crate
  • Outlets, hoods, and fixtures worked into the grid
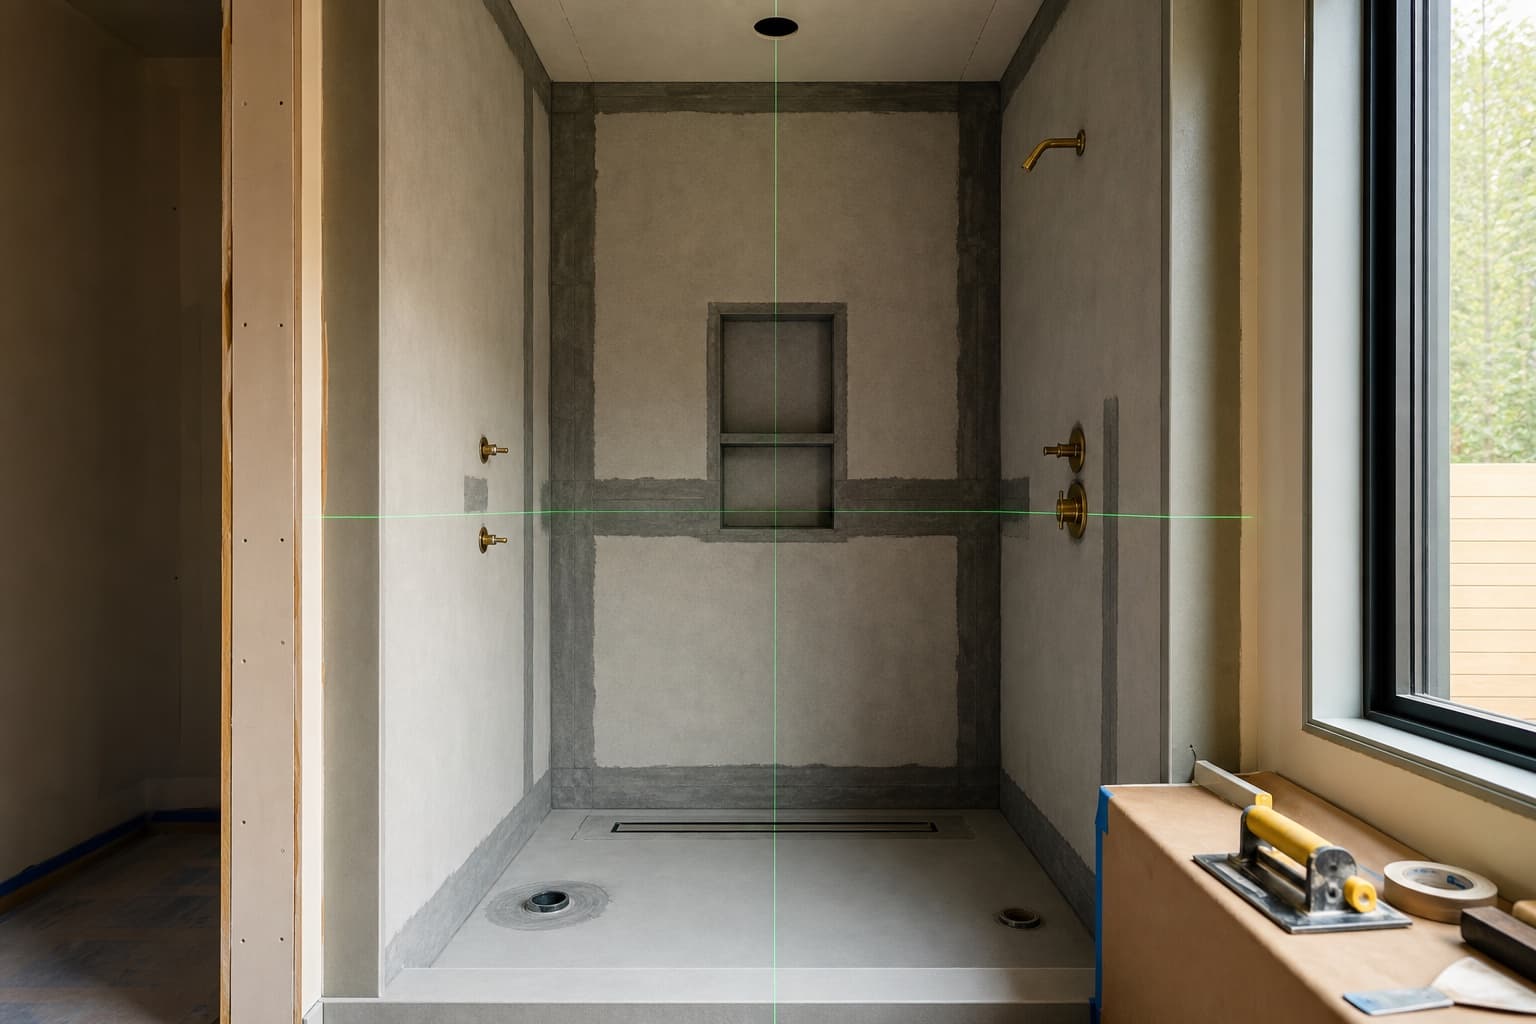
Concept shower substrate with waterproofed seams, integrated drains, niche, and laser layout lines
05

Bathrooms, showers, and wet areas

A shower is an assembly: a structural layer, a sloped layer, a bonded waterproofing layer, and a finish. Each has to be right before the next goes on, and the waterproofing is the one that decides whether the room lasts.

Corners are banded, penetrations get collars, the drain flange is bonded into the same plane as the membrane, and where the assembly allows it the pan is flood-tested before any tile is set.

  • Bonded sheet or liquid membrane, built to specified thickness
  • Banding at every internal corner, collars at every pipe
  • Slope formed to the drain and verified in several directions
  • Flood test before tiling where the assembly allows one
A recessed shower niche with a mitred stone shelf and continuous grout lines
06

Edges, niches, benches, and transitions

Details are where tile work is judged. A mitred external corner reads as one folded surface; the same corner with a metal trim reads as two tiles meeting a profile. Where the tile is thick enough to take a mitre, we mitre it.

Niches are positioned to align with a horizontal grout line and to sit between studs, which usually means deciding their location during framing rather than during tiling. Benches are built with a fall so water leaves them.

  • Mitred external corners where the material allows
  • Niches aligned with the tile field, not centred by eye
  • Benches and ledges built with drainage fall
  • Flush transitions at every change of material
Concept stone, porcelain, mosaic, grout, wood-look tile, and bronze trim material study
07

Grout, sealant, and finishing

Grout colour changes a room more than most people expect. Matched to the tile, the surface reads as one plane; contrasted, the same tile becomes a grid. It is a design decision and it deserves to be made in the room's own light, against the actual tile.

Flat fields are grouted. Every change of plane and every junction with another material gets a flexible sealant instead, because a surface grouted rigidly into its corners will crack.

  • High-performance grout, sealing not required
  • Porous stone sealed before grouting as well as after
  • Flexible sealant at all changes of plane
  • Movement joints placed at perimeters and structural breaks
08

Repair and restoration

Cracked tile and failing grout are usually symptoms. Before repeating a repair we look for the cause — deflection, movement, a missing expansion joint, or water behind the surface — and address that as part of the work.

Regrouting, resealing, replacing damaged pieces, and rebuilding a failed shower assembly are all things we do. We will also tell you honestly when a repair is not worth the money and a rebuild is the better decision.

  • Diagnosis before repair, not instead of it
  • Regrouting and resealing
  • Individual tile replacement where matching material exists
  • Full shower rebuilds where the assembly has failed
09

Living with it afterwards

Most damage to a finished surface is done by cleaning products rather than by use. Acidic cleaners etch marble, limestone, and travertine on contact, and the etch is physical damage rather than a stain.

Every project finishes with written care guidance for the specific materials installed: what to clean them with, what to keep away, and when to reseal.

  • pH-neutral cleaners on all natural stone
  • A squeegee does more for a shower than any product
  • Reseal on the schedule the sealer specifies for your stone
  • Mats at entries: grit does more damage than water

Beneath the surface

What is behind the tile

The four layers that decide how a tiled surface behaves over twenty years.

  1. 01

    Structure

    Joist span, deflection, and sheathing. If the deck moves more than the tile tolerates, nothing above it can be fixed by better setting.

  2. 02

    Plane and slope

    A flat plane for the format, and a continuous fall to the drain in wet areas — formed before the waterproofing rather than after it.

  3. 03

    Waterproofing

    A continuous bonded membrane with banded corners, pipe collars, and a drain flange integrated into the same plane.

  4. 04

    Movement accommodation

    Flexible joints at perimeters, changes of plane, and structural breaks, so building movement does not become a crack in the tile.

Concept shower substrate with waterproofed seams, integrated drains, niche, and laser layout lines

We photograph this stage on every project and send you the images. It is the only record that exists once the tile is on.

Where it applies

Rooms and applications

  • Bathrooms and showers

    Full wet-area assemblies, curbless entries, niches, and benches.

  • Kitchens and backsplashes

    Full-height and standard backsplashes with outlets worked into the grid.

  • Floors

    Large-format and stone floors over levelled, stiffened subfloors.

  • Fireplaces

    Surrounds built to appliance clearances on non-combustible substrates.

  • Feature walls

    Textured and book-matched surfaces, planned around the available light.

  • Entryways and mudrooms

    Hard-wearing floors with pattern continuity through openings.

Questions

Tile & Stone, answered

Not covered here? Ask us directly.

Next step

Send us the room.

Measurements, photographs, a plan, or a description. We will tell you what the substrate is likely to need, which materials suit the application, and what it is realistically going to cost.

Have photographs or a drawing? Upload them with your request — it usually saves a visit.