Flooring · Tile & Stone
Terracotta-toned entry and mudroom floor
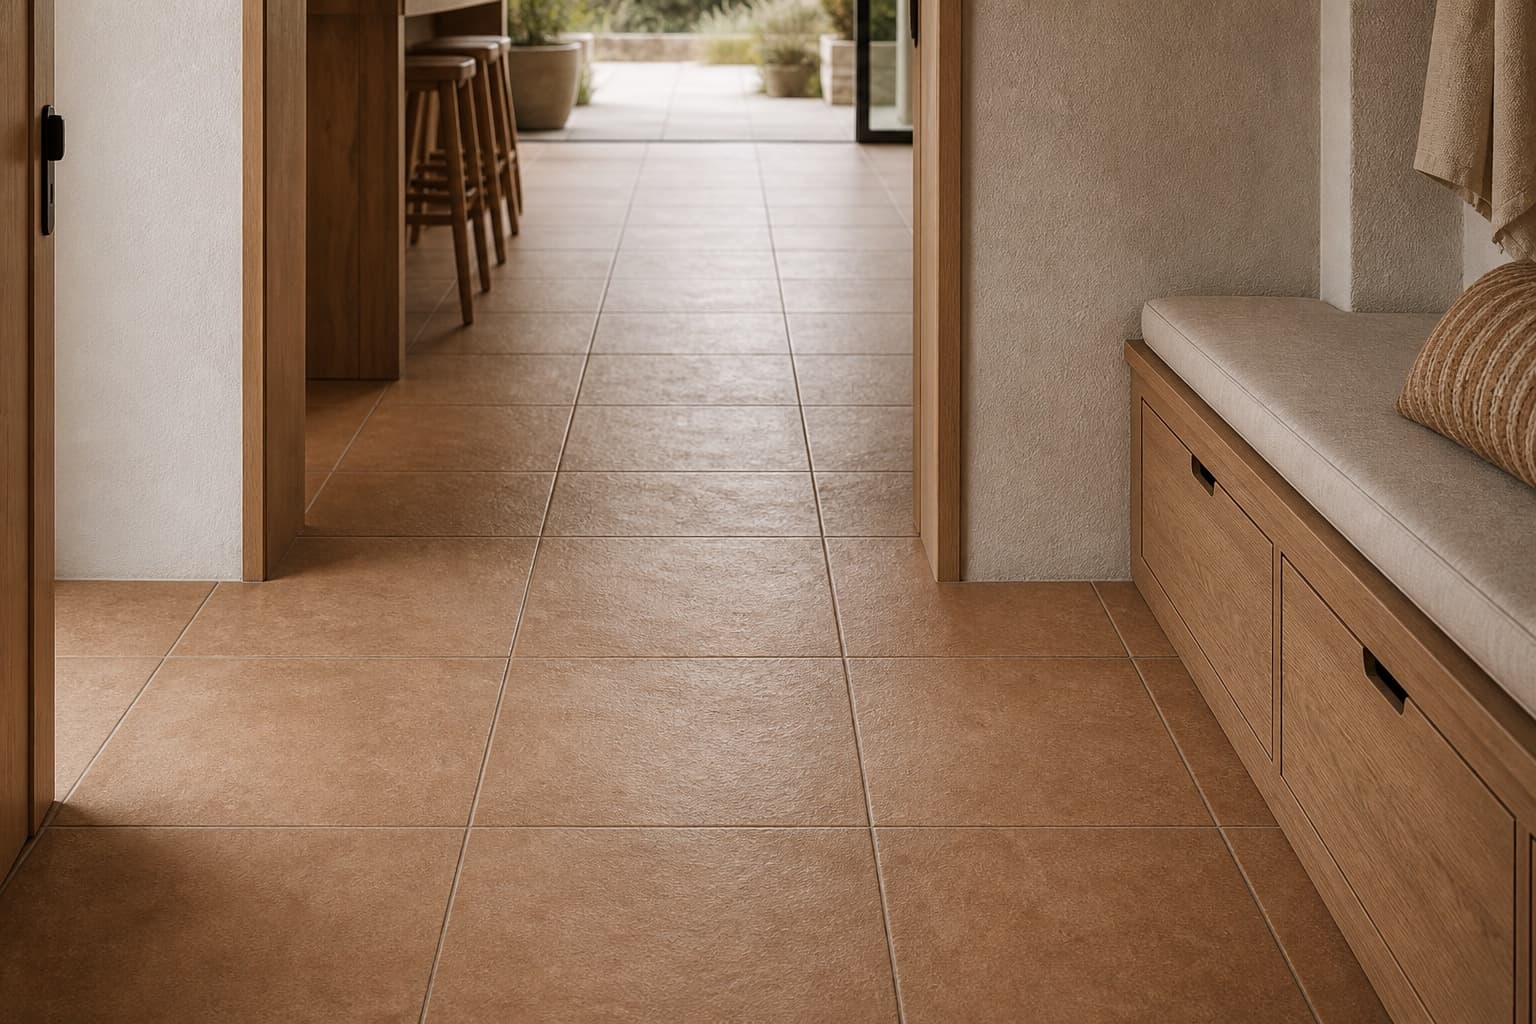
Entry and mudroom flooring in large terracotta-toned porcelain with a built-in bench
- Location
- Purcellville, VA
- Completed
- September 2024
- Duration
- 3 days + 3 days + 1 day
- Category
- Flooring
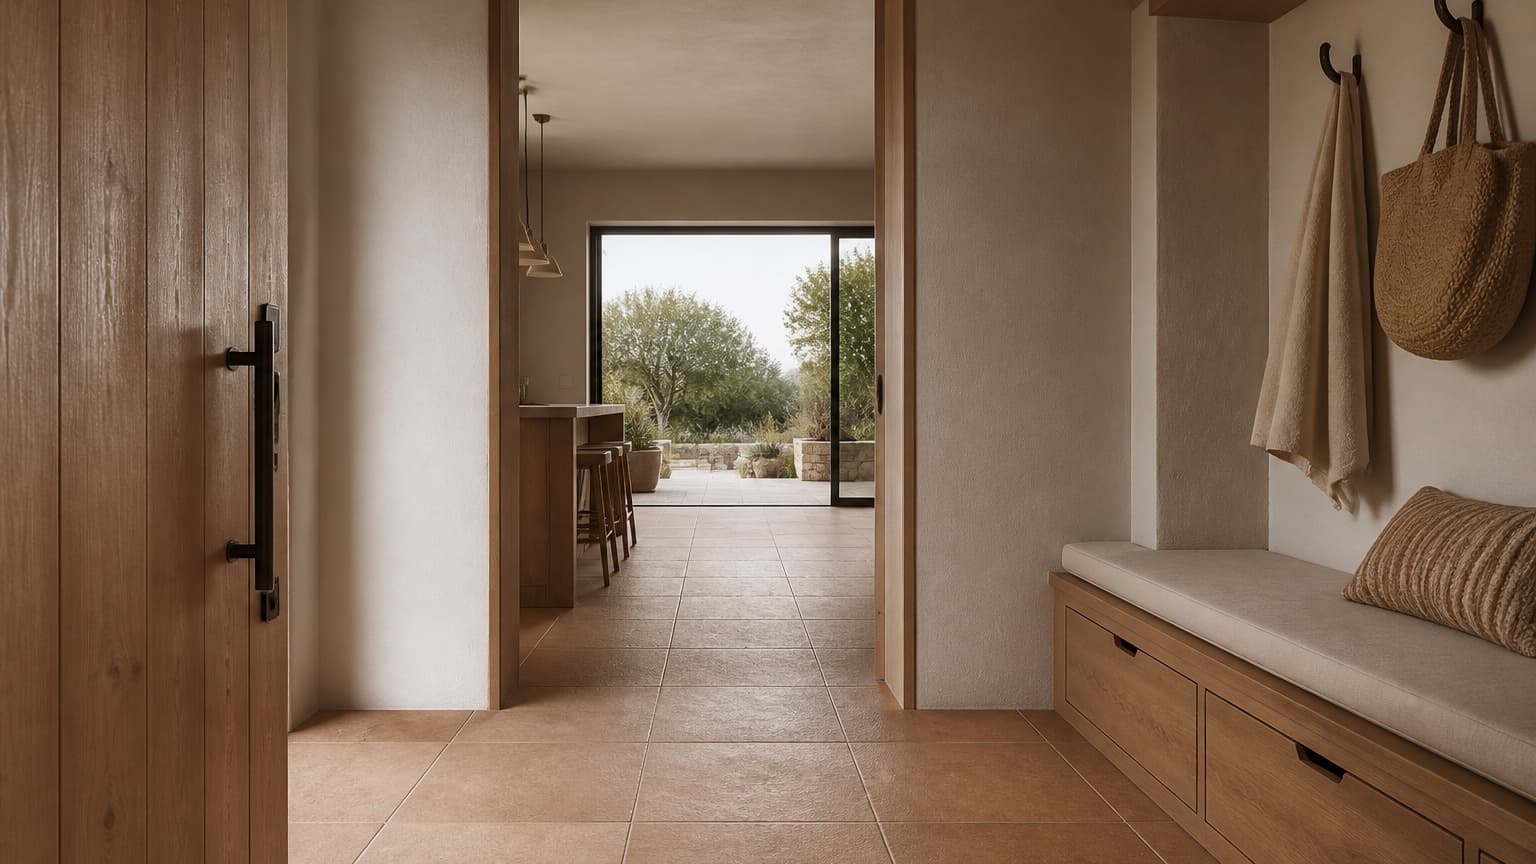
Representative concept image — not a customer project photograph
Representative project.This record describes the scope, materials, and construction method of work we carry out. It is not a specific customer’s completed job, and the photography has not been shot yet. Ask to see finished work in person.
Overview
An entry and mudroom floor laid so the pattern runs through the opening between the two rooms without a break, cut, or threshold.
Continuity through a doorway is a layout decision made before the first tile is set. Once the field is running, it is too late to fix.
What the owners wanted
- A hard-wearing floor for a family entrance
- Warmth in a room that is mostly used in winter coats
- Continuity between the two rooms
Services performed
- Subfloor preparation
- Large-format porcelain flooring
- Pattern continuity through openings
- Transitions
Materials used
Existing conditions
What we found
- Two different floor finishes meeting at a timber threshold
- Subfloor stepped by 12 mm between rooms
Design direction
The decisions that shaped it
- One large format across both rooms
- Joint lines running with the direction of travel
- No threshold at the opening
Problem solving
What had to be worked out
Challenges
- The step between rooms had to disappear without raising the floor at the exterior door.
How they were solved
- The lower room was built up with levelling compound feathered towards the door so the finished floor arrived at the threshold at exactly the right height.
How it was built
Construction sequence
- 01
Survey
Establish a shared datum across both rooms.
- 02
Levelling
Build up the lower room and feather to the exterior threshold.
- 03
Layout
Set out so a full tile runs through the opening.
- 04
Installation
Set, grout, and seal.
Timeline on site
- Preparation and levelling
- 3 days
- Installation
- 3 days
- Finishing
- 1 day
Working days on site, excluding material lead times and the days between trades.
Finished
The completed room