Bathrooms · Showers
Tub-to-shower conversion with a tiled bench
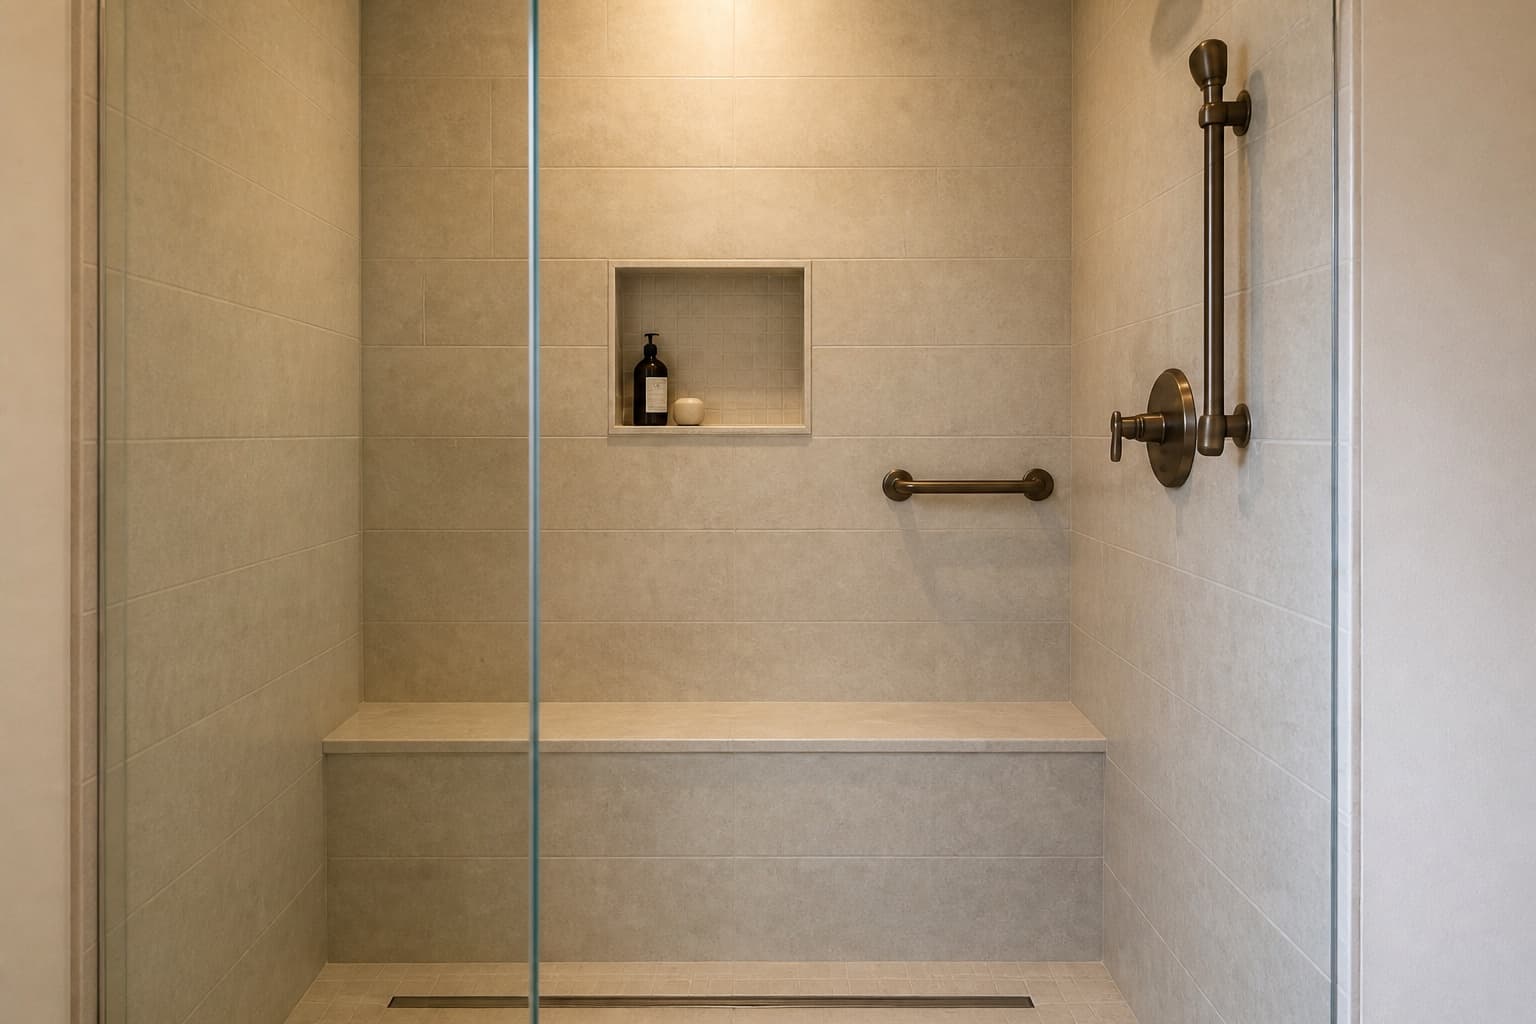
Alcove tub converted to a walk-in shower with a bench, niche, and grab-bar blocking
- Location
- Herndon, VA
- Completed
- July 2025
- Duration
- 3 days + 2 days + 4 days + 3 days
- Category
- Bathrooms
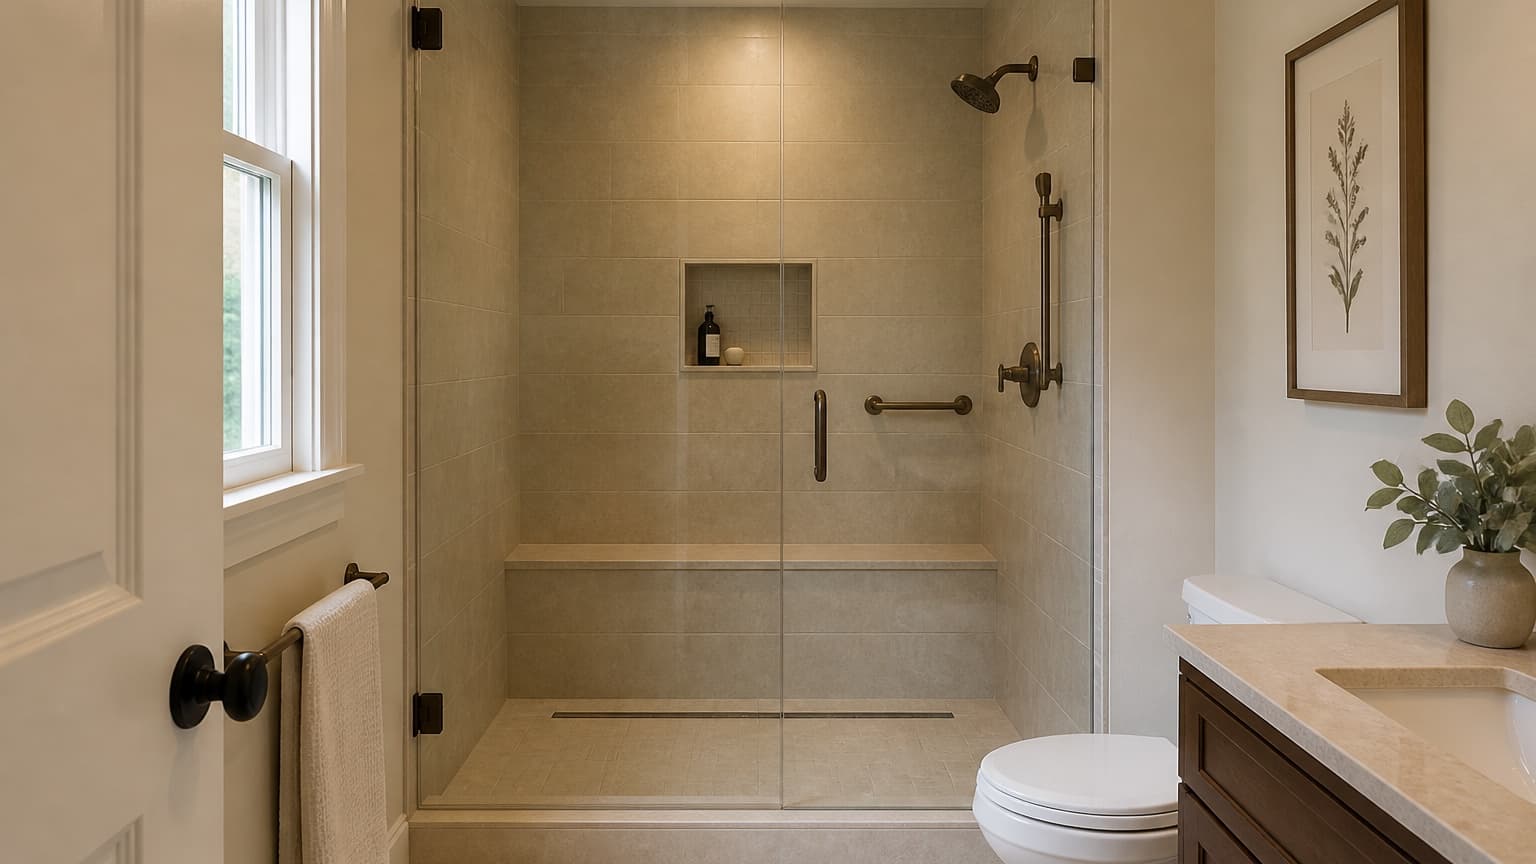
Representative concept image — not a customer project photograph
Representative project.This record describes the scope, materials, and construction method of work we carry out. It is not a specific customer’s completed job, and the photography has not been shot yet. Ask to see finished work in person.
Overview
An unused alcove tub replaced with a walk-in shower in the same footprint, with a full-width bench at the far end and blocking behind the tile for grab bars that can be added at any time.
The point of a conversion like this is that it should not read as one. The finished room gives no clue that a tub used to sit in that alcove.
What the owners wanted
- A shower that works for someone who no longer wants to step over a tub wall
- Somewhere to sit
- Prepared for grab bars without installing them yet
Services performed
- Tub removal and drain relocation
- Shower pan construction
- Bonded waterproofing and flood test
- Tile installation
- Grab-bar blocking
Materials used
Existing conditions
What we found
- Steel alcove tub with a tiled surround
- Drain located for a tub, not a shower
- No blocking in any of the surrounding walls
Design direction
The decisions that shaped it
- A low, easily crossed threshold rather than a full curbless build, given the floor structure
- Bench height set at 460 mm with a slight fall for drainage
- Niche aligned with the bench top so the horizontal lines agree
Before and after
The same room, twice
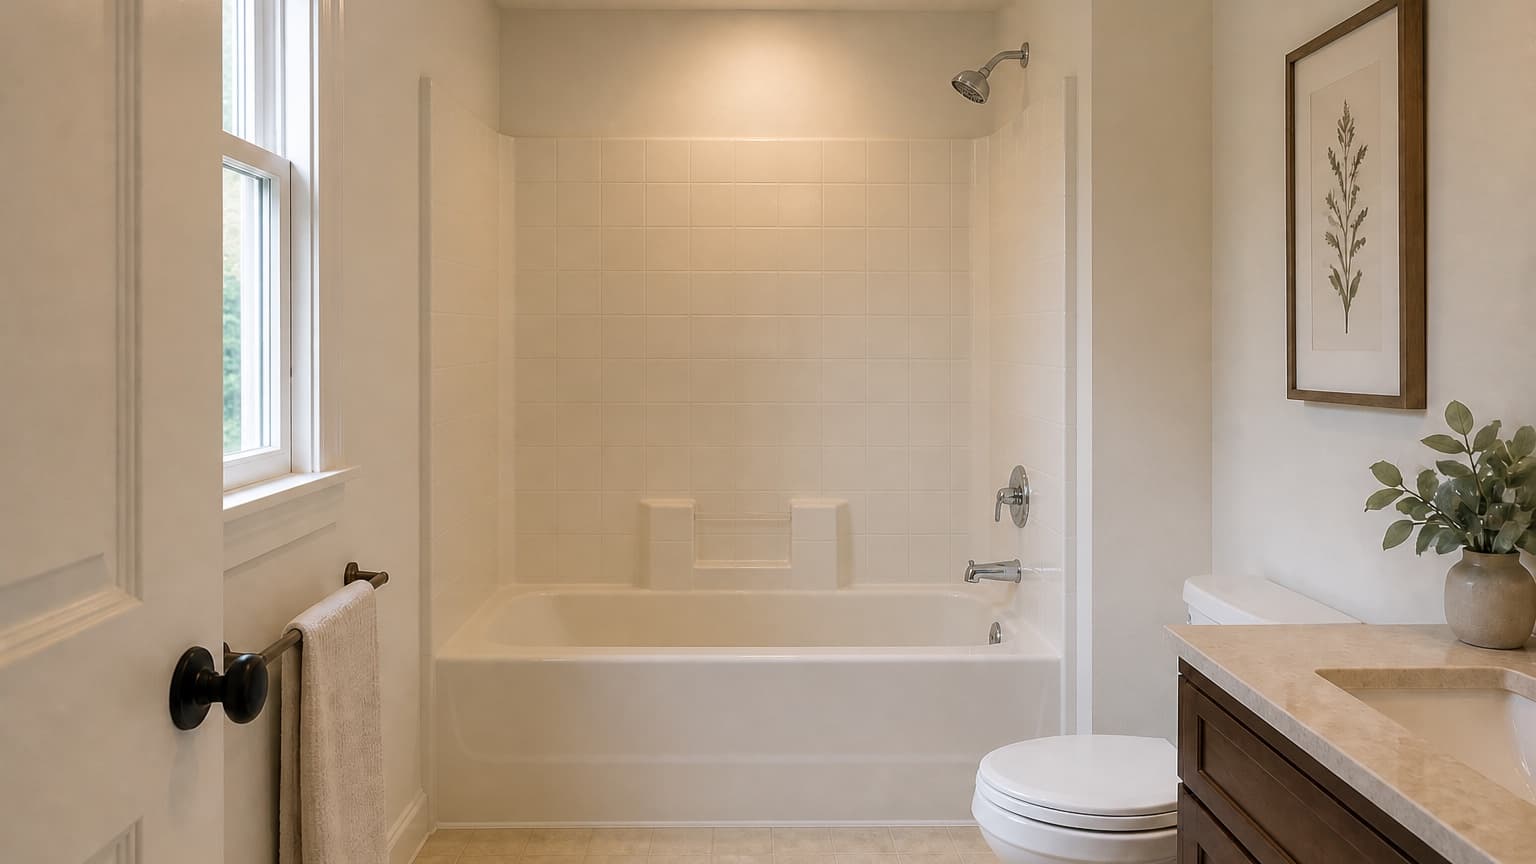
Tub-to-shower conversion, Herndon
Same footprint, same camera position. The bench sits where the tub's far wall used to be.
Drag the handle, or use the arrow keys once it has focus. Comparisons are shot from the same position with the same lens so the change you see is the room, not the photograph.
Problem solving
What had to be worked out
Challenges
- The floor structure would not allow a recess deep enough for a fully curbless entry within budget.
- The waste connection needed to move roughly 700 mm.
How they were solved
- A low-profile threshold was used instead, which achieved most of the accessibility benefit without restructuring the floor.
- The waste was re-run between joists, with the fall confirmed before the ceiling below was closed.
How it was built
Construction sequence
- 01
Removal
Tub and surround out, substrate exposed and assessed.
- 02
Services
Relocate the waste, add blocking for grab bars and the bench.
- 03
Pan and waterproofing
Pre-sloped pan, bonded membrane, flood test.
- 04
Tile and finish
Set walls and pan, grout, seal, install the door.
Timeline on site
- Removal and services
- 3 days
- Pan and waterproofing
- 2 days
- Tile
- 4 days
- Finishing
- 3 days
Working days on site, excluding material lead times and the days between trades.
Finished
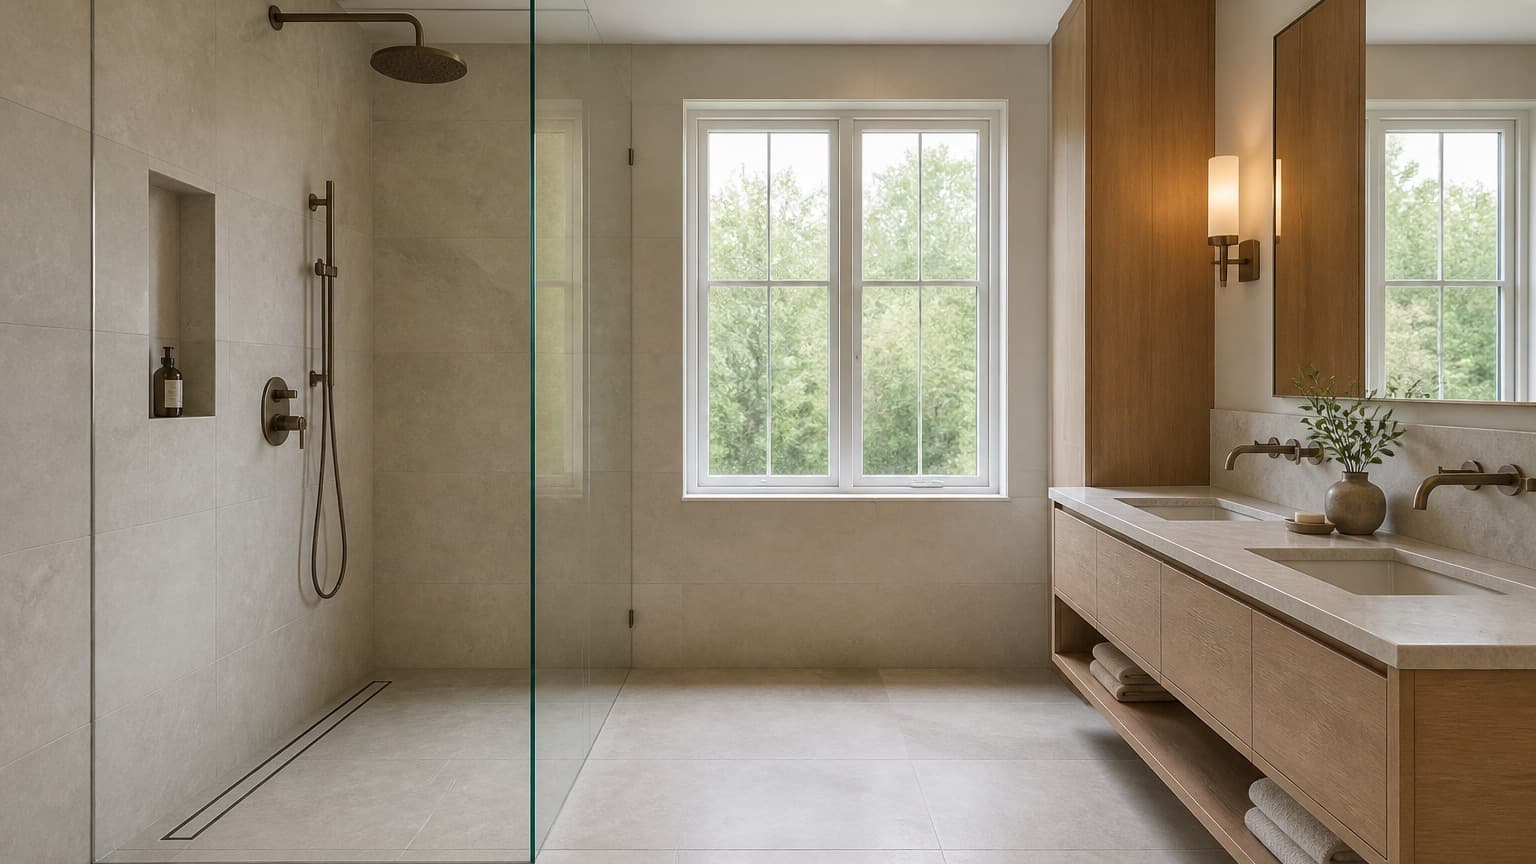
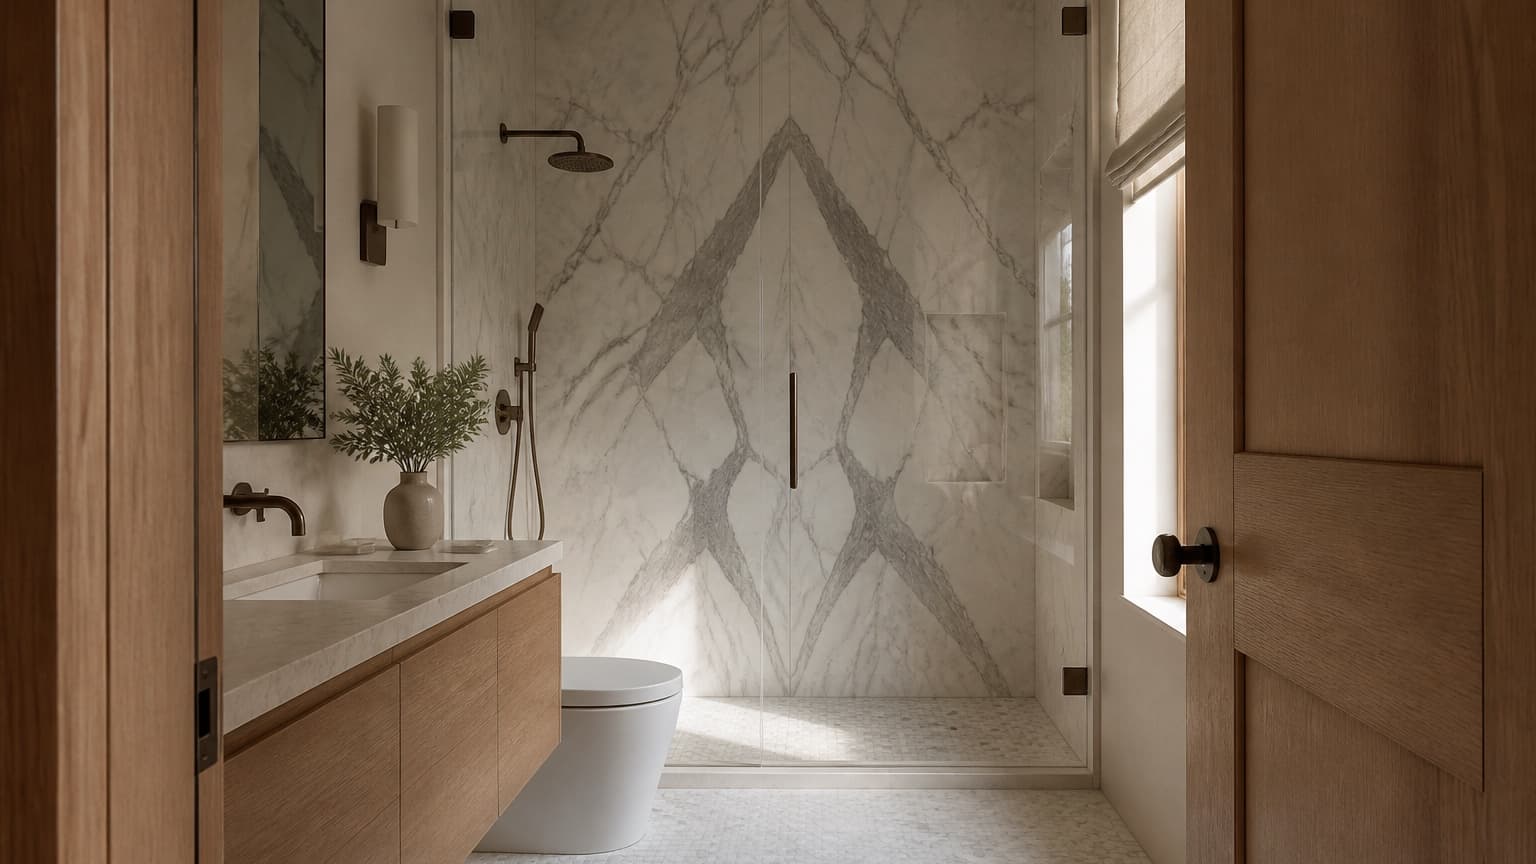
The completed room