Kitchens · Backsplashes · Tile & Stone
Full-height honed stone kitchen backsplash
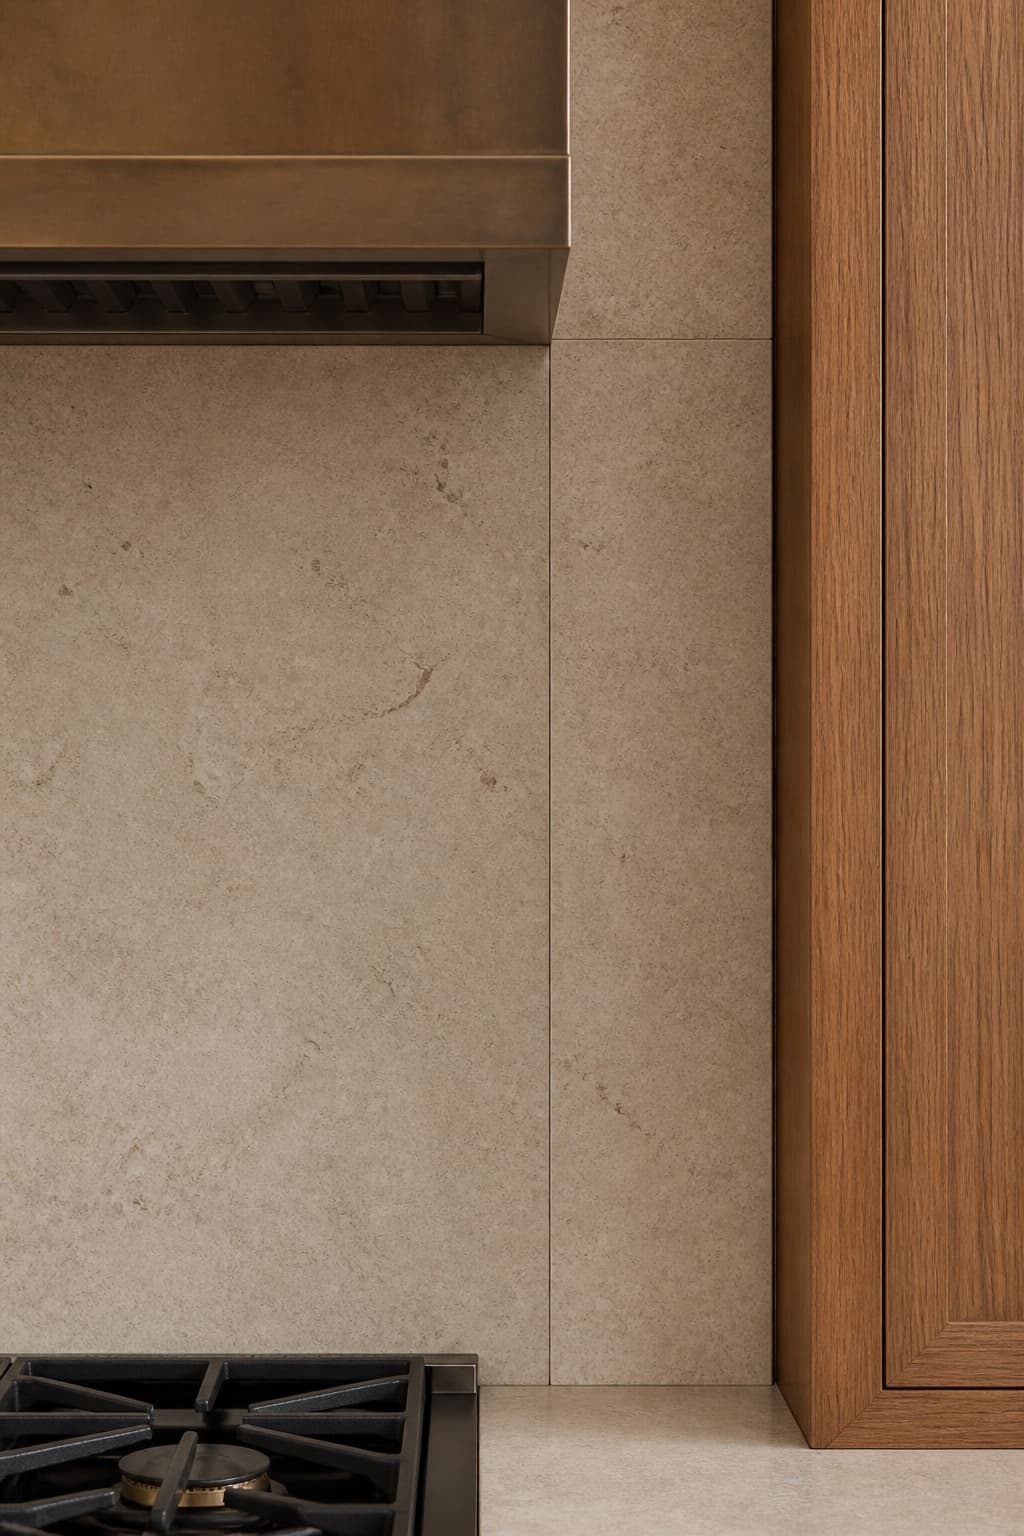
Full-height backsplash in honed limestone, wrapping the range wall and window return
- Location
- Vienna, VA
- Completed
- April 2025
- Duration
- 2 days + 3 days + 1 day
- Category
- Kitchens
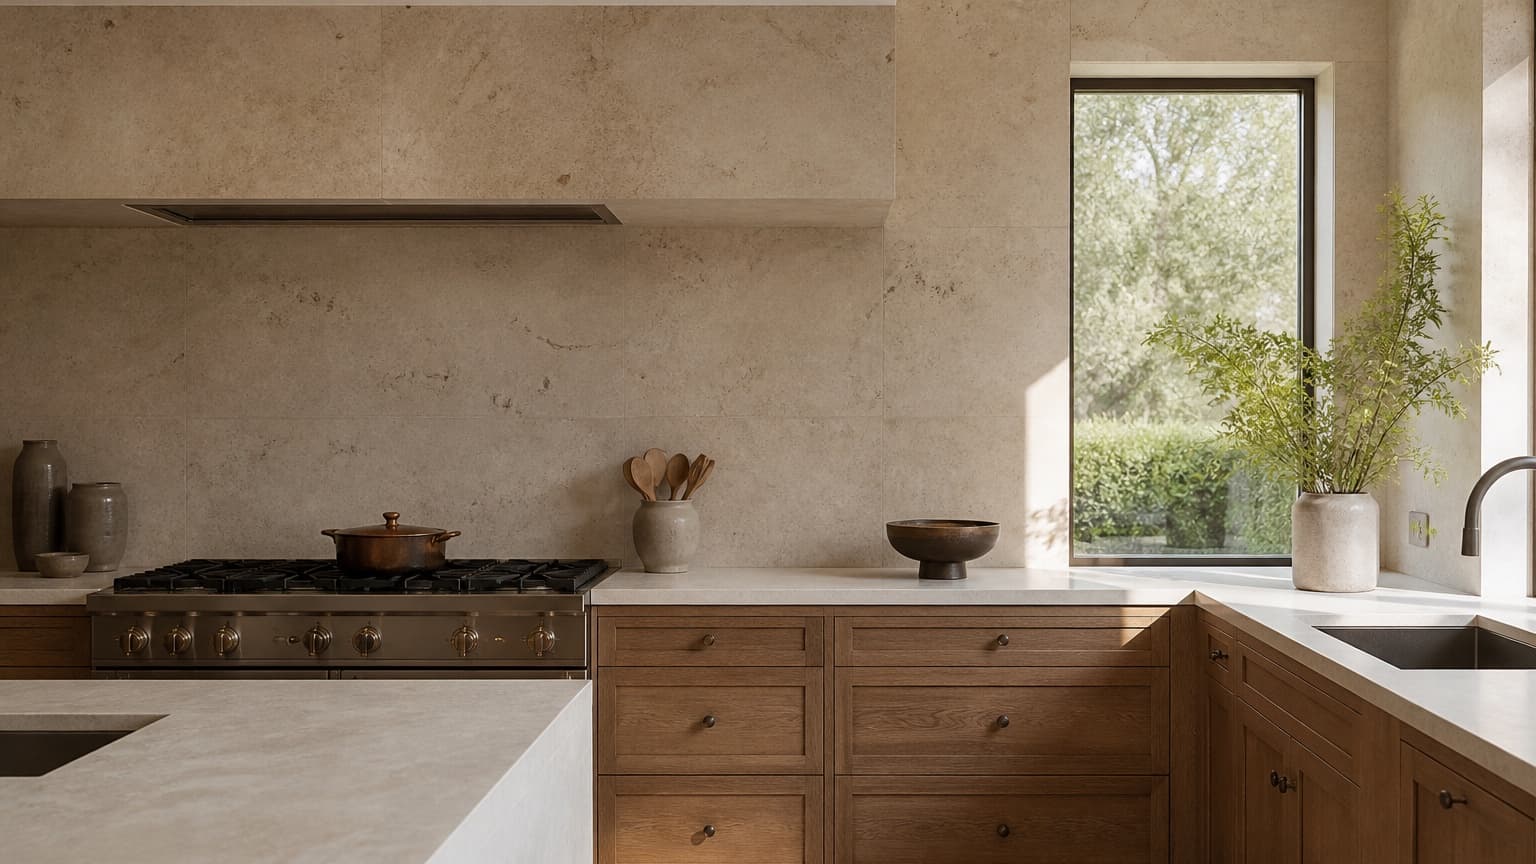
Representative concept image — not a customer project photograph
Representative project.This record describes the scope, materials, and construction method of work we carry out. It is not a specific customer’s completed job, and the photography has not been shot yet. Ask to see finished work in person.
Overview
A full-height limestone backsplash that runs from countertop to ceiling behind the range and turns into the window reveal without a trim piece.
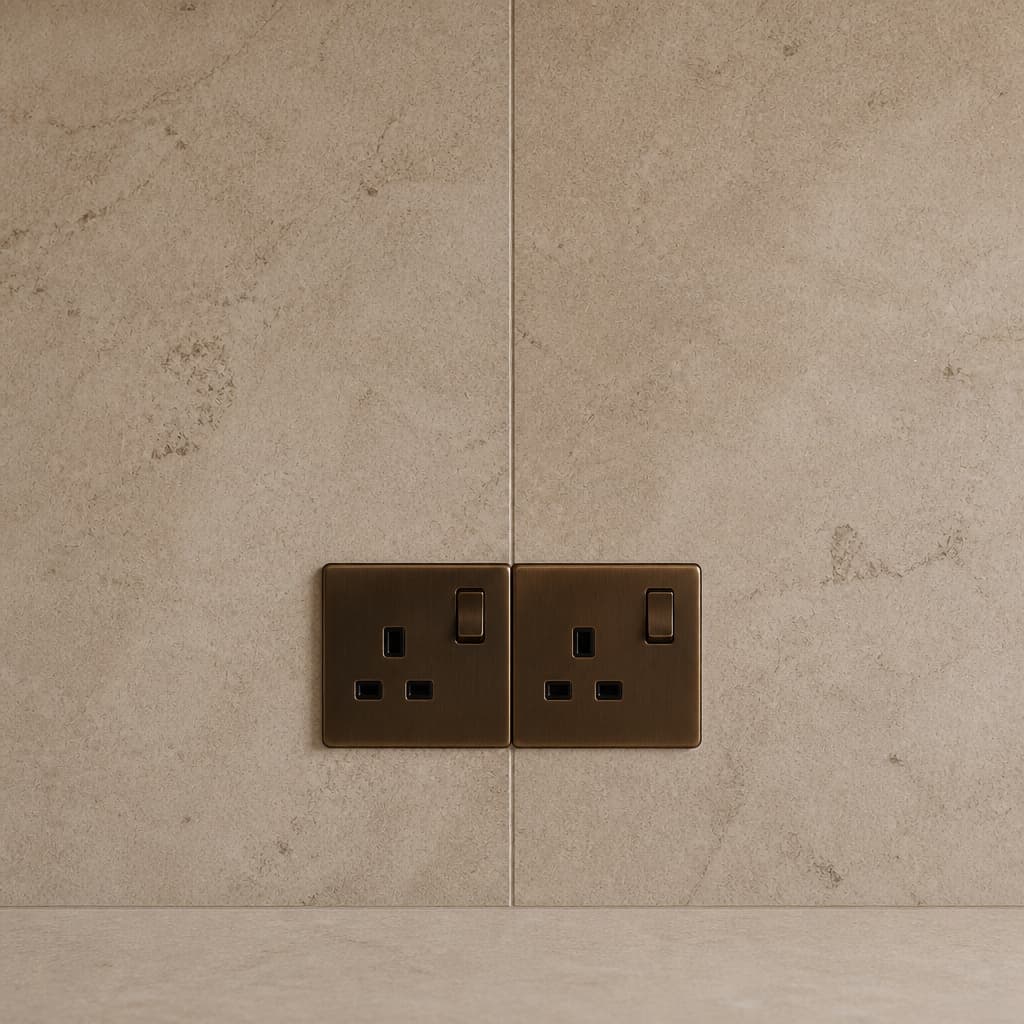
The whole job is layout. Outlets were relocated by a few centimetres so they sit centred within tiles, the hood scribe was cut from a template, and the joint pattern was set so a full tile lands at the most visible corner.
What the owners wanted
- A quiet, continuous surface rather than a decorative feature
- No visible trim or edge profiles
- Outlets that do not interrupt the pattern
Services performed
- Kitchen backsplash installation
- Natural stone installation
- Window return and hood scribing
Materials used
Existing conditions
What we found
- Standard-height painted backsplash with three surface-mounted outlets
- Wall out of plane by 8 mm over the range
Design direction
The decisions that shaped it
- Honed limestone in a single shade
- Stacked layout to keep joints reading as a grid
- Mitred external corners at the window return
Problem solving
What had to be worked out
Challenges
- The range wall was out of plane, which would have shown badly across a stacked layout.
- Existing outlet positions fell across joints.
How they were solved
- The wall was skimmed and re-planed before setting so the stacked joints stayed true across the full run.
- Outlets were moved by the electrician to positions worked out from the tile layout, not the other way round.
How it was built
Construction sequence
- 01
Survey and layout
Measure the wall plane, set out the grid, mark outlet positions.
- 02
Preparation
Skim and re-plane the substrate.
- 03
Installation
Set the field, template and cut the hood scribe, mitre the window return.
- 04
Finishing
Seal, grout, seal, and sealant at all changes of plane.
Timeline on site
- Layout and preparation
- 2 days
- Installation
- 3 days
- Finishing
- 1 day
Working days on site, excluding material lead times and the days between trades.
Finished
The completed room