Flooring · Tile & Stone · Kitchens
Heated porcelain floor across an open plan
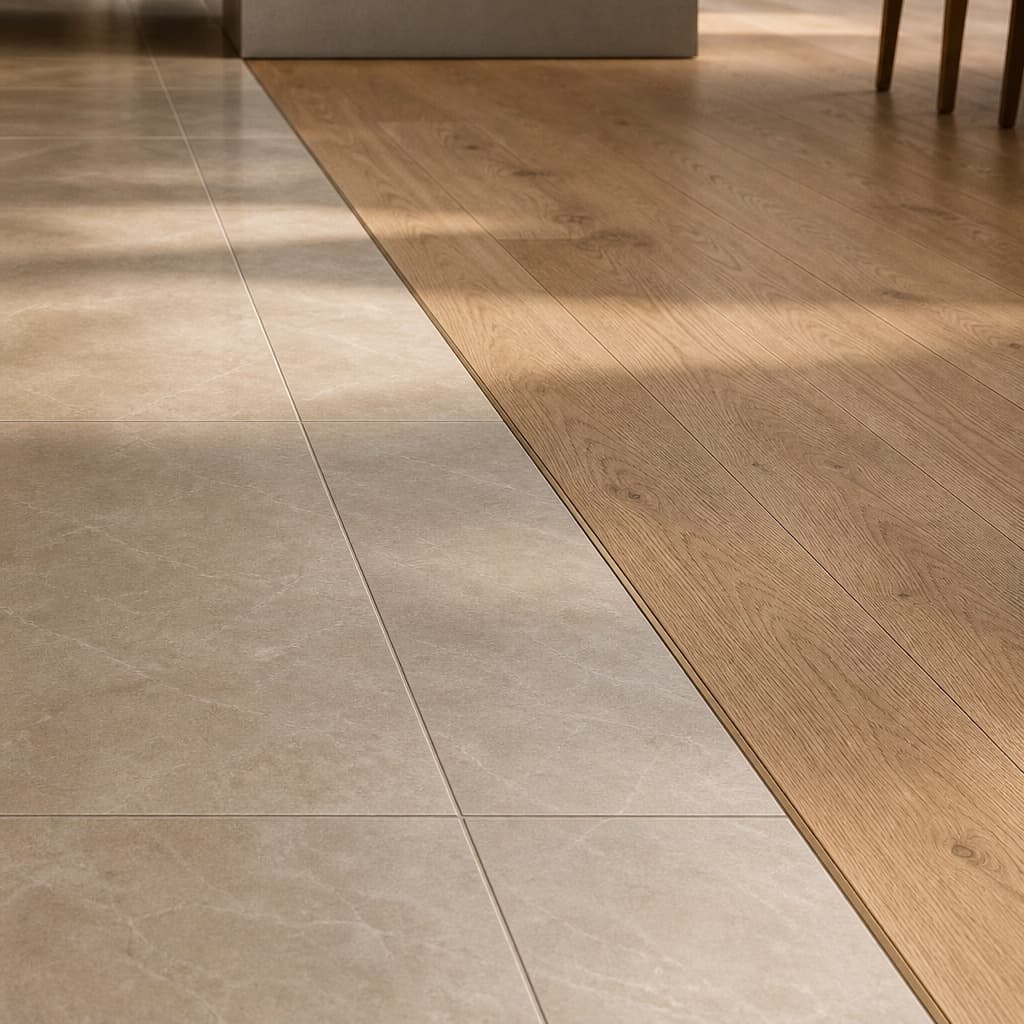
Large-format porcelain flooring with electric underfloor heating across kitchen, dining, and hall
- Location
- Reston, VA
- Completed
- February 2025
- Duration
- 4 days + 3 days + 2 days + 7 days + 3 days
- Category
- Flooring
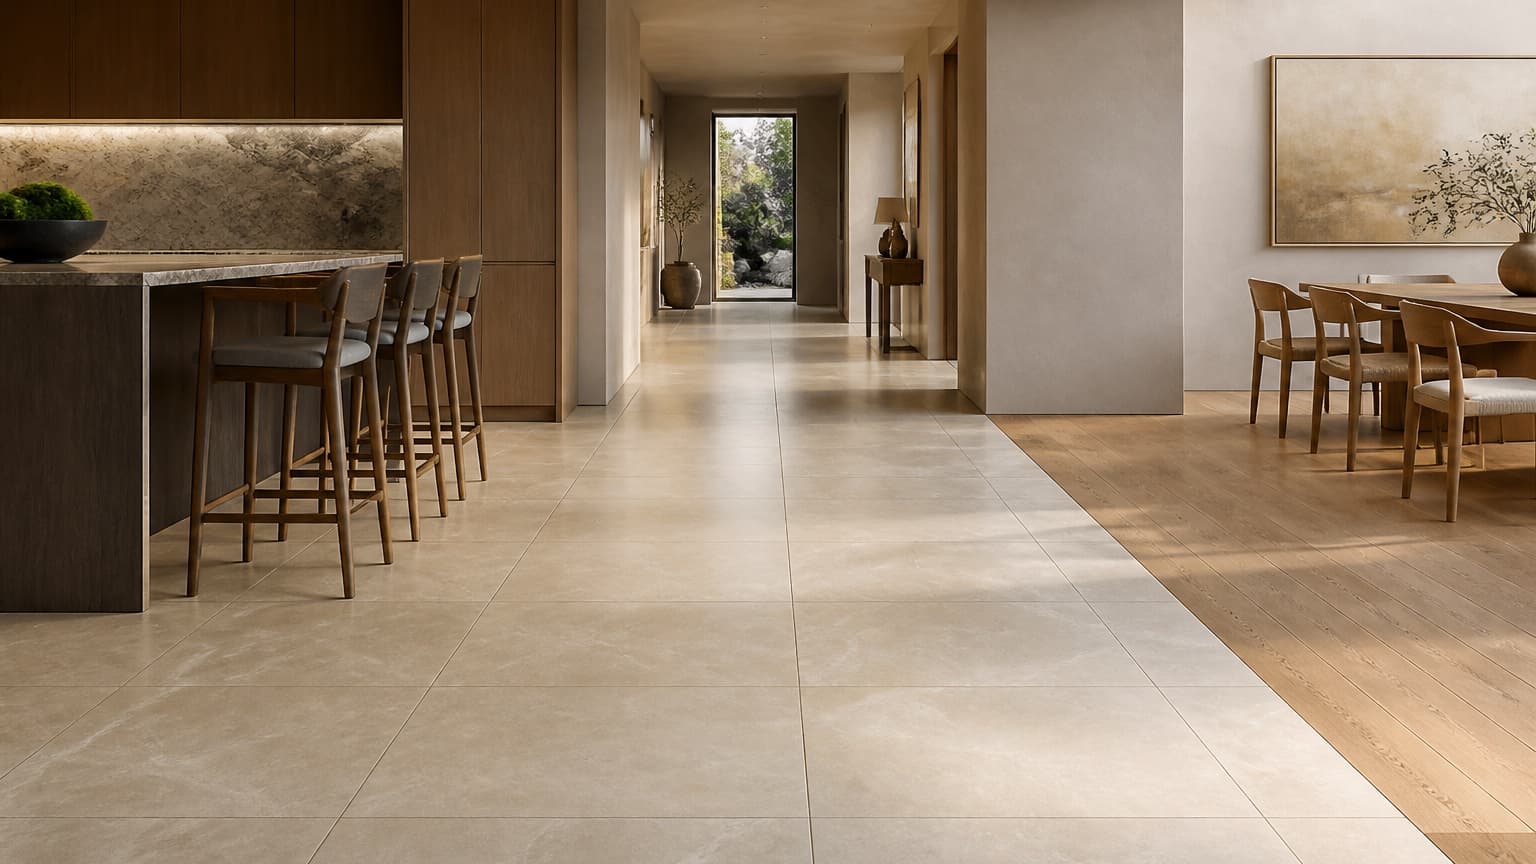
Representative concept image — not a customer project photograph
Representative project.This record describes the scope, materials, and construction method of work we carry out. It is not a specific customer’s completed job, and the photography has not been shot yet. Ask to see finished work in person.
Overview
Sixty-two square metres of 900 × 900 mm porcelain across three connected rooms, running in one direction with no thresholds between spaces.
A floor at this scale is a flatness problem before it is a tiling problem. The whole area was surveyed, mapped, and levelled before any heating or tile went down.
What the owners wanted
- One continuous floor across three rooms
- Warmth underfoot in a north-facing kitchen
- No thresholds or level changes
Services performed
- Subfloor assessment and levelling
- Electric underfloor heating
- Large-format porcelain flooring
- Transitions and thresholds
Materials used
- Uncoupling
- Uncoupling membrane over the levelled substrate
Existing conditions
What we found
- Three different floor finishes at three different heights
- Timber subfloor with visible deflection between joists
- A 22 mm variation in level across the full area
Design direction
The decisions that shaped it
- One tile, one direction, minimal joints
- Movement joints placed at the room perimeters and at the structural break
- Flush metal transition only where the floor meets carpeted stairs
Problem solving
What had to be worked out
Challenges
- Deflection between joists exceeded what a 900 mm porcelain panel tolerates.
- Levelling across 62 m² in a single pour was not practical with the access available.
How they were solved
- An additional layer of structural panel was added to stiffen the deck before levelling.
- The area was levelled in three sections with datum points transferred between them so the finished plane stayed continuous.
How it was built
Construction sequence
- 01
Survey
Laser-map the whole area and record deflection between joists.
- 02
Structure
Stiffen the deck, then level in sections to a shared datum.
- 03
Heating
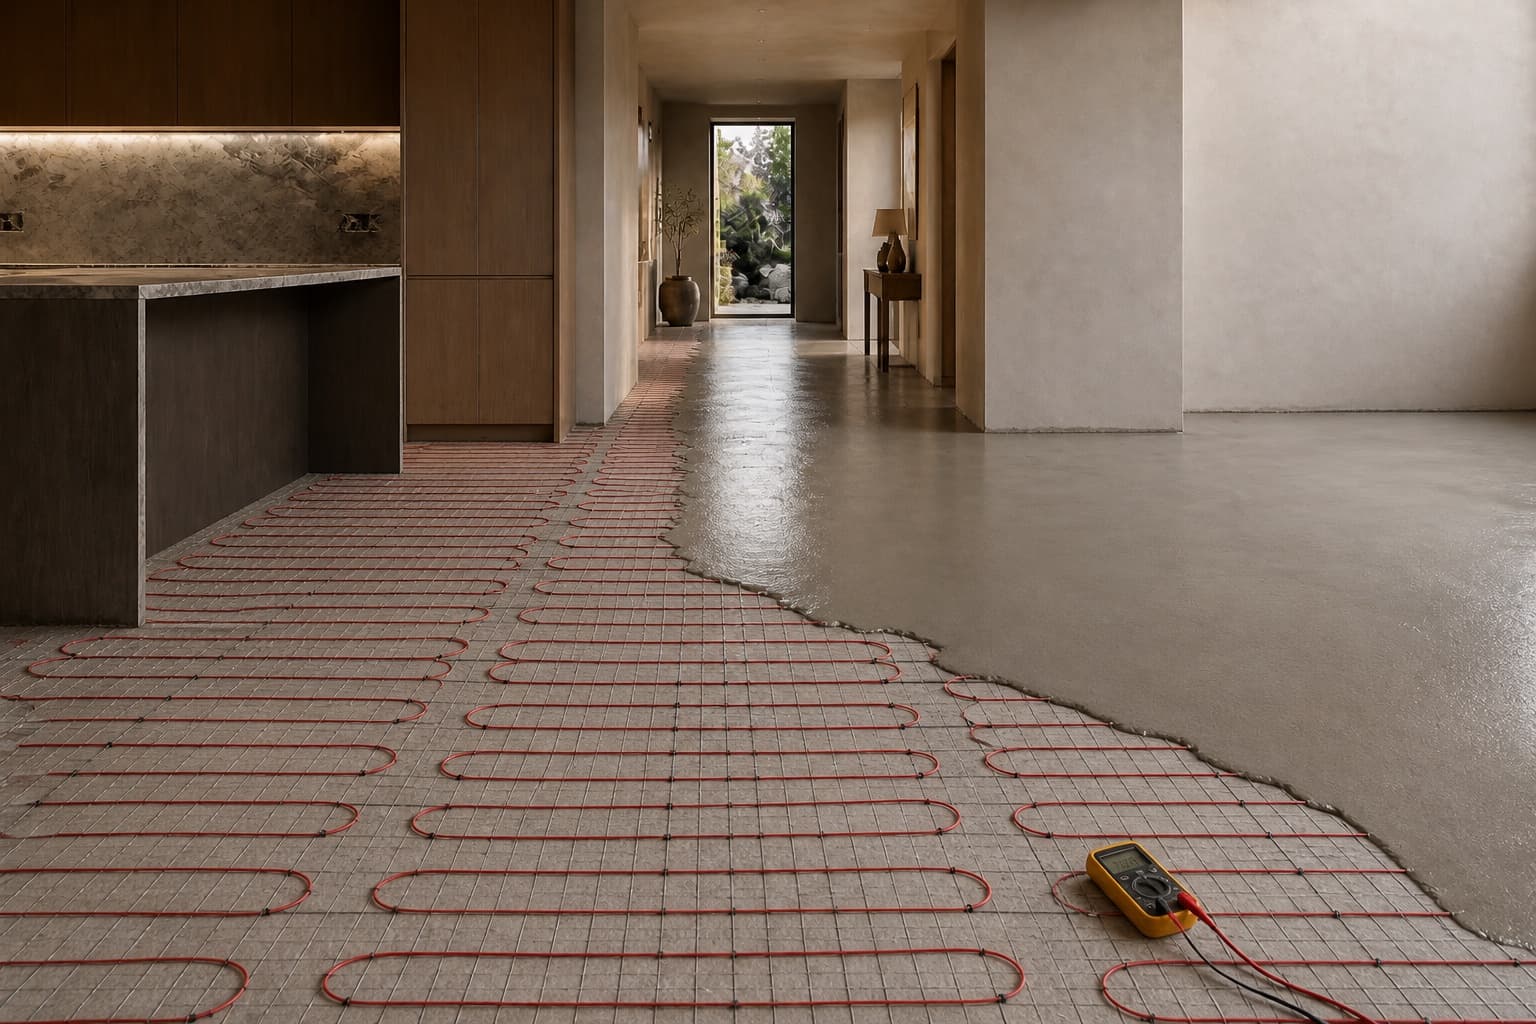
Lay cable, test continuity, embed in compound, test again.
- 04
Tile
Uncoupling layer, then set with a levelling system throughout.
Timeline on site
- Survey and structural work
- 4 days
- Levelling
- 3 days
- Heating installation
- 2 days
- Tile installation
- 7 days
- Grouting and finishing
- 3 days
Working days on site, excluding material lead times and the days between trades.
During the build
Finished
The completed room