AltesoraTile · Stone · Bathrooms

Kitchens

A backsplash is almost entirely a layout problem.

Full-height and standard backsplashes, hard-wearing floors, and feature walls — with outlets, hoods, and window returns worked into the tile grid instead of cut around after the fact.

  • 01Outlet positions set from the tile layout, not the other way round
  • 02Hood scribes cut from a template
  • 03Mitred returns at window reveals rather than trim
  • 04Sequenced around countertop templating and appliance delivery

Concept image — replace with completed project photography

The difference between an ordinary backsplash and a considered one is not the tile. It is where the joint lands behind the range, whether the outlets sit centred within tiles, how the field terminates at the ends of the run, and whether the wall was flat enough to keep a stacked layout true.

Kitchens also punish material choices that bathrooms forgive. Heat, water, dropped cast iron, and acidic spills are routine here, which changes what we would specify underfoot.

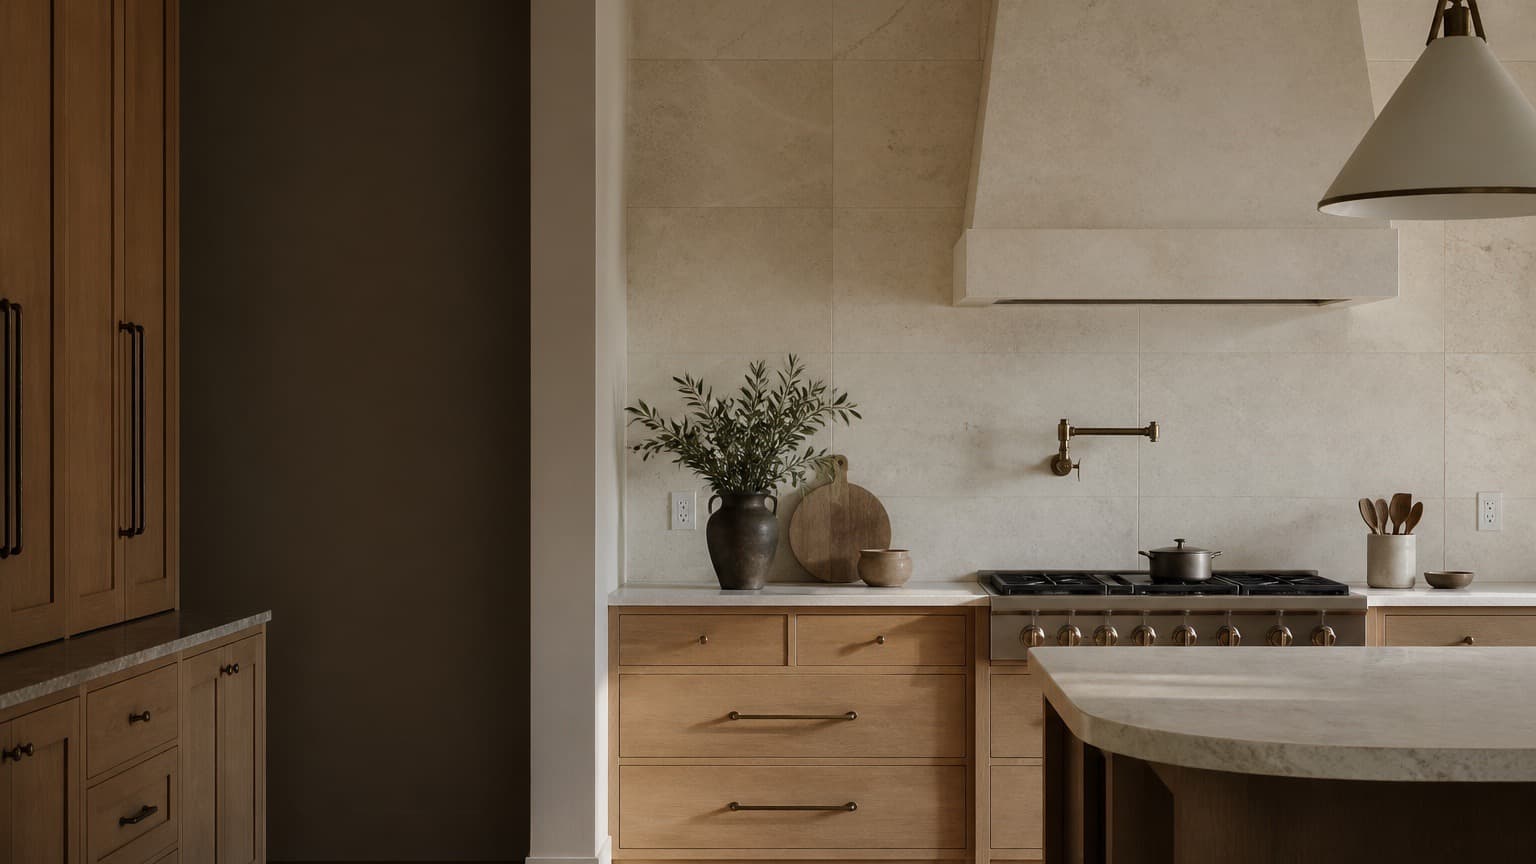
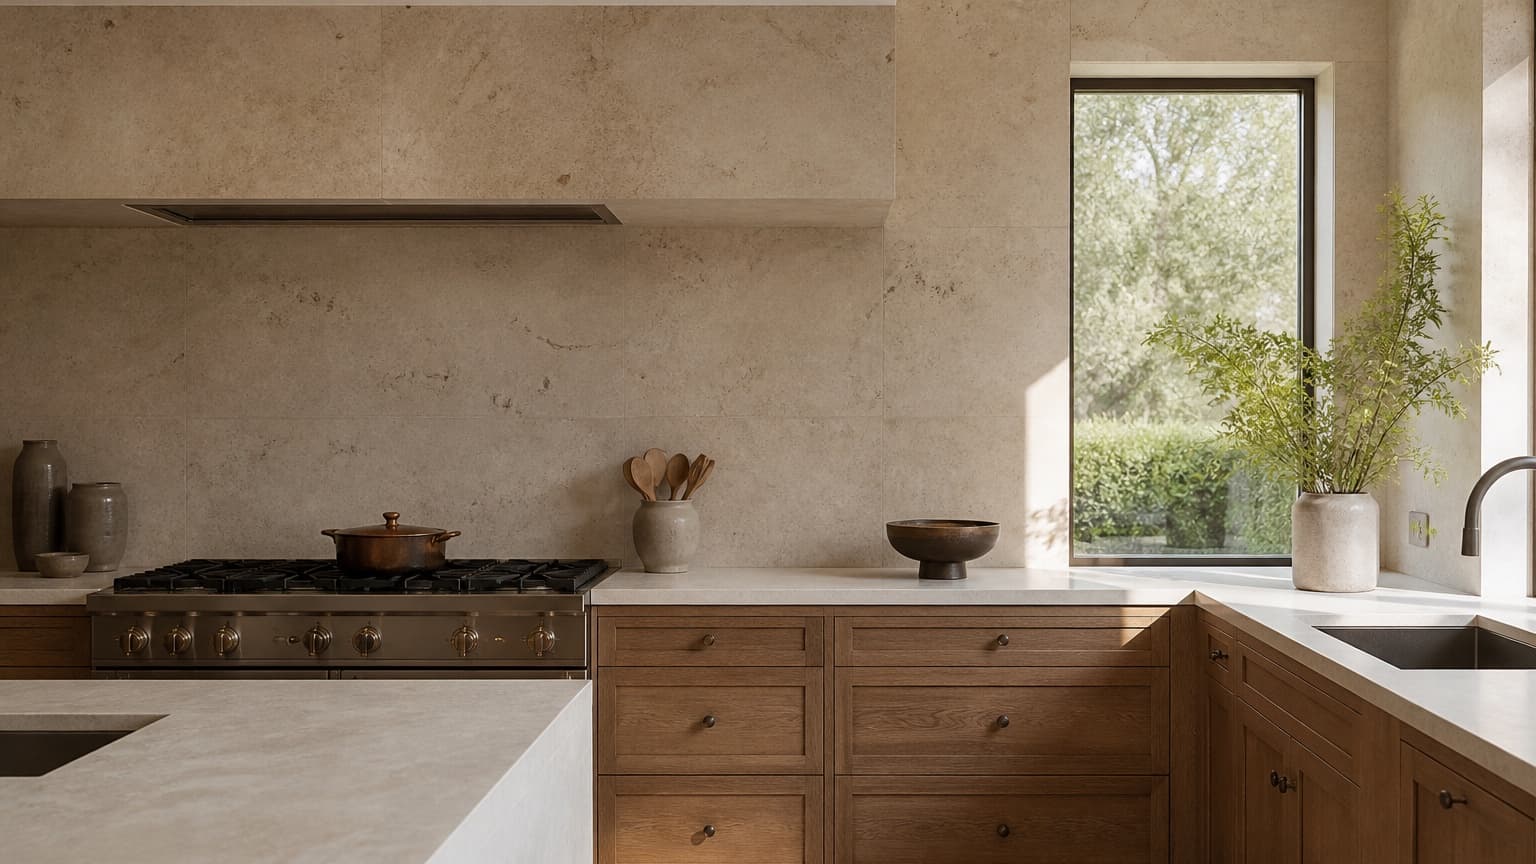
Representative kitchen concept with a full-height honed stone backsplash, oak cabinetry, and bronze details
01

Backsplashes

Full-height backsplashes running from countertop to ceiling, or standard-height runs finished with a mitre rather than a bullnose. Either way the layout comes first: we mark the grid, position the outlets, and template the hood scribe before anything is set.

Walls behind ranges are frequently out of plane, which shows badly across a stacked layout. Where that is the case the wall is skimmed and re-planed before the tile goes on.

  • Full-height and standard-height runs
  • Outlets relocated to sit within the tile grid
  • Hood and window scribes cut from templates
  • Stacked, running, herringbone, and vertical layouts
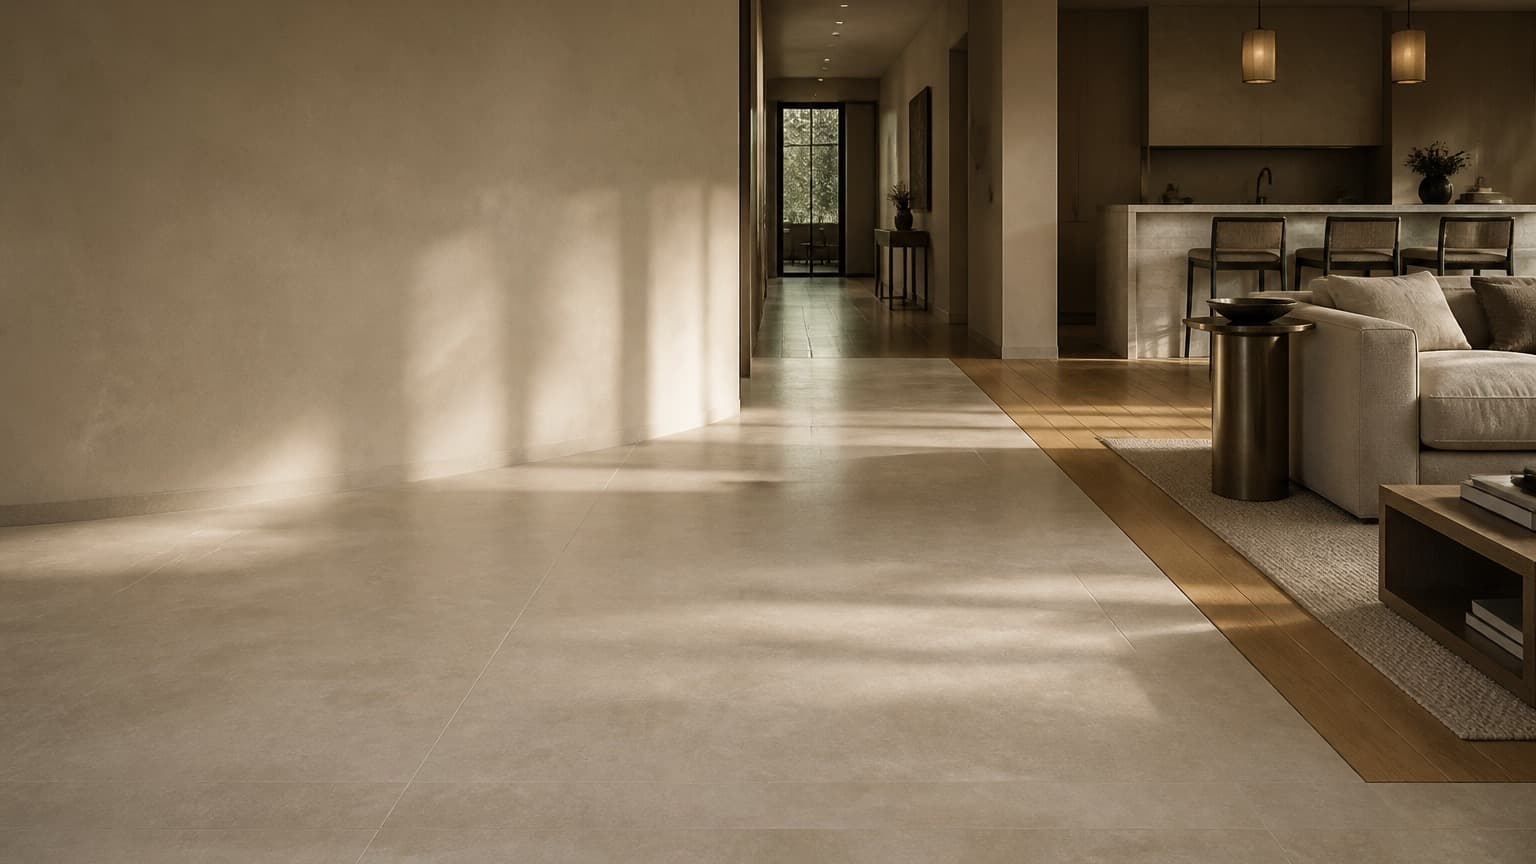
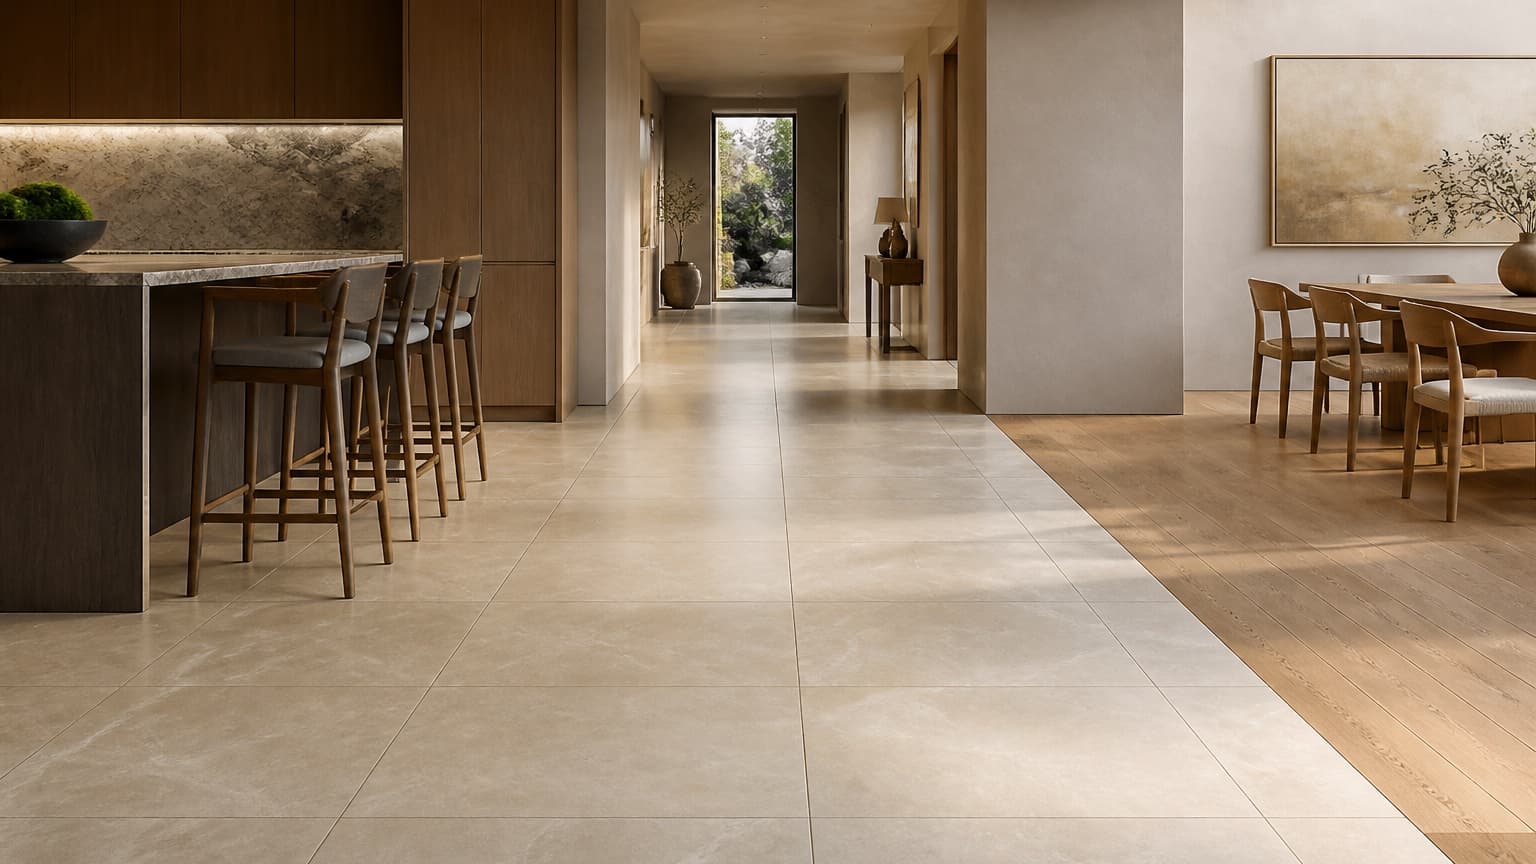
Concept open-plan interior with large-format porcelain flooring and a flush oak transition
02

Kitchen flooring

Porcelain is almost always the right answer for a kitchen floor: it does not etch, it needs no sealing, and it tolerates the traffic. Stone is possible but the maintenance conversation is real, and we will have it with you honestly before you commit.

Subfloors are surveyed and levelled, and transitions at every doorway are set flush so the floor does not become a trip hazard where it meets the next room.

  • Large-format porcelain over levelled, stiffened subfloors
  • Continuity through openings without a threshold
  • Flush metal transitions where materials change
  • Underfloor heating where the floor is cold underfoot
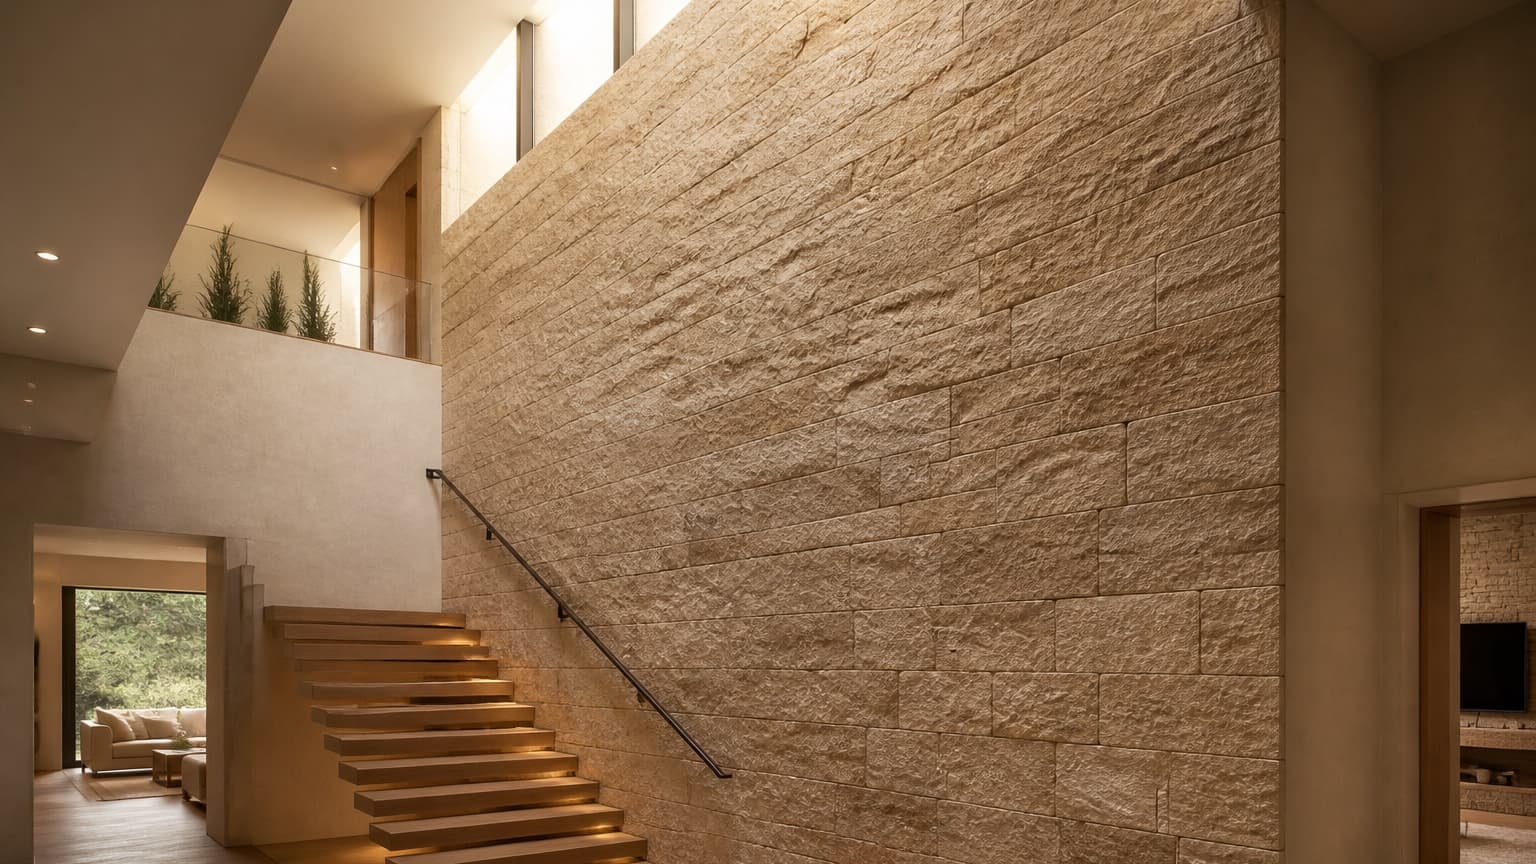
Representative double-height stair hall with a precisely coursed natural stone feature wall
03

Feature walls and islands

Stone and textured tile on island returns, dining walls, and the vertical surfaces of a kitchen that are seen constantly but touched rarely.

Cladding an island end requires a substrate that can carry the weight and a detail that resolves at the countertop overhang. Both are worth settling before the cabinetry is ordered.

  • Island returns clad in stone or textured tile
  • Substrate capacity confirmed before specification
  • Details resolved at the countertop overhang
  • Concealed lighting coordinated with the surface
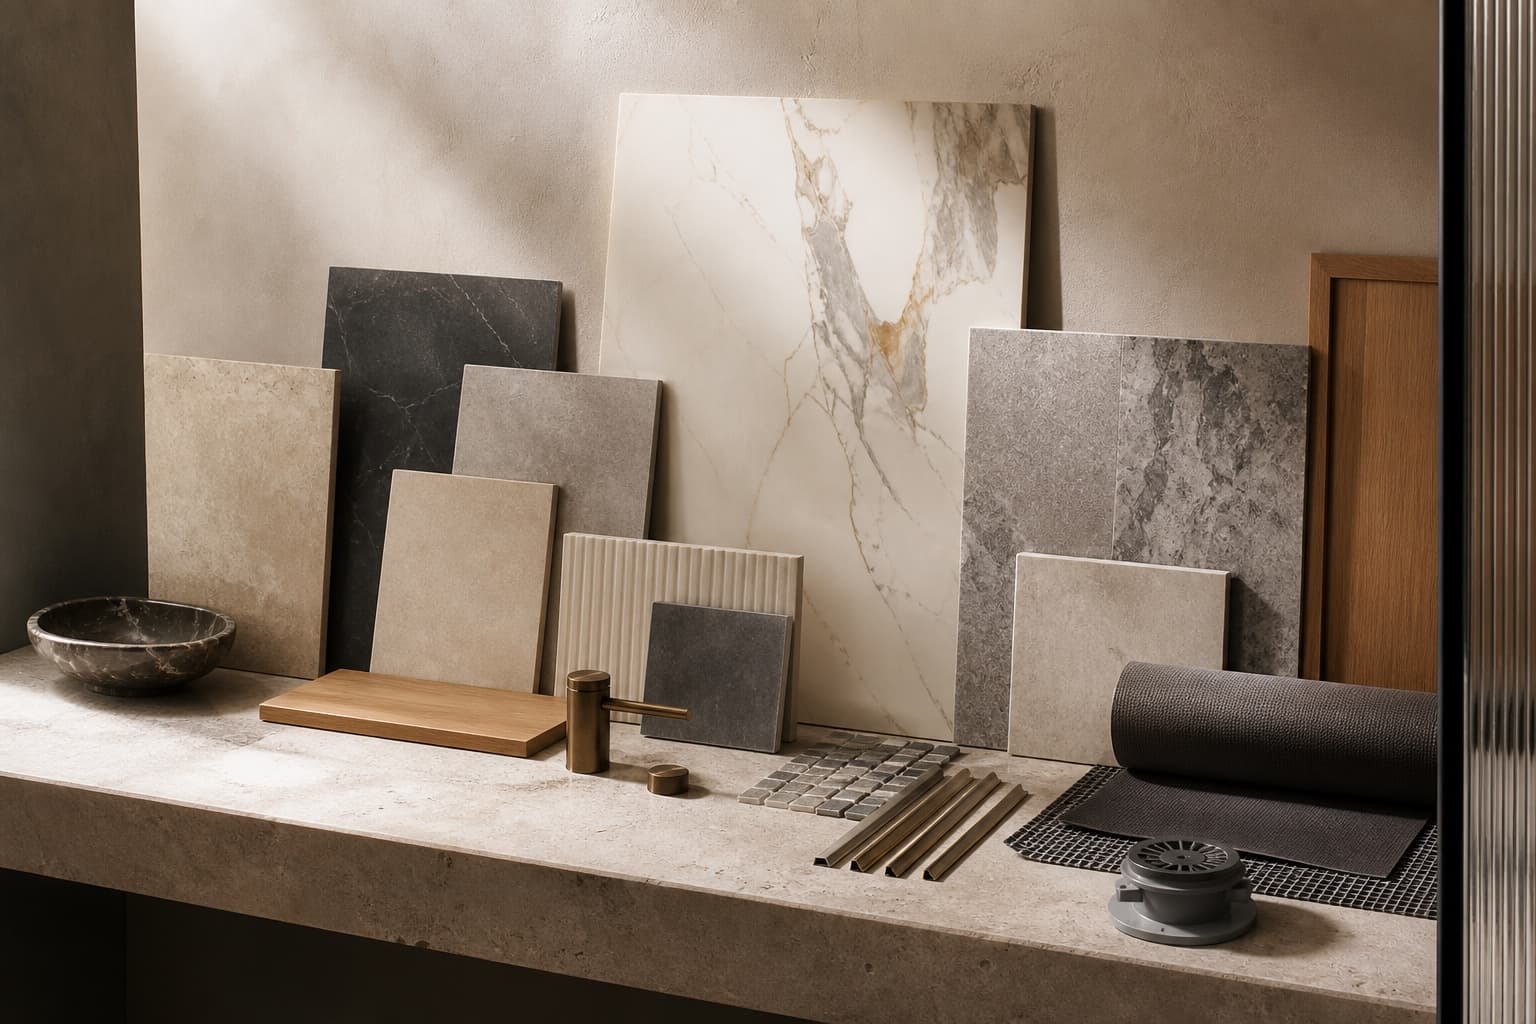
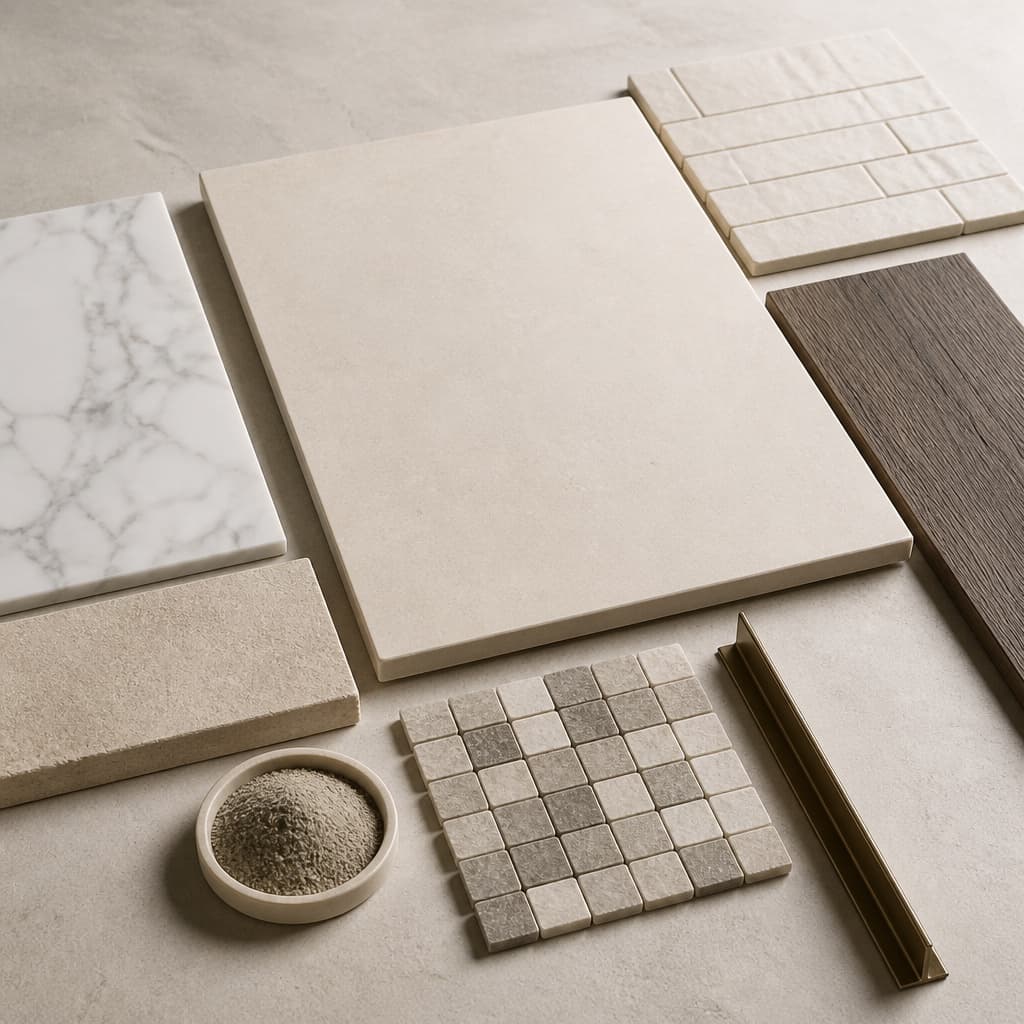
Conceptual tile and stone showroom display with porcelain, marble, limestone, oak, bronze trims, and setting components
04

Material and pattern selection

Bring the countertop sample and the cabinet door. Choosing a backsplash against those two things in the kitchen's own light is the only reliable way to do it, and it takes twenty minutes.

Grout colour matters as much as tile colour here. A contrasting grout behind a range turns a quiet surface into a grid, which may or may not be what you want.

  • Full-size samples viewed against countertop and cabinetry
  • Grout colour chosen in the room, not from a chart
  • Variation allowance for handmade and natural materials
  • Order the whole job at once to stay within one batch
05

Sequencing with the rest of the kitchen

Backsplash tile goes on after countertop installation and before final appliance placement. Getting that order wrong costs days and occasionally costs a countertop.

Where a kitchen is not being fully replaced, work has to be planned around cabinetry and countertops that need to survive the process. That plan is made at the assessment, not on the morning of day one.

  • After countertop templating and installation
  • Before final appliance placement
  • Protection for cabinetry and countertops that stay
  • Electrician scheduled around the agreed tile grid

Where it applies

Rooms and applications

  • Range walls

    The most looked-at surface in the kitchen and the one that shows layout errors.

  • Full-height fields

    Countertop to ceiling, with the hood scribe templated.

  • Island cladding

    Stone or textured tile on island returns and ends.

  • Kitchen floors

    Porcelain and stone over prepared, levelled subfloors.

  • Pantries and bars

    Small rooms where a bolder material carries little penalty.

  • Dining walls

    Textured surfaces planned around the available light.

Questions

Kitchens, answered

Not covered here? Ask us directly.

Next step

Send a photograph of the wall.

A picture of the range wall and a note about your countertop is usually enough for us to tell you what is involved and roughly what it costs.

Have photographs or a drawing? Upload them with your request — it usually saves a visit.