AltesoraTile · Stone · Bathrooms

Bathrooms

A bathroom is a small building project with a beautiful finish on it.

Complete renovation, custom and curbless showers, tub-to-shower conversions, heated floors, and accessibility planned in from the start — coordinated as one project with one point of contact and one standard across every stage.

  • 01One contact, one schedule, one standard across all trades
  • 02Waterproofing built as a system and tested where possible
  • 03Blocking for grab bars added while the walls are open
  • 04Progress photographs of everything that gets covered up

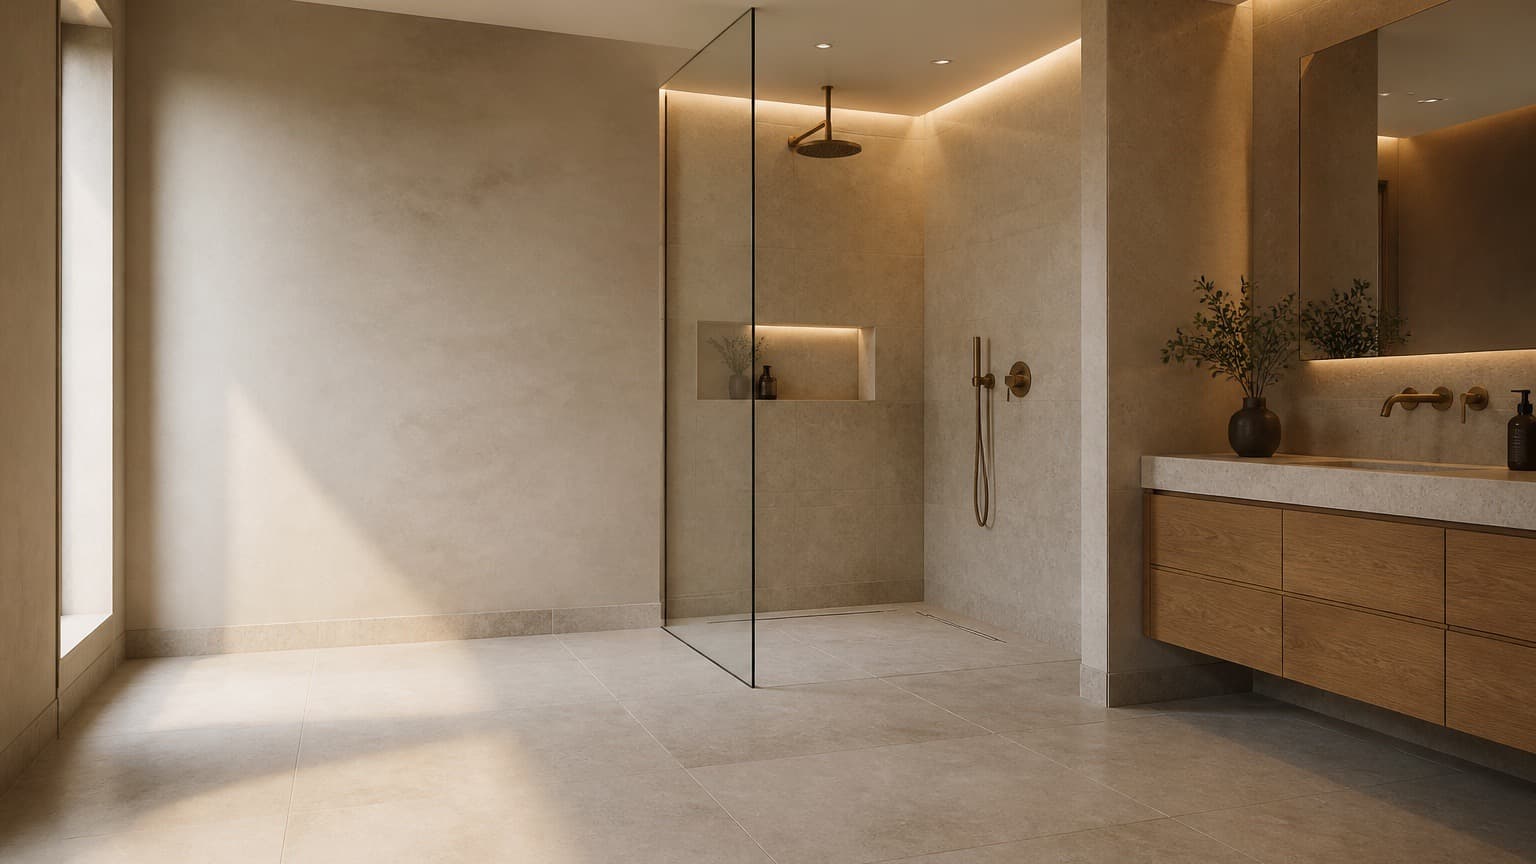
Concept image — replace with completed project photography

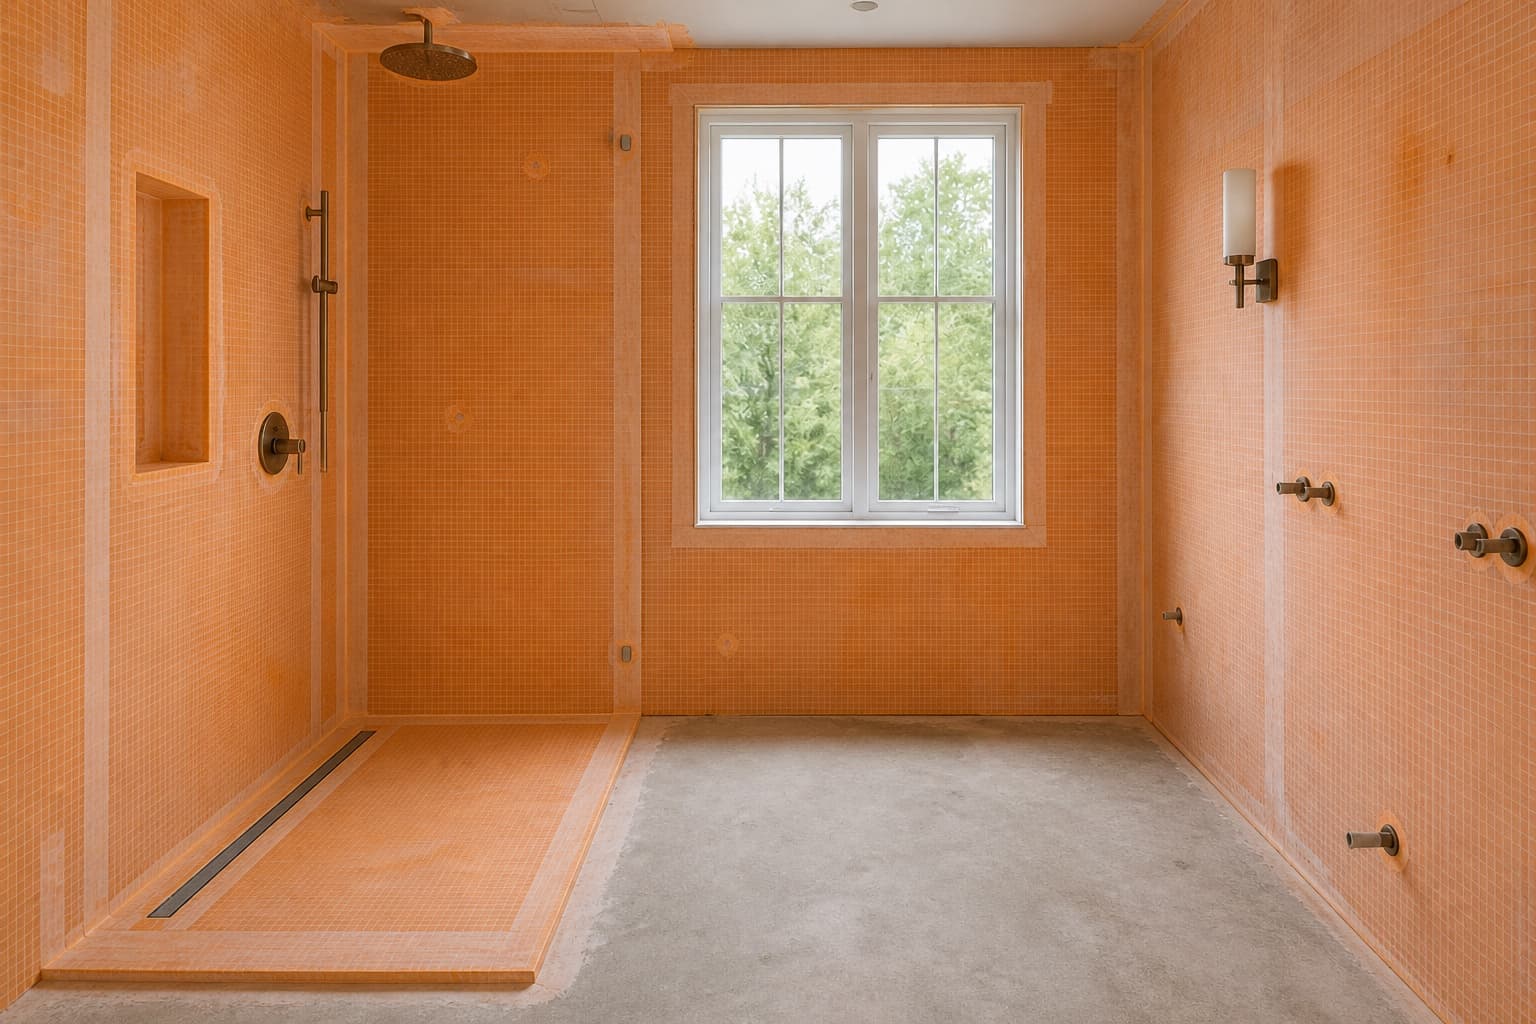
The parts of a bathroom that decide whether it lasts are all invisible in the finished room: the slope of the pan, the continuity of the membrane, the blocking behind the tile, the size of the extractor, and whether the floor structure could take the tile in the first place.

We treat those as the project and the finish as the last stage of it. That is also why we do not start demolition until the materials are on site — an open room waiting on a delivery is a room you cannot use for no reason at all.

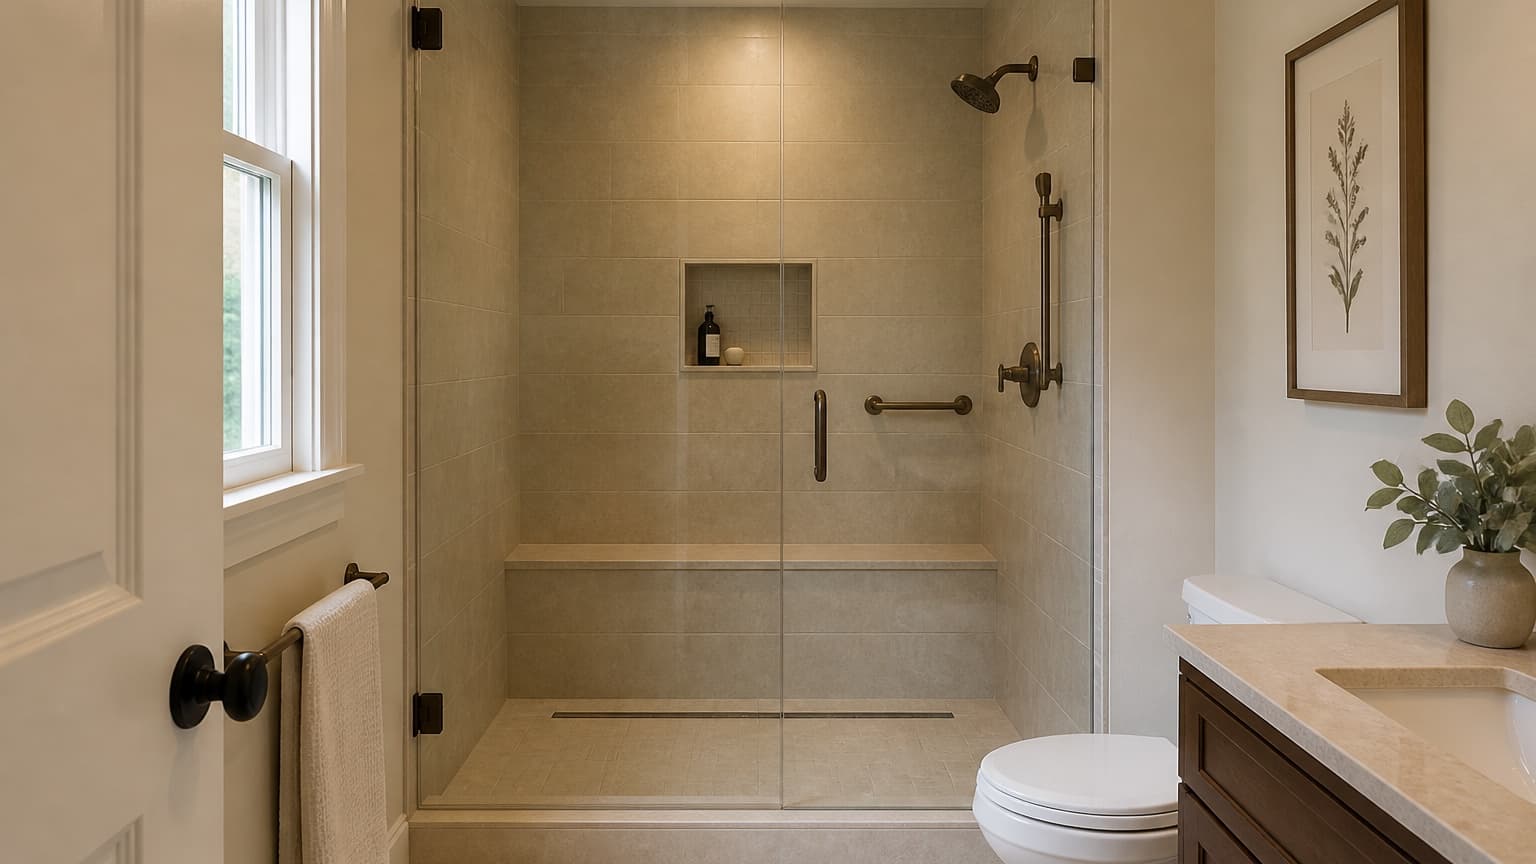
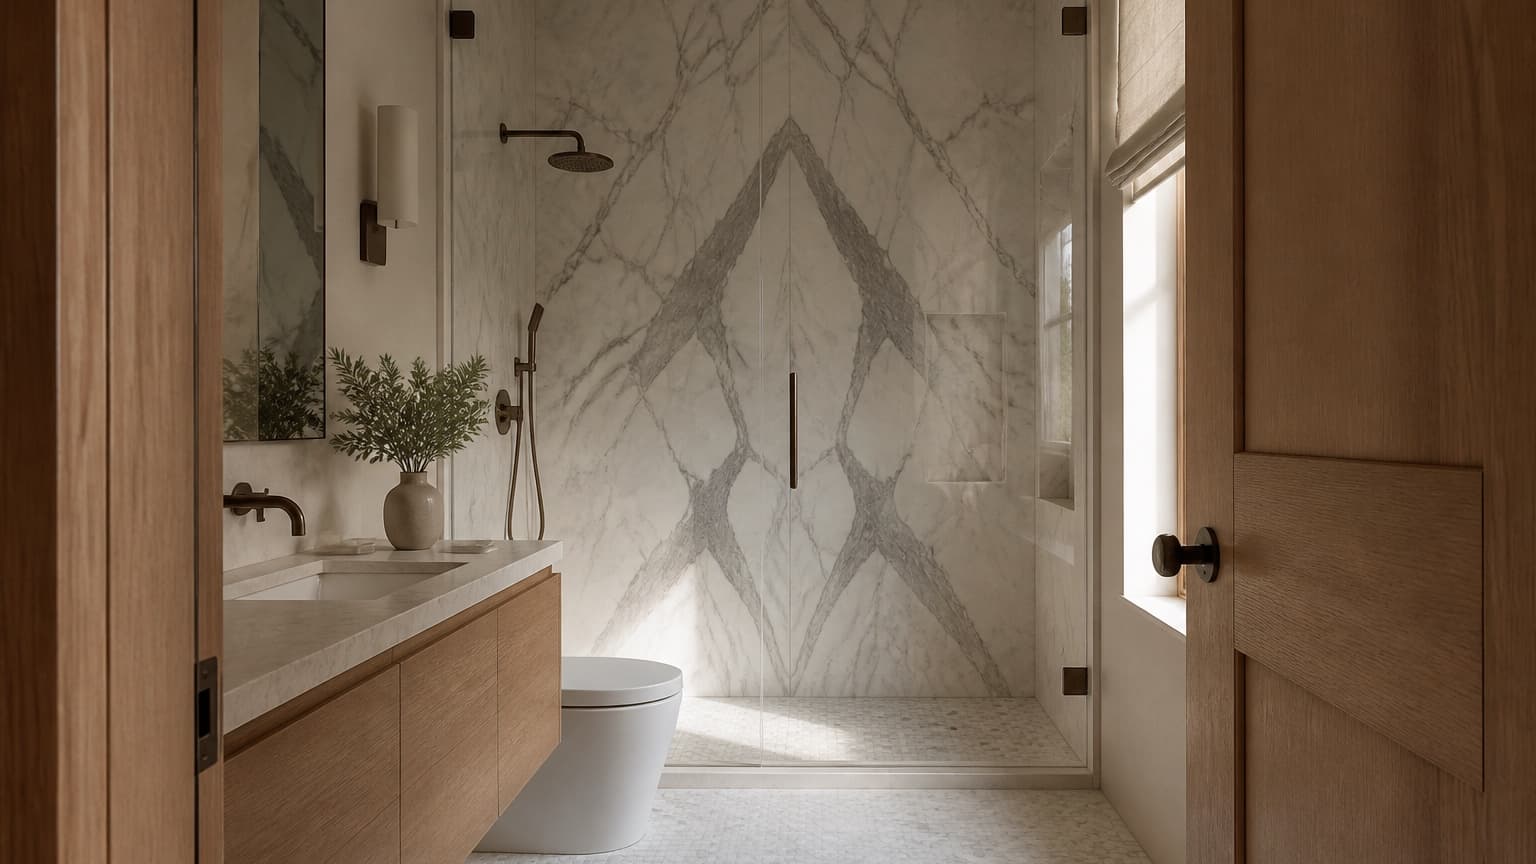
Concept luxury bathroom with a curbless shower, warm stone surfaces, oak vanity, and bronze fixtures
01

Full bathroom renovation

Demolition through final walkthrough as a single coordinated project: structure, plumbing and electrical coordination, ventilation, substrate, waterproofing, tile, fixtures, glass, and finishing.

You get a written scope with the preparation itemised, a staged payment schedule tied to stages of work rather than calendar dates, and a named point of contact who is on site.

  • Typically three to five weeks on site
  • Materials ordered and delivered before demolition
  • Dust containment and protected routes through the house
  • A walkthrough and an outstanding-items list before the final invoice
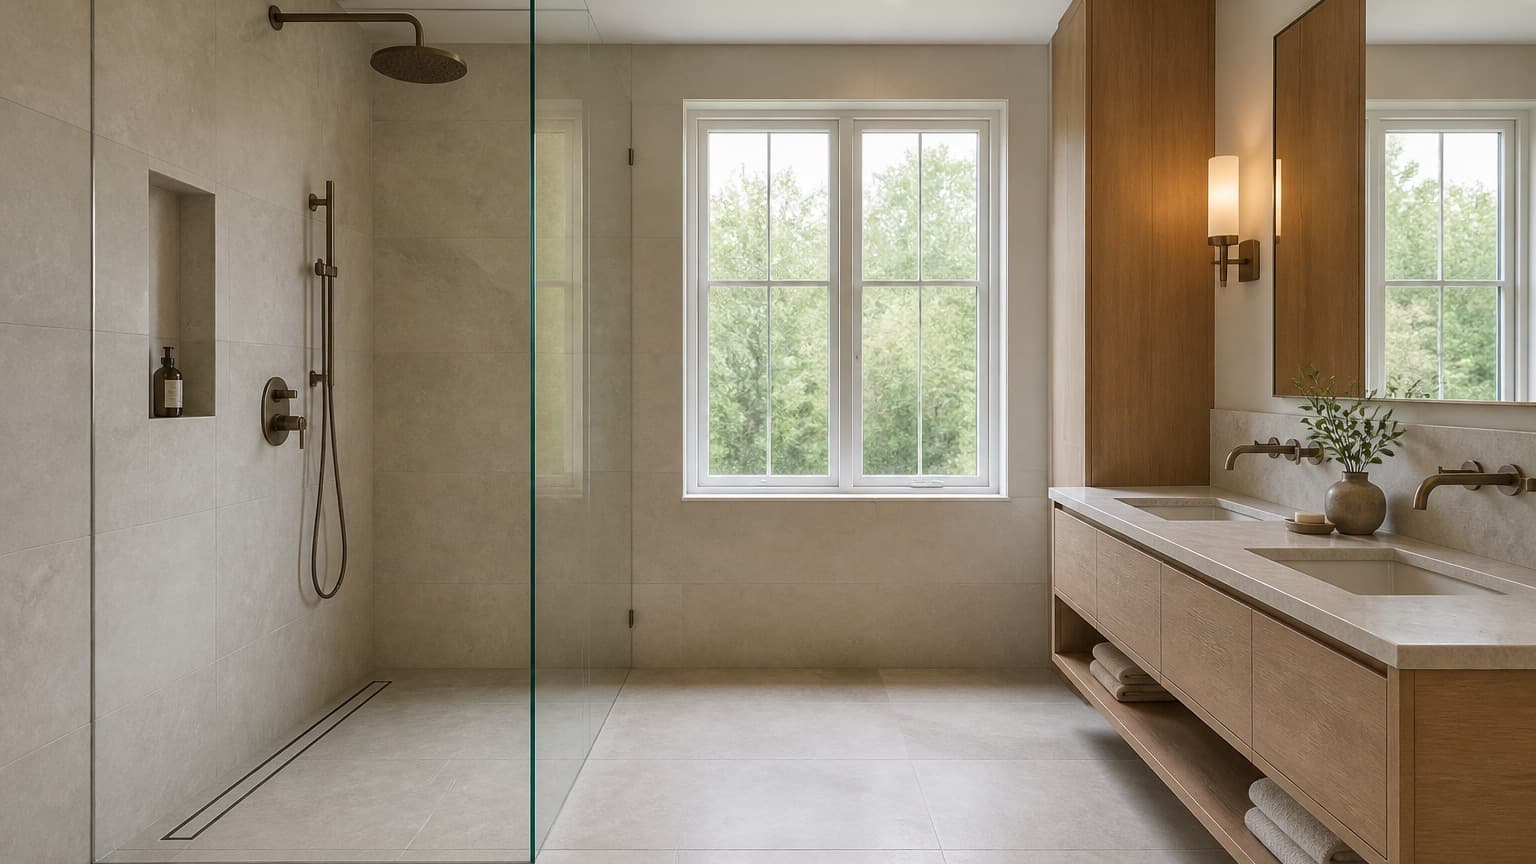
Representative curbless bathroom concept with a linear drain, full-height porcelain, frameless glass, and oak vanity
02

Custom showers

Built on site to the dimensions of your room rather than assembled from a kit. Correct fall to the drain, bonded waterproofing across the full wet area, blocking where fittings and future grab bars need it, and niches that align with the tile field.

Where the assembly allows it we flood-test the pan before tiling. It costs a day, and it finds a fault at the cheapest possible moment.

  • Pre-sloped or hand-formed pan, verified in several directions
  • Bonded membrane with banded corners and pipe collars
  • Linear or centre drain, chosen to suit the tile format
  • Glass templated after tiling for an accurate fit
Representative curbless bathroom concept with a flush floor transition and linear drain
03

Curbless showers

A flush entry makes a small bathroom read as larger, is far easier to clean, and removes the thing in a bathroom most likely to cause a fall. It also needs vertical space below the finished floor for the drainage plane.

That space comes from recessing the floor structure, building the surrounding floor up, or using a low-profile linear drain assembly. Which of those is available depends entirely on your floor, which is why we will not quote a curbless shower from photographs.

  • Floor structure assessed on site before it is proposed
  • Linear drain so the floor falls in one direction only
  • Membrane extended across the whole bathroom floor
  • Raised at design stage it is straightforward; raised late it may not be possible
Representative walk-in shower concept with large-format porcelain, a linear drain, niche, and bronze fixtures
04

Tub-to-shower conversion

Converting an unused alcove tub into a walk-in shower in the same footprint. The drain moves, the framing usually changes, and the waterproofing is rebuilt from the substrate up.

Done properly the finished room gives no clue that a tub was ever there. Where the floor structure will not allow a fully curbless entry within budget, a low-profile threshold achieves most of the benefit.

  • Waste relocated with the fall confirmed before closing up
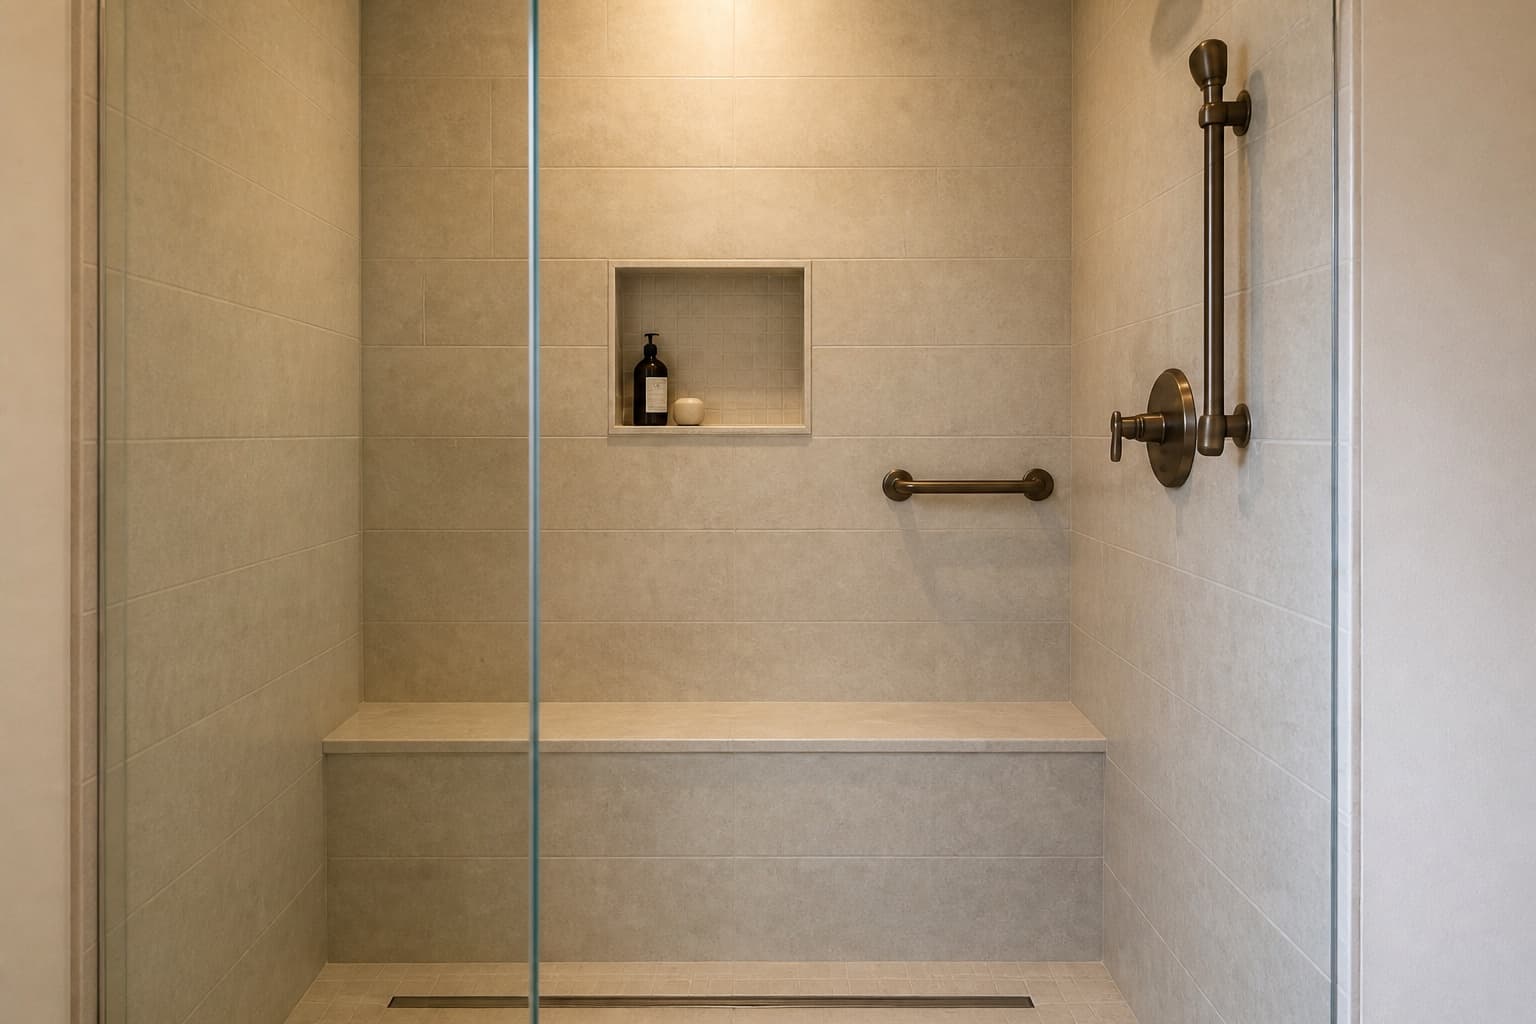
  • Full-width bench with drainage fall where space allows
  • Grab-bar blocking added whether or not bars go in now
  • Low threshold option where a full recess is not practical
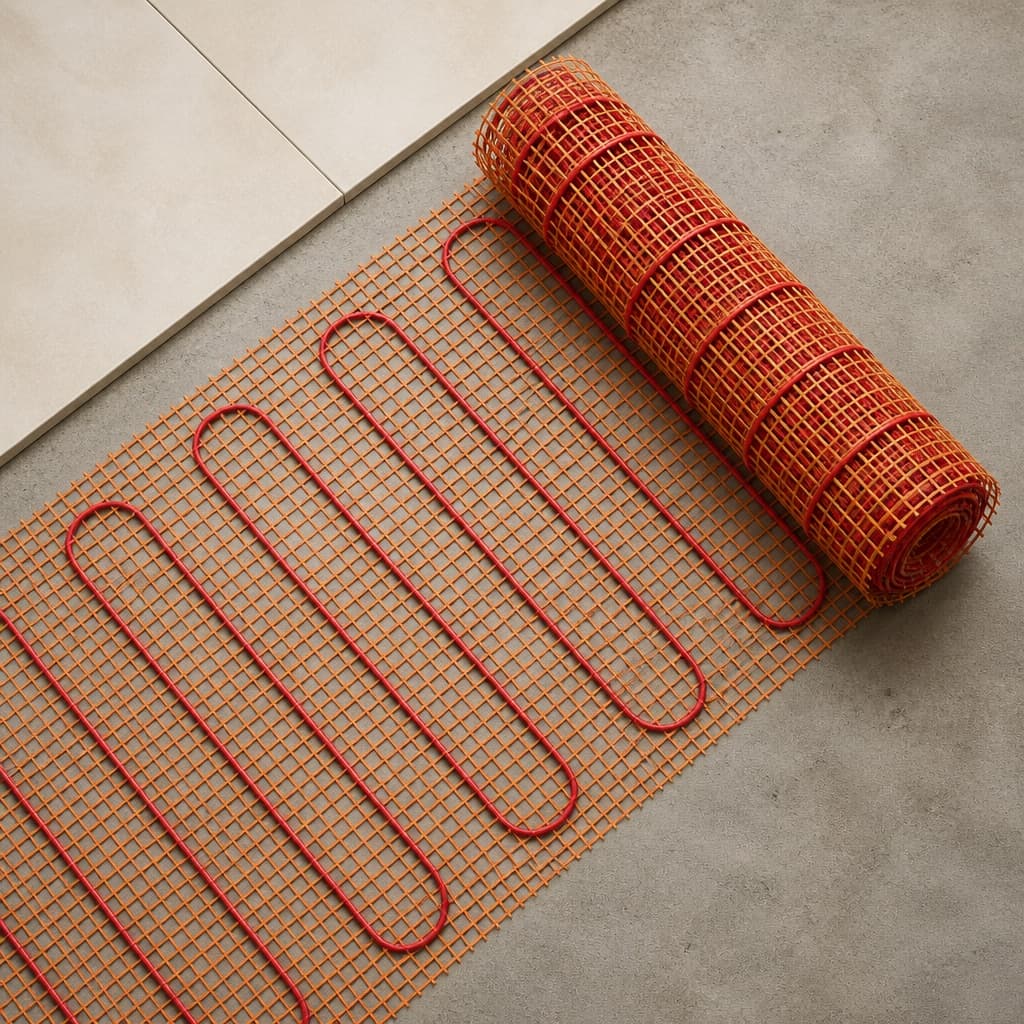
An electric underfloor heating mat partially unrolled across a concrete subfloor
05

Heated floors

Electric heating installed under tile, sized on free floor area rather than room dimensions, so heat goes where people stand rather than under a vanity.

The element is embedded in levelling compound rather than sitting in the tile adhesive, which protects the cable and gives the tile a flat bed. Continuity is tested before installation, after installation, and again after tiling.

  • Coverage planned around fixtures and cabinetry
  • Floor sensor placed between runs, not on top of one
  • Embedded in levelling compound under the tile
  • Final electrical connection by a licensed electrician
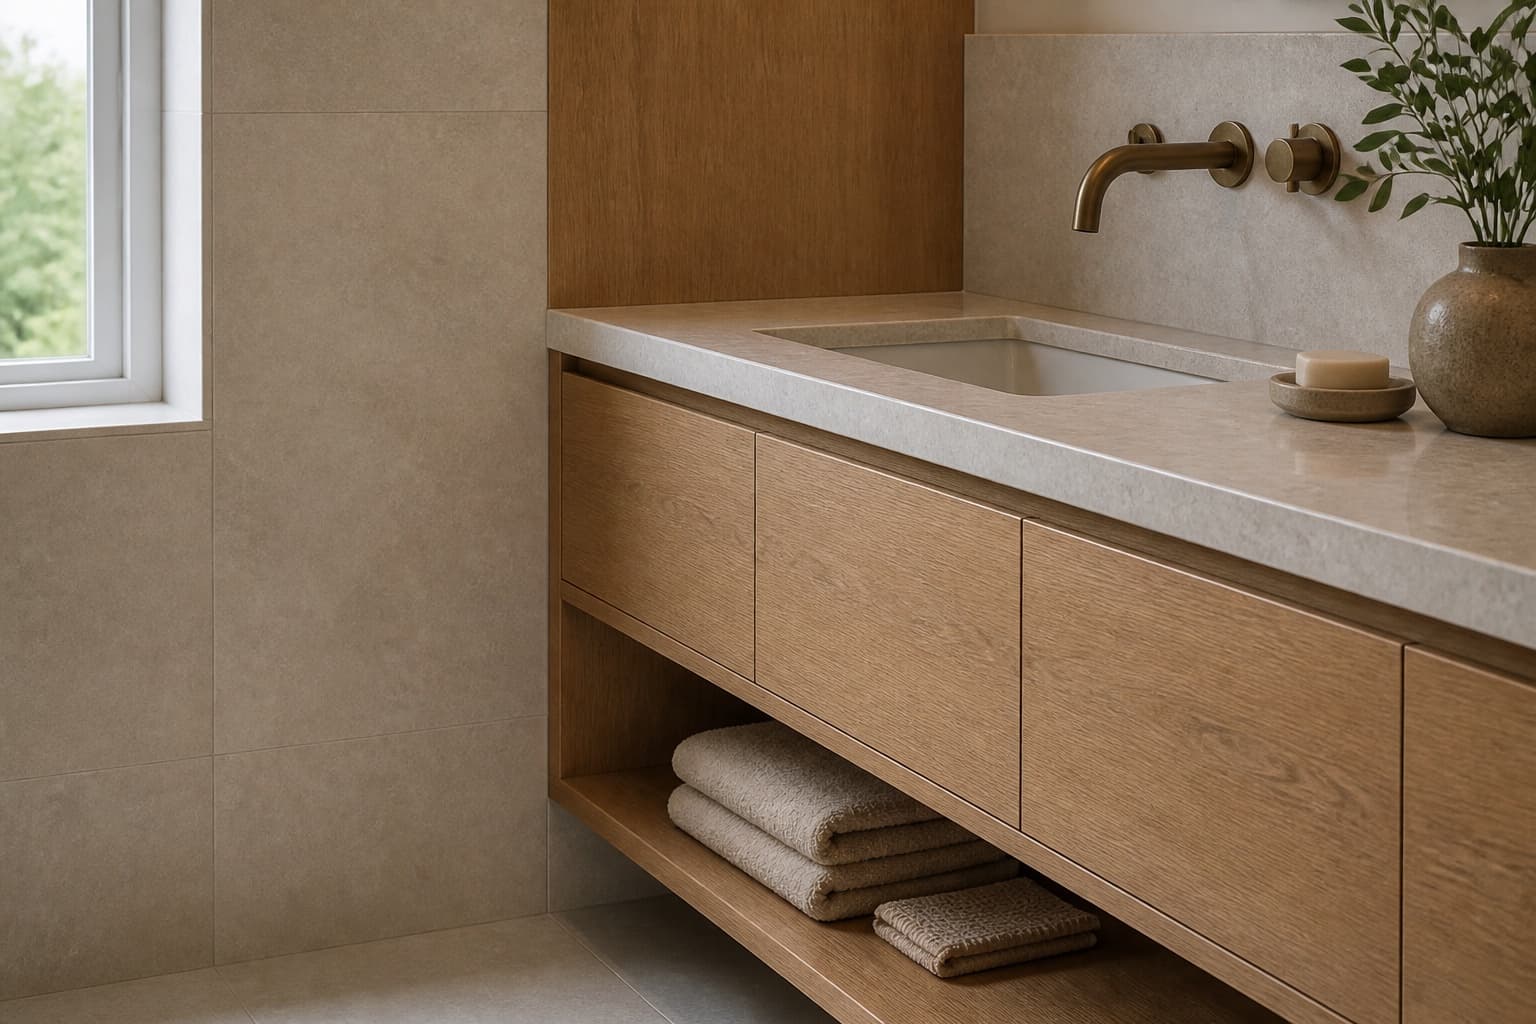
The finished vanity wall with wall-hung storage and integrated lighting
06

Fixtures, lighting, and ventilation

Fixture selection is coordinated with the tile layout, not fitted around it afterwards: valve heights, niche positions, and the centre lines of the vanity and mirror all agree with the joints in the wall.

Ventilation is checked against room volume rather than assumed. Persistent mould that returns after cleaning is almost always a ventilation problem, and it is worth fixing during the renovation rather than living with.

  • Valve and fitting heights set out with the tile grid
  • Layered lighting rather than a single ceiling fitting
  • Extractor sized to the actual room volume
  • Wall-hung vanities to keep the floor plane continuous
07

Storage and layout

Storage in a bathroom is usually a layout problem rather than a furniture problem. A full-height niche, a recessed cabinet between studs, or a wall-hung vanity with drawers to the floor will each do more than an additional cupboard.

We look at what actually needs to live in the room before deciding where the storage goes.

  • Full-height and shelved niches inside the wet area
  • Recessed cabinets set between existing studs
  • Drawer-based vanity storage rather than open shelving
  • Bench seating that doubles as storage where depth allows
The tiled bench and grab-bar blocking inside the new shower
08

Accessibility, planned early

Most accessibility measures cost very little during a renovation and a great deal afterwards. Blocking behind tile is the clearest example: it is minutes of work now and a wall to open later.

Curbless entries, wider clear openings, bench heights set for how the room will be used in twenty years, and lever taps are all decisions that cost nothing extra if they are made at the right time.

  • Blocking for grab bars whether or not they go in now
  • Curbless or low-threshold entries where the floor allows
  • Bench height and depth planned for seated showering
  • Clear turning space checked against the fixture layout

Beneath the surface

What is behind the tile

You will never see any of this once the room is finished, which is exactly why it is worth asking about before the work starts.

  1. 01

    Substrate preparation

    The right board for the application, fixed at the right centres, with a plane corrected to what the tile format requires rather than to what will pass.

  2. 02

    Drainage and slope

    A continuous fall to the drain formed before the membrane, with the waste run and its fall confirmed before the ceiling below is closed up.

  3. 03

    Waterproofing

    A bonded membrane covering the full wet area, banded at every internal corner, collared at every penetration, and integrated with the drain flange.

  4. 04

    Blocking and backing

    Timber behind the tile wherever something will be fixed to it — grab bars, benches, wall-hung fittings, and glass panels.

  5. 05

    Movement accommodation

    Flexible sealant at changes of plane and movement joints at perimeters, so the building can move without cracking the finish.

  6. 06

    Testing and inspection

    Flood tests where the assembly allows one, heating continuity tested at three stages, and a documented check of slope and plane before tile.

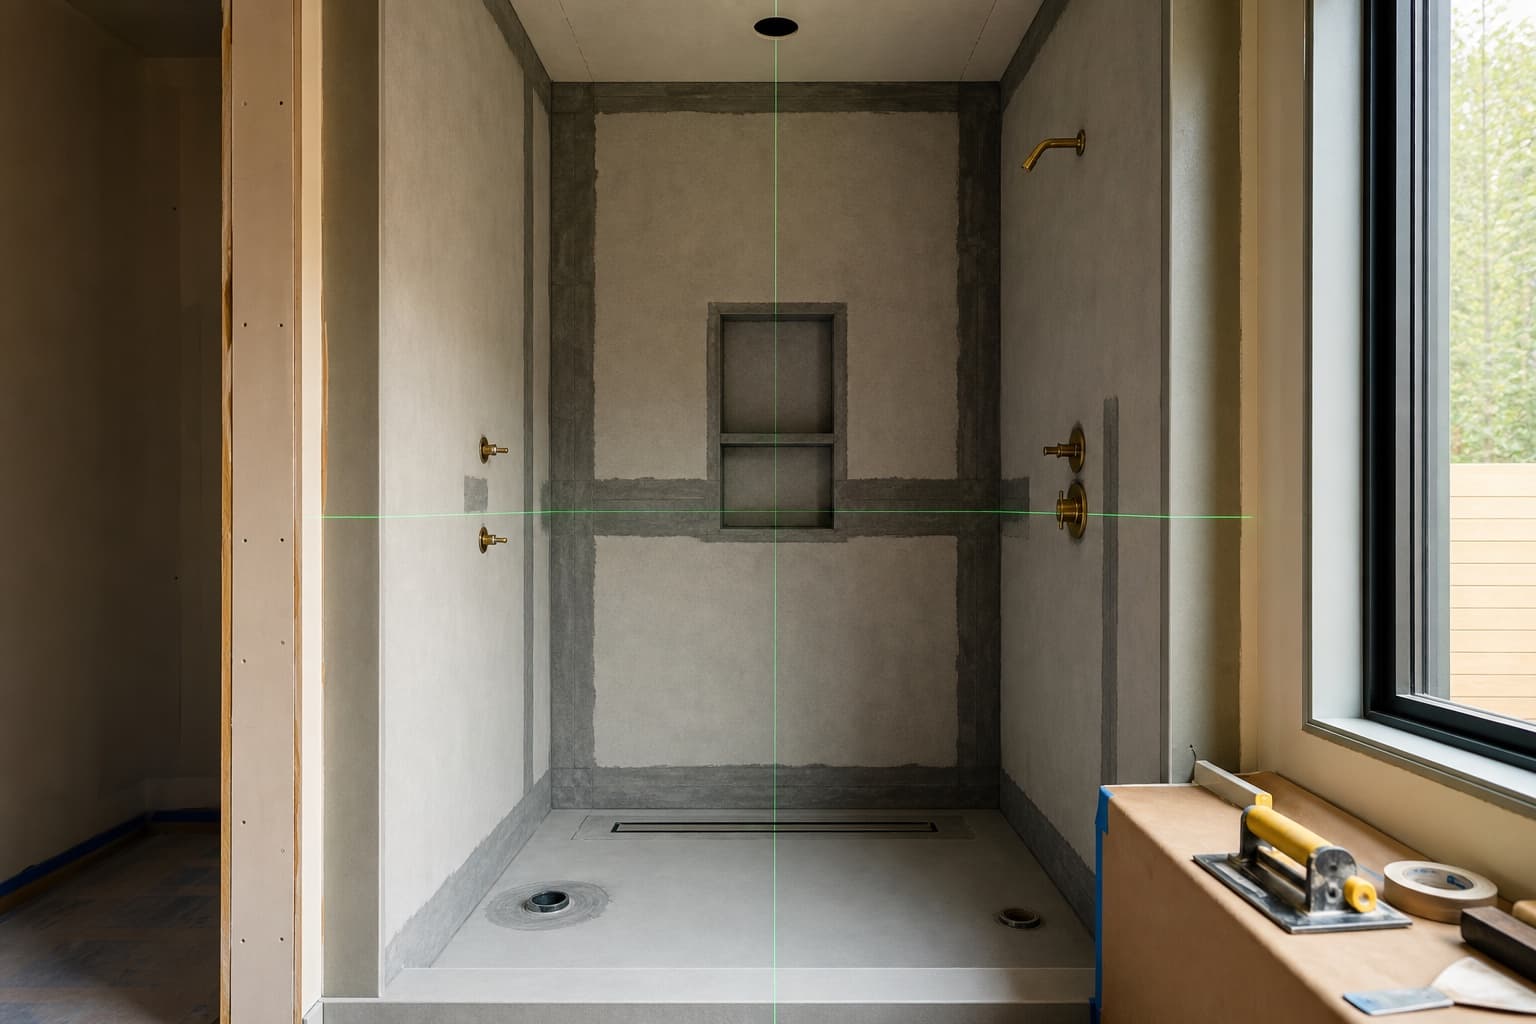
The shower substrate after waterproofing, before tile was set

We photograph this stage on every project and send you the images. It is the only record that exists once the tile is on.

Where it applies

Rooms and applications

  • Primary bathrooms

    Full renovation, often reconfigured rather than replaced in place.

  • Guest bathrooms

    Small rooms where one deliberate material moment does the work.

  • Powder rooms

    The one room where a bolder material choice carries no daily penalty.

  • Basement bathrooms

    Slab conditions, drain relocation, and moisture from below.

  • Accessible bathrooms

    Curbless entries, blocking, bench heights, and clear openings.

  • Wet rooms

    Whole-room waterproofing where the shower has no enclosure at all.

Questions

Bathrooms, answered

Not covered here? Ask us directly.

Next step

Start with a conversation about the room.

Tell us what is there now and what you want instead. We will tell you what is achievable in that space, what the floor structure will allow, and what a realistic schedule looks like.

Have photographs or a drawing? Upload them with your request — it usually saves a visit.